Introduction
Have you ever thought, “I’d love to play the violin but it seems way too hard to learn.”
In this guide I’ll take you to the point of not knowing anything to the point of being able to play some simple songs.
You may have heard things like, “You need to start when you’re four years old,” or, “Violin is a difficult instrument. Only people with natural ‘talent’ can play it.” Ignore those useless (and harmful) opinions. You can do this if you want it.

You can learn the violin if you practice daily and adopt effective learning techniques.
Even if you’ve dabbled a little before, this guide will equip you with all the essential knowledge you need to get started with violin:
- Getting and setting up an instrument
- Learning to play
- Learning to practice well
- Establishing a good mindset
Let’s begin with a simple overview of how to actually play it.
Learn To Play Violin In One Minute
Here’s a TLDR video showing the essential skills for beginner violinist. I’ll show you how to:
- Hold the violin and bow
- Pluck rhythms on the strings
- Bow the strings
- Use left-hand fingers
- Play a simple song
Now that you have a super general idea of the learning path, let’s go into more depth so that you’re sure to succeed. In the following sections you’ll learn these skills and actually practice with simple exercises and songs.
Note: this a long, comprehensive article. Use the Table Of Contents on the left to jump to what you most need to know.
First off, let’s get your head and heart in the game…
How To Succeed At Learning Violin
In order to succeed at learning violin or any musical instrument, you need to a good attitude and approach to daily practice.
There are some simple things you can do to establish a good mindset and avoid feeling overwhelmed.
These mindset hacks are not just for beginners, but for musicians and professional violinists working at any level. After 40+ years of learning music, I still need to be reminded of these things (for reals).
Six Secrets To Violin Success
1. Play Every Day
Consistent daily practice is the cornerstone of long-term musical success. It’s one of those clichés that’s true. Yet most music students struggle with this.
Instead of doing many hours of practice one day a week, aim to do short dedicated practice sessions every day.
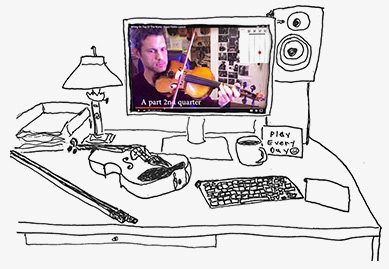
Set an achievable time goal for each day. If you’re finding it hard to get going, then commit to just two minutes a day of practice. Set up the perfect practice space and do it at the same time each day. Learn more here: The Practice Challenge of Fiddling.
2. Break Songs Into Small Chunks
Don’t bite off more than you can chew—break larger pieces into bite-sized sections that you can improve in a single 30-minute session. If you take small steps you’ll get small wins which motivate you to keep going.
3. Play Slowly
This isn’t a race! There’s a natural tendency to speed up. When that happens your hands and brain become anxious. Take it slow and steady, and you’ll see steady improvement.
I suggest you practice skills and songs ridiculously slow. Give your hands the time they need to get to where they are going. Plus, playing “ridicu-slow” is the jedi-knight secret to playing fast. Learn more here: Slow Down To Speed Up.
4. Deliberate Practice
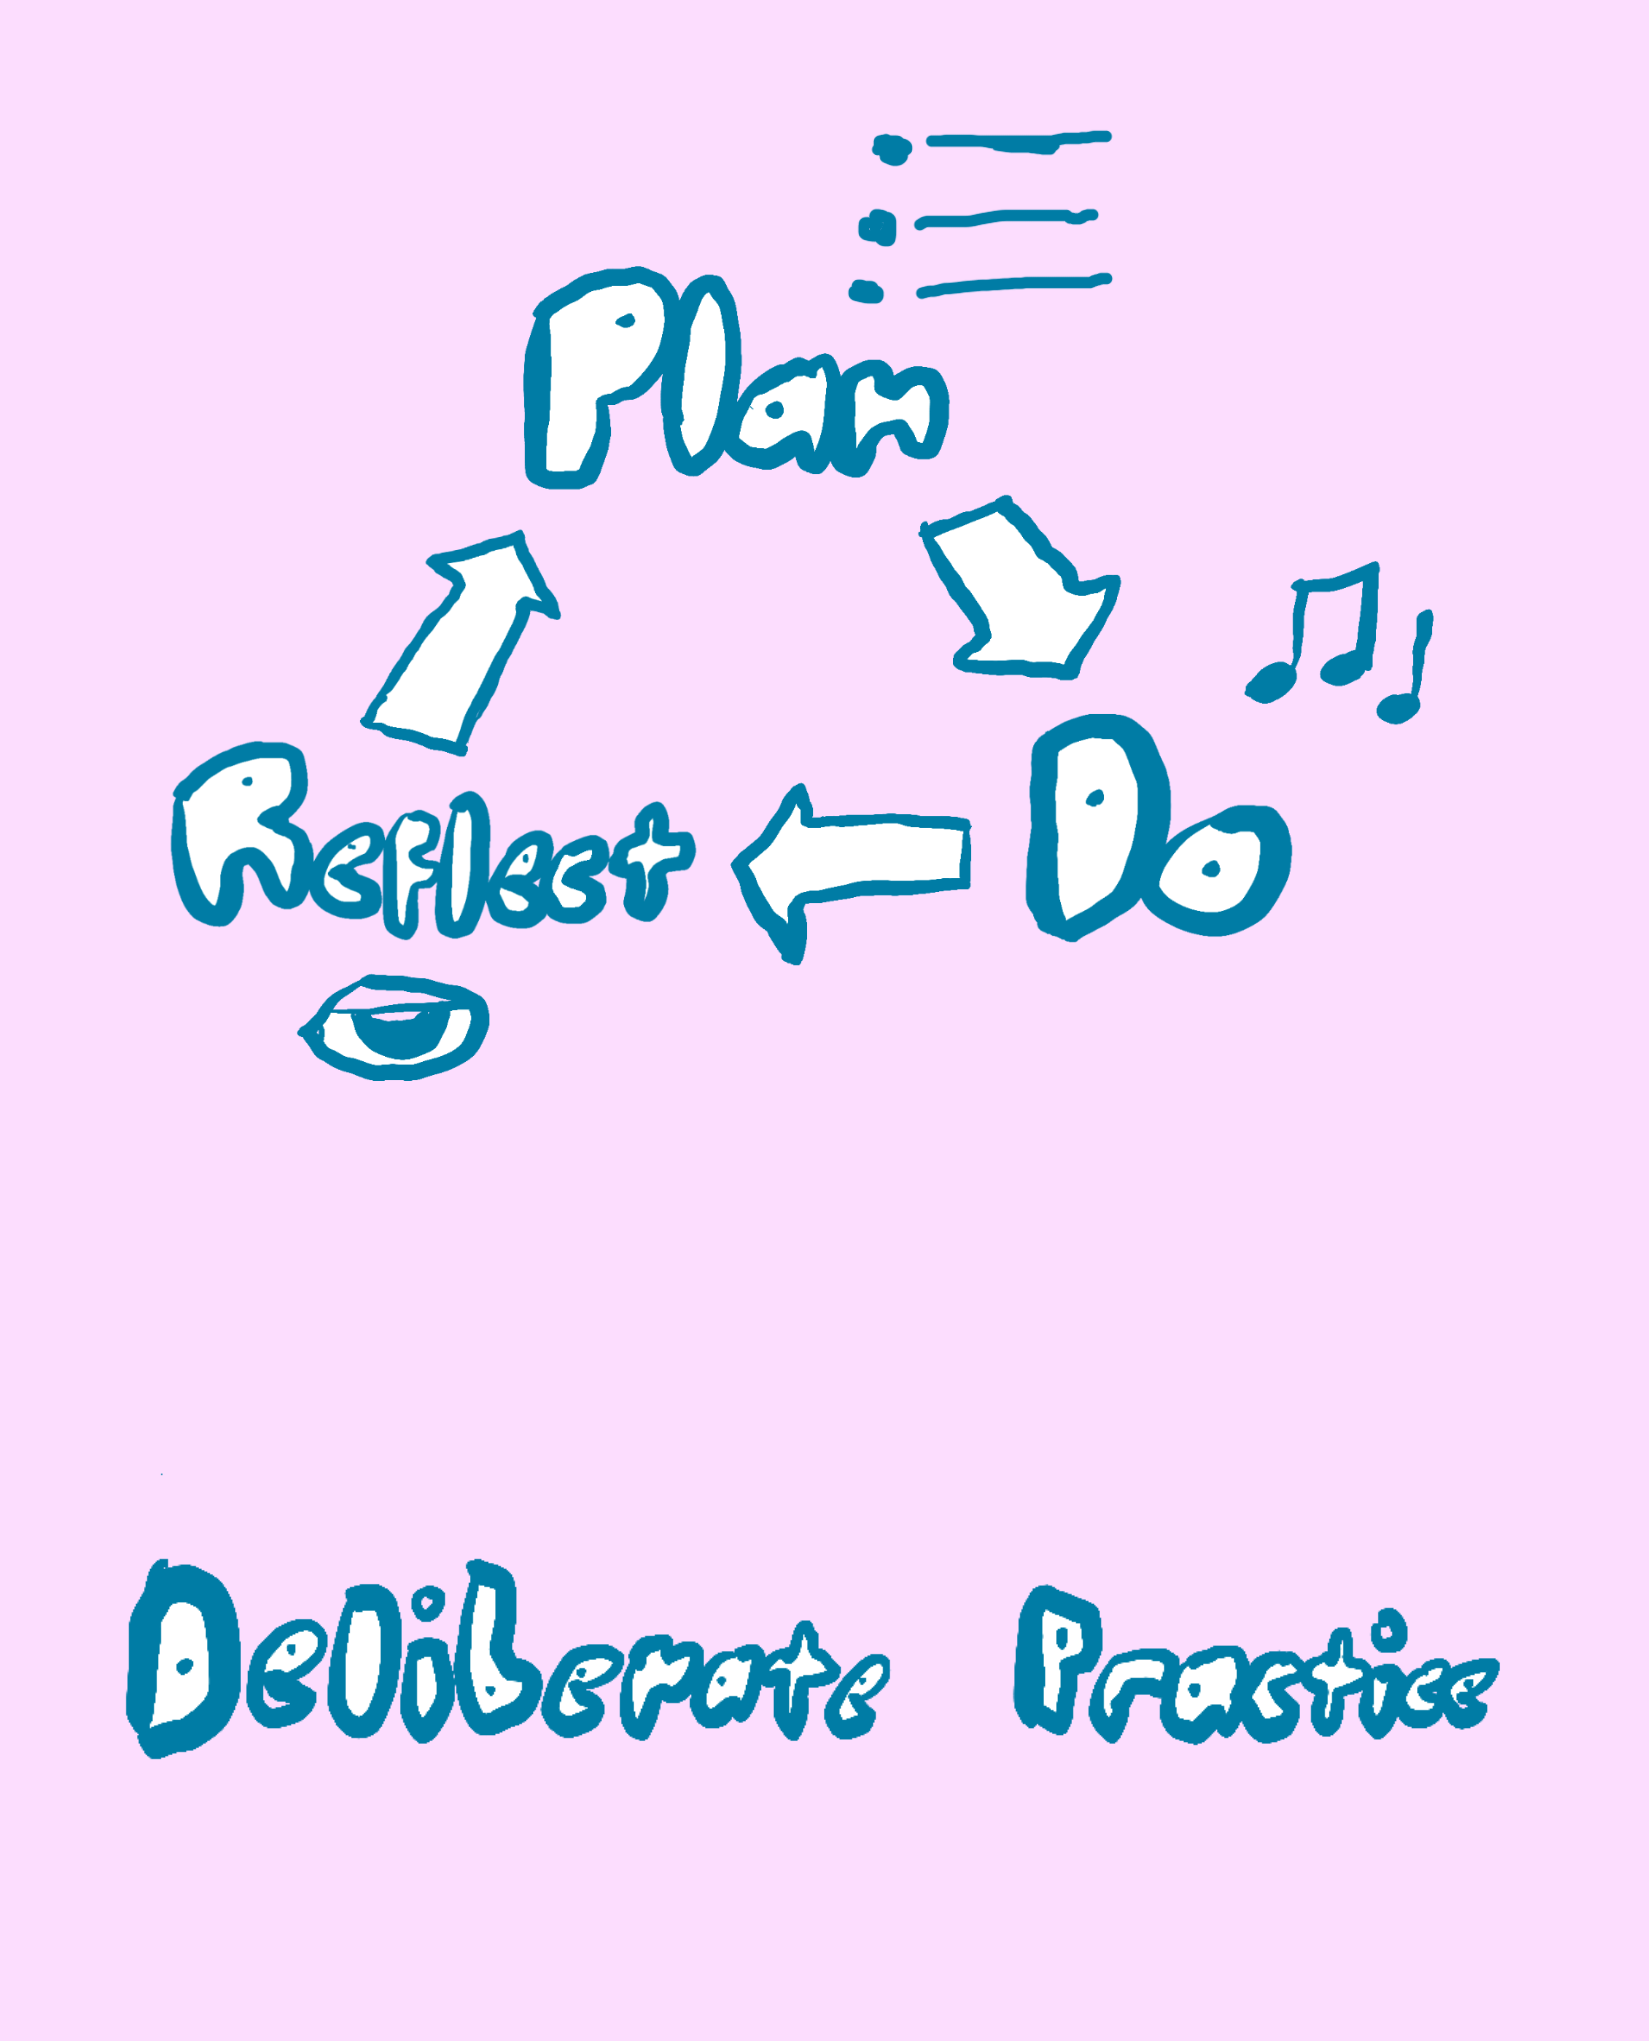
Don’t just play a tune once and move onto another one. Pick one to improve and focus on what needs work.
It’s like baking a cake—plan your ingredients (what you’ll practice), bake the cake (do the practice), and then taste it (reflect on how it went).
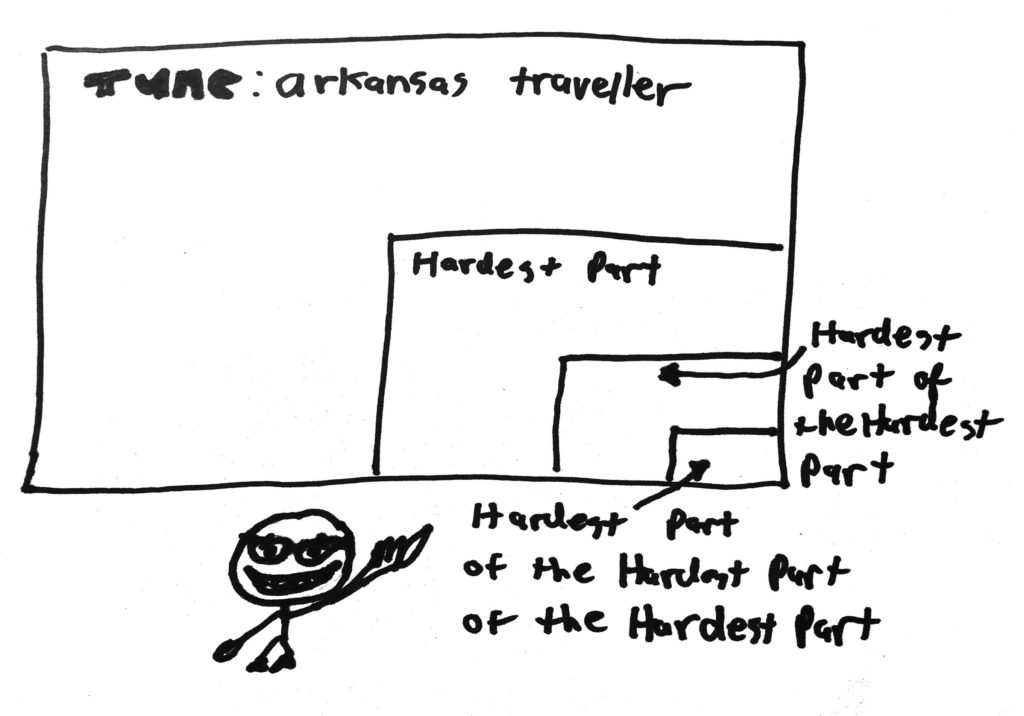
Find the hardest part of the hardest part and practice that until it’s better.
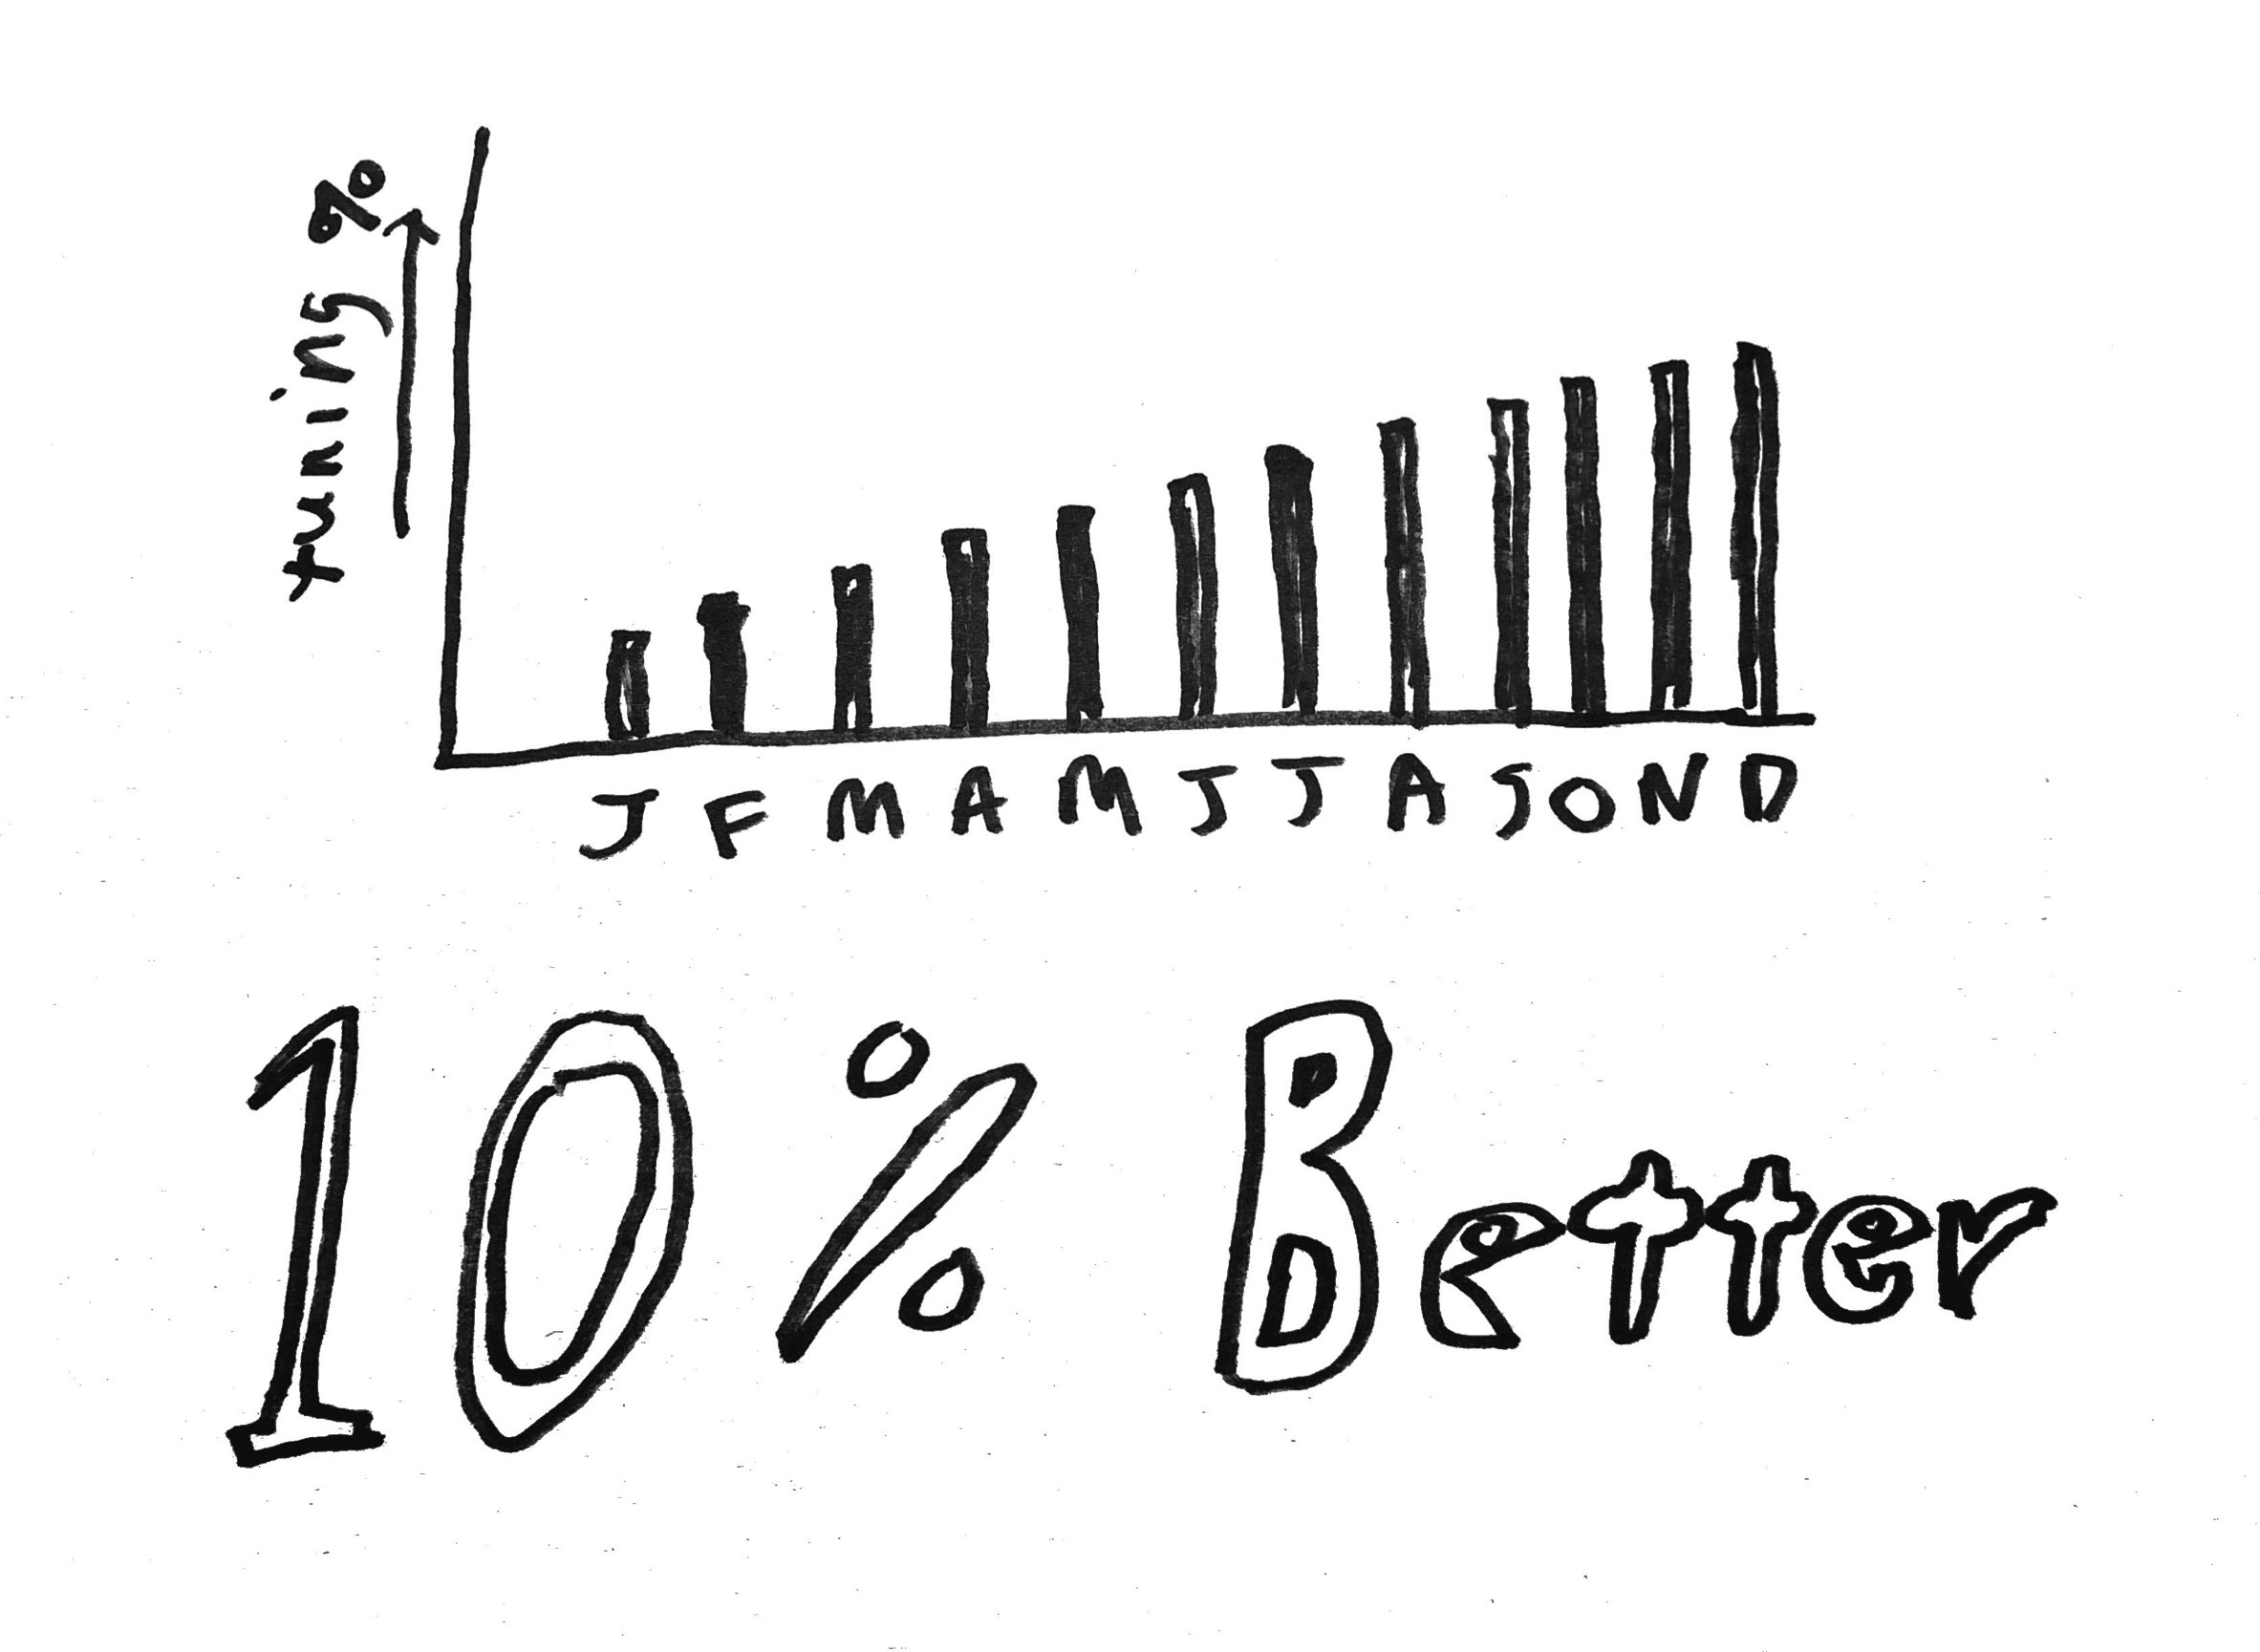
If you can improve your skills by just 10% every session, then through the miracle of compounding, you’ll make steady, measurable practice over time.
Learn more here: Fiddling With Deliberate Practice
5. Adopt A Growth Mindset
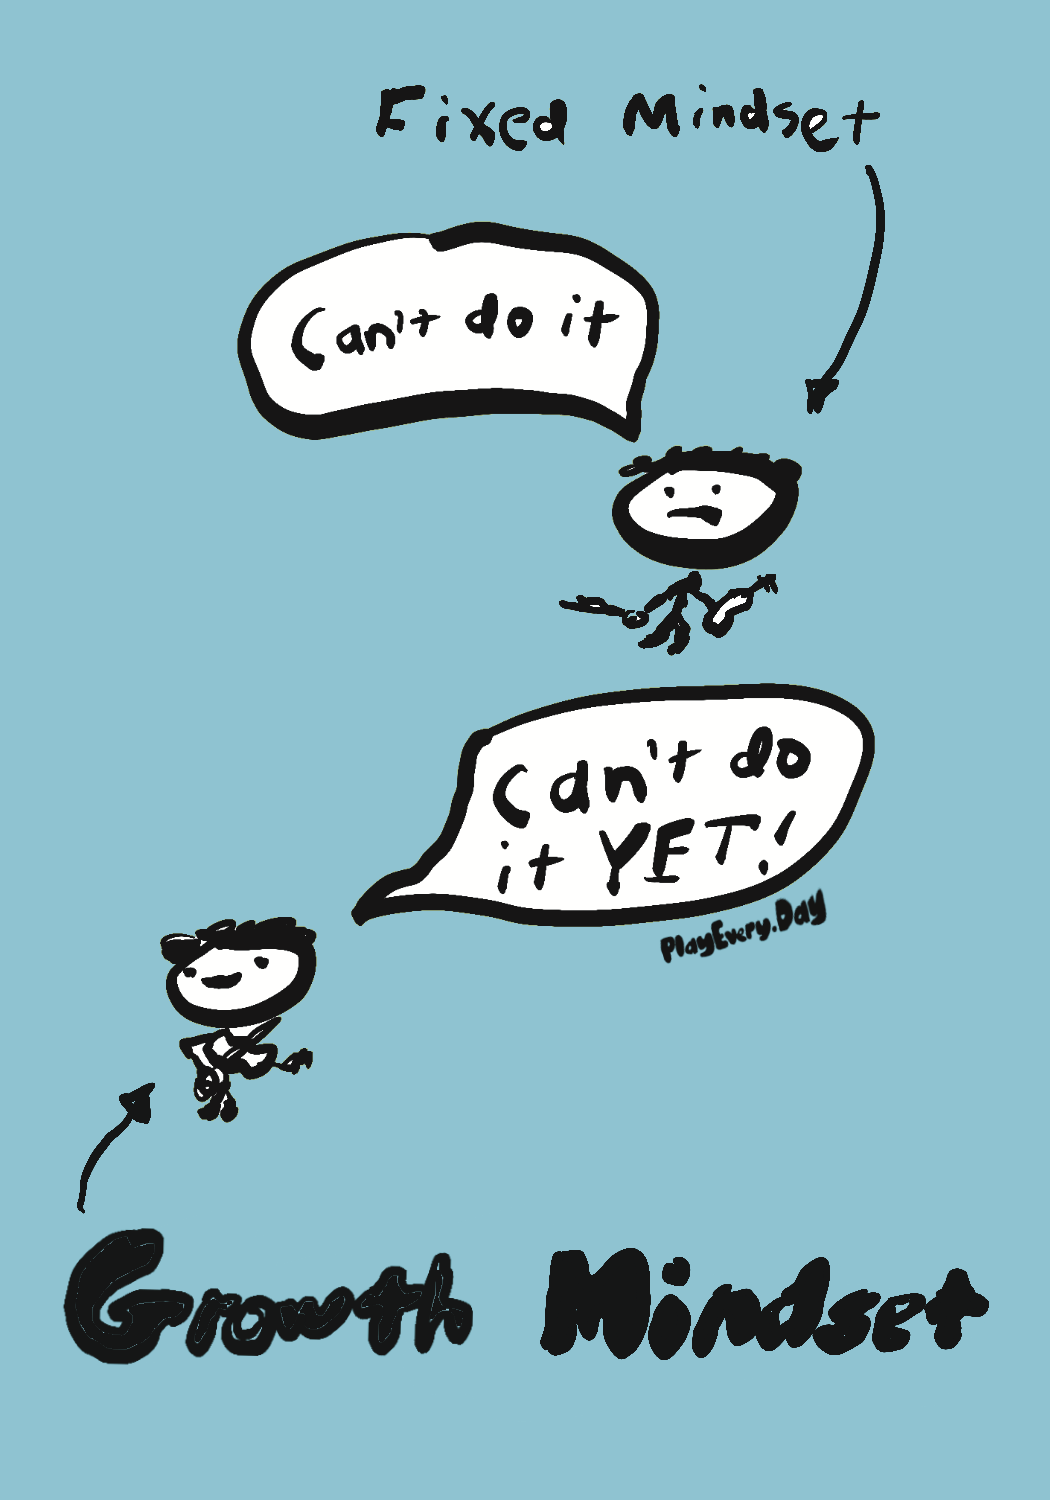
Instead of saying “I can’t do it”,say “I can’t do it yet”.
A Growth Mindset means you believe you are able to learn and grow. A Fixed Mindset means you believe you can’t change, that you’ll always be exactly the same as you are right now.
Start to think of challenges as a fun opportunity. They’re the next level in the video game. Learn more here: Fiddling With A Growth Mindset.
6. Be Kind To Yourself
Don’t let your inner critic get the best of you. Ask it to step aside while you’re playing, then invite it back when you’re ready to evaluate your performance.
You’ll be dealing with doubt, frustration and discouragement throughout your career as a violinist. Understanding this can take the edge off the difficult emotions that arise when learning an instrument.
I call these the secrets because these aren’t the things most folks try to learn. Most people want to jump into vibrato or playing at lightning speed. But the truth is, the real keys to success are things you can start doing right now. Isn’t that uplifting?
By the way, you can read a full article on this: Six Secrets To Violin Success.
Two ways I can help you on your violin journey 🎻
- Sign up for the Free Two-week Trial. You’ll get full access to all courses and group lessons. Plus, I’ll send you some free lessons tailored to your current skill level.
- Sign up for the FiddleHed newsletter below, then get high-value tips and lessons delivered to your inbox.
Now that we’ve framed our mindset, let’s get you hooked up with an instrument. If you already have a violin, then congrats! Feel free to jump straight into the ‘how to play the violin’ tutorials further in this guide and start playing.
Choosing the Right Beginner’s Violin: Your Essential Guide
Before you start playing violin, there’s one super minor detail that can’t be overlooked: You need a violin! 😂
As a beginner violinist, selecting a quality instrument is as critical as your commitment to practice. Struggling with a cheap violin is like running a marathon in flip-flops – it not only makes your musical journey difficult but also discourages you from moving forward.
On the other hand, too many people obsess over which violin to buy. They miss a big point: you have to play the thing. If you have a $10,000 violin but barely pick it up, then it may as well be a $79 violin.
Let’s sum up: Get a violin you can afford, but don’t take the super-cheap route.

You can buy a violin from your local music shop or from quality online music stores like FiddlerShop.
Just to be transparent, all the links in this guide are affiliate links (so you support my work if you buy something after clicking them).
For violin beginners, the most hassle-free choice is a beginner’s violin outfit.
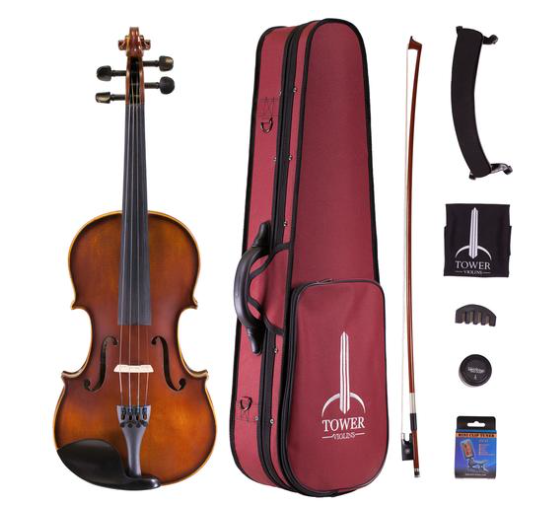
These kits typically come with everything a violin player needs – a violin, bow, case, rosin, and strings.
To Buy or Rent a Violin: A Beginner’s Dilemma
Still undecided about buying or renting? Let’s weigh the pros and cons.

Renting a violin becomes a smart choice when:
1. You’re undecided about your commitment to the violin. Renting allows you to explore without investing heavily in a potentially short-lived interest.
2. You’re seeking a string instrument for a rapidly growing child. As they size up, so will the violin, leading to recurring expenses.
3. You’d prefer gaining some expertise before committing to a particular instrument.
On the flip side, buying a violin has its merits:
1. You’re determined to master the violin. In the long run, buying can be more economical than continual rental payments. A good-quality beginner’s violin could be yours for approximately the same cost as a year’s rental fees – about $300.
2. You view it as a worthwhile investment. Fine violins retain their value, and most violin shops offer trade-ins when upgrading, helping you financially when stepping up your game.
3. You’d rather avoid rental liabilities. Accidental damage to a rented violin can be expensive! 😱 Plus, rented violins may come with pre-existing wear and tear.
How Much Does a Good Beginner’s Violin Cost?
For a complete violin outfit (bow, rosin, case, strings, and other accessories included), I recommend a starting budget of at least $300. If your finances allow, consider extending this to $600.

The result of owning a decent violin? You’ll naturally want to practice more. And you’ll enjoy it more. Which means you won’t waste money buying other meaningless stuff (that doesn’t bring as much satisfaction as playing violin). So a decent violin is not only an investment in your personal growth, but can wind up saving you money. Sounds like a win-win, right? 😍
Selecting the Right Size Violin for Beginners
While most adults opt for full-size violins, some may prefer a smaller one. To check, position the violin at your chin and extend your left arm. If the scroll extends beyond your wrist, consider a size down.
Helpful Violin Accessories
Here are some accessories which help you to learn and practice. Don’t be overwhelmed by this list! None of these things are absolutely necessary. Each tool helps to solve a particular problem that students face. So if you don’t get one of these accessories right away, you may further down the line.
A Shoulder Rest Helps You Hold The Instrument
I recommend that beginners use a shoulder rest. It makes a lot easier to hold the violin, reduces strain, and promotes better play. Plus, it makes your practice sessions enjoyable, because the body is relaxed. I recommend the Bonnmusica Shoulder Rest and use it myself.
A Practice Mute Allows You To Practice Quietly
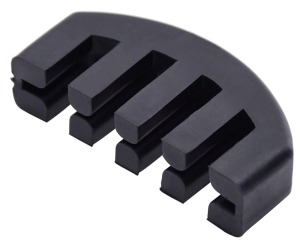
A practice mute is helpful if you want to play without disturbing your roommates or family. A lot of beginning fiddlers are self-conscious about their sound (even if no one else cares). A mute can ease this anxiety.
I recommend that you don’t use it all the time because it will become a crutch. Your tone won’t develop properly.
The Bow Buddy Helps The Right Hand
The Bow Buddy helps with the right-hand position on the bow. This may be especially helpful if you’re learning on your own (and don’t have the benefit of feedback from a teacher).
It may also be a good tool if you are recovering or dealing with a physical obstacle like carpal tunnel surgery or arthritis.
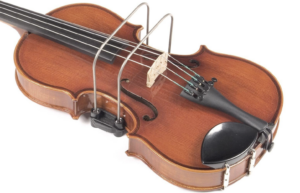
The Bow Right Helps You Bow Straight
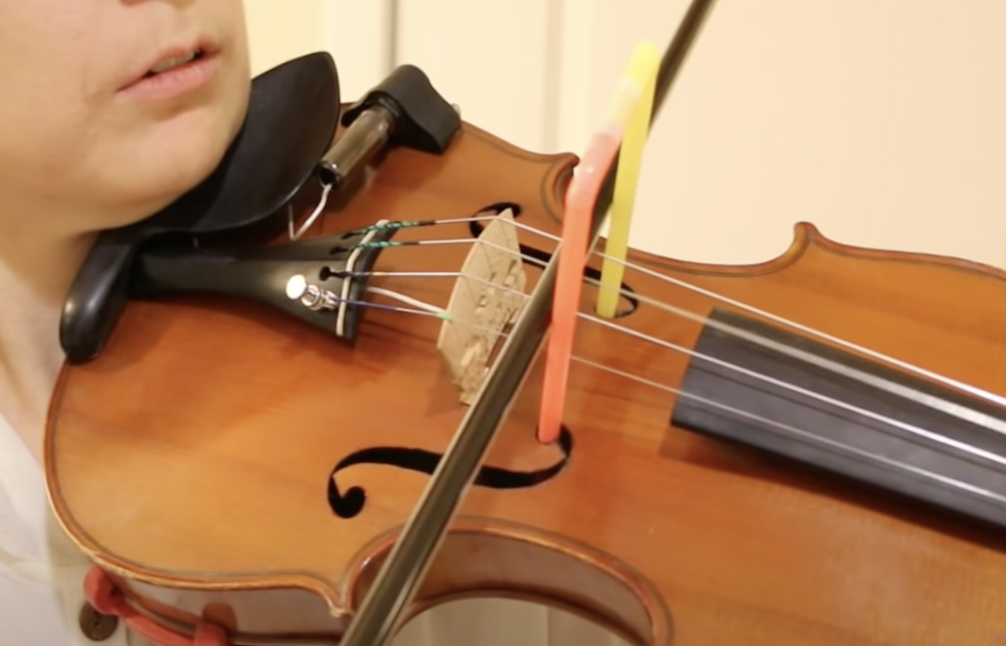
As you’ll soon learn, you want the bow to run parallel to the bridge (perpendicular to the strings). An easy way to get this is to play in front of the mirror and make adjustments.
But if you find you’re struggling with this, then consider getting the Bow Right or similar accessory. Think of this as training wheels for playing violin.
A cheaper option is to use straws as a guide.
Use A Violin Tuner To Correct The Pitch Of Each String
Playing in tune is essential for any instrument. I’ll talk more about how to actually tune the violin in the next section of this guide.
You can use a clip-on tuner like the Snark.
Or a phone app like Cleartune (this is what I use).
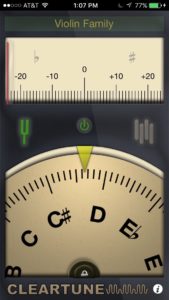
Or the free Google Tuner.
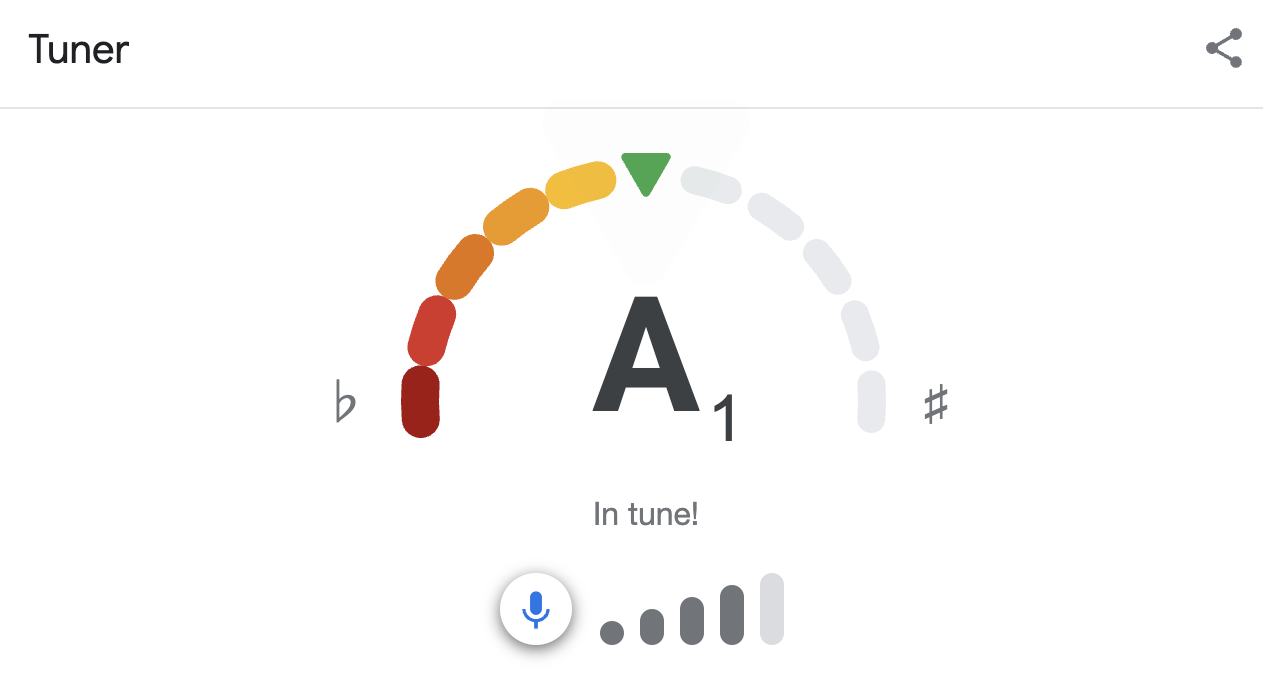
As a beginner violinist, you can also use a tuner to find the correct left-hand finger position. More on this when you learn left-hand fingering later in the guide.
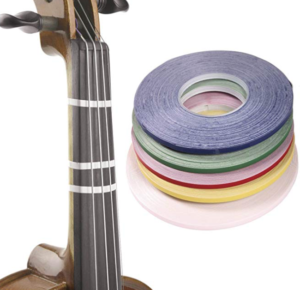
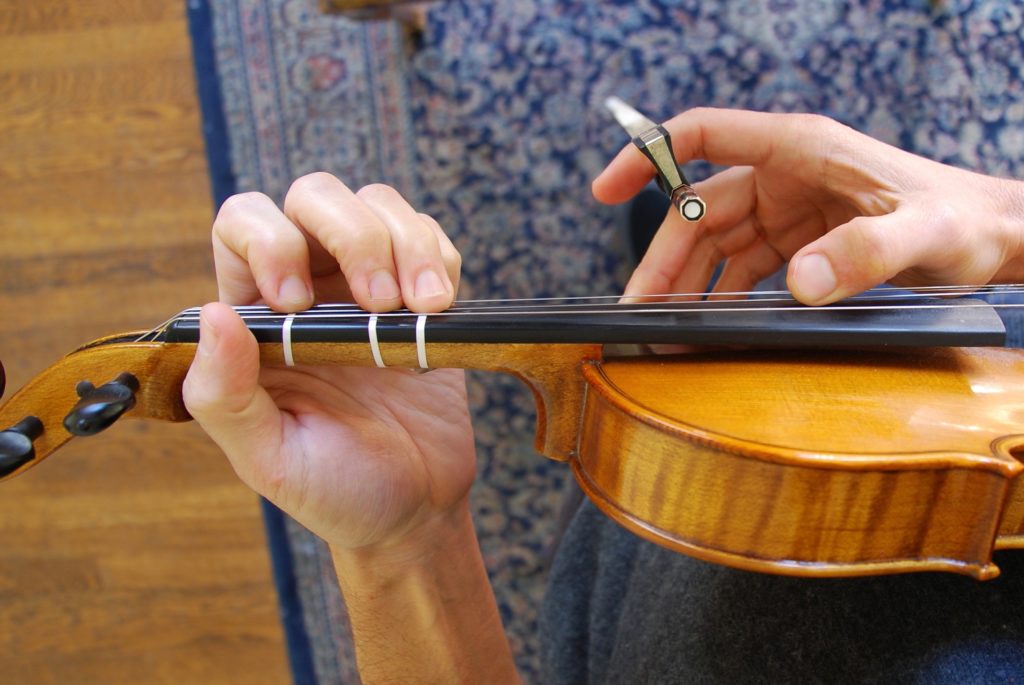
Finger Tape Helps You Play In Tune
If you’re learning on your own, you might find it challenging to play the left-hand fingers in tune.
As you’ll soon learn, Drone-tuning™ is the best way to learn and practice this FUNdamental skill. But you might still need some extra help. You can use the old-school solution of placing violin finger tape.
Finger tape on the violin neck is like training wheels on a bike. 🚲
It’s important to understand that the tape doesn’t mean you’ll automatically play perfectly in tune. Even if the tape is perfectly placed, you still have to use your ear. Just leaning your finger can push the note out of tune.
The tape gets you in the ballpark, but you still have to find your seat. ⚾️
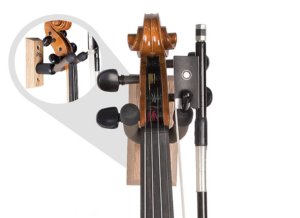
Use A Violin Stand To Play Every Day
As I mentioned earlier, consistent daily practice is the most important challenge to overcome. Remove resistance to practicing by keeping your violin accessible. If you store your violin on a stand, then you’re more likely to pick it up and play.
You can buy either a String Swing:
Or a floor stand:
If you’re looking to buy stuff (or make a wish list) then go here: Recommended Fiddle Gear.
OK! Now that you have an idea about how to get a violin, let’s figure out how to set the thing up. Then we’ll be ready to start making sounds and melodies.
Getting Your Violin Ready to Play
Setting Up Your Bow: The Key to Great Sound
How Tight Should The Bow Hair Be?
Finding the right tension for your violin bow hair is like searching for that perfect cup of coffee – not too strong, not too weak. Turn the screw at the bottom of your bow (called “the frog” for some strange reason 🐸 ) clockwise until it’s tight but not overly so.
In a nutshell 🥜
- The bow is too tight if it looks like an archery bow 🏹
- Too loose if the bow hair touches the would when you play
- Fiddlers keep it a little looser than classical players
How Much Rosin Do I Need To Use On The Bow?
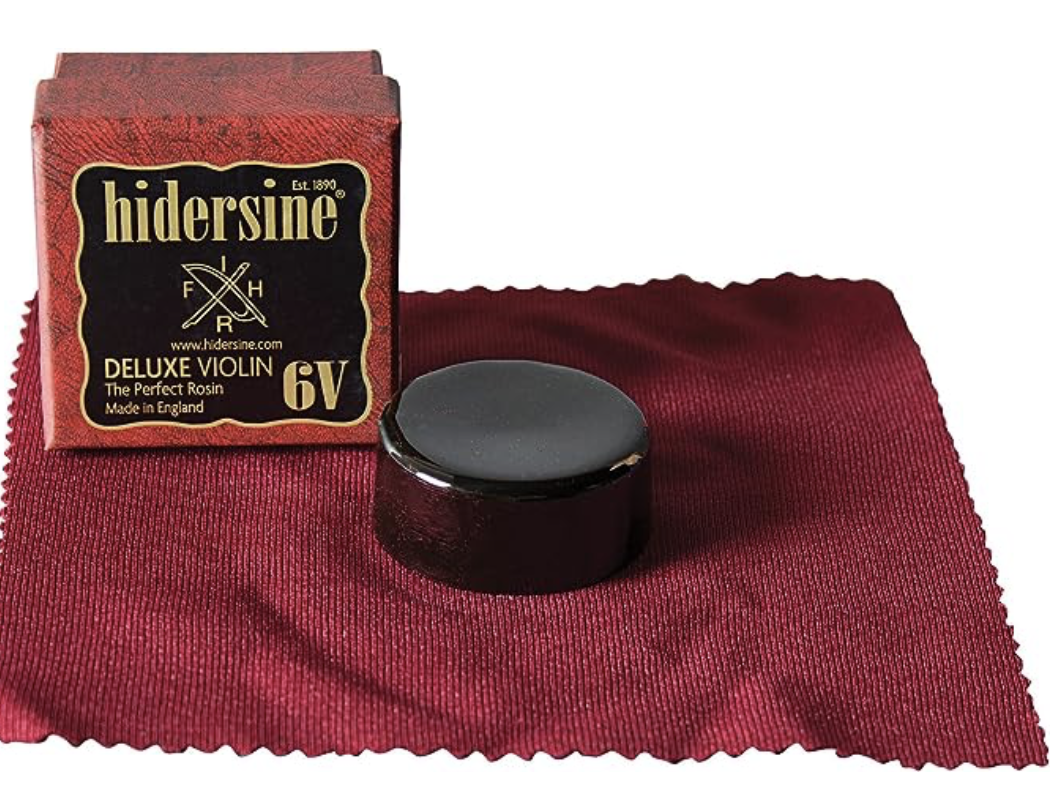
Think of rosin as the secret sauce that facilitates friction between the bow hair and the violin strings. This allows your bow to grip the strings, resulting in resonant, controlled sound production.
How much rosin should I put on? How often?
If you use too little rosin, your bow will skate across the strings without producing sound. If you use too much, expect a mini rosin dust storm every time you play.
The more you play, the more frequently you’ll need to apply rosin. If I’m practicing a lot (two hours), I’ll apply it every day. Otherwise I’ll add it every two or three days.
How To Choose the Right Rosin?
The choice of rosin can depend on various factors, including the type of your violin, your bow, your playing style, and the climate you’re in.
Old-time fiddlers often prefer rosin that helps produce a bright, clear, and loud tone to stand out in jam sessions or outdoor performances. Therefore, they might lean towards light or amber rosins, which are harder and offer a more focused, punchy sound.
Classical violinists, on the other hand, often seek a rosin that allows a wide range of dynamics and nuances, enabling them to express the subtle tonal variations demanded in classical music. Dark rosin, which is softer and stickier, tends to provide a richer, warmer, and more complex tone, often preferred by classical musicians.
I currently use Hindersine.
Tuning Your Violin: Hitting the Right Note
Why Is Violin Tuning Necessary?
If your violin is out of tune, then it’s almost impossible to make it sound good. Tuning your violin involves adjusting each string until it aligns with a standard pitch. Then voilá, you’re ready to create music!
Leverage The Experience Of Seasoned Violinists
New to tuning? Here’s a tip: Find an experienced violinist and request them to demonstrate. Watch, question, and then attempt to tune under their guidance.
Go Digital: Electronic Tuners
Get a clip-on tuner like the Snark, or use an app tuner like Cleartune (there are also free alternatives available for all smartphones). This is the best way to tune the violin for beginners.
If the D string is too loose we say it’s “flat” (the flat symbol is “b”). So we tighten it until the arrow is directly on the D note:

If the string is too tight we say it’s “sharp” (the sharp symbol is “#”). In this case, we loosen it:

Here it’s juuuuust right:

Do this for on the other three strings.
The electronic tuner will come in handy later in this guide. When you learn to use the left-hand fingers, it will help you find the correct position on the neck.
Should I Use The Tuning Pegs or Fine Tuners?
Think of the tuning pegs as your go-to for significant tuning changes – when the string is waaaay out of tune.

Typically, this happens during string replacements, as new strings tend to stretch a lot.
On the other hand, fine tuners are your daily companions for small tuning adjustments, keeping your violin pitch-perfect.

Tuning makes me anxious!
You’re not alone if you feel anxious when turning the violin. After 40+ years of playing, I still feel a bit tense when I put on a new string.
There’s a lot of tension in the strings. Often this tension is felt by people in the body. But this is a necessary process. So I recommend taking a few deep breaths before you start. Then make it a practice continue breathing deeply as you do this. See it as a kind of meditation.
Let the Music Begin: A Step-by-Step Guide to Playing the Violin
Now that you have a violin and have set it up, let’s move on to the fun part: learning to play it and making music.
By understanding the essentials and building on them, you’ll not only learn how to play the violin but will cultivate a lifelong love for this beautiful instrument.
How to Hold a Violin
If you learn the correct way to hold the violin, then you’ll sound better. And a good sound means you’ll enjoy the process and be more motivated to continue.
Plus, with a solid hold, you’ll be less likely to injure yourself. Don’t forget to be kind to your body!
I’ll the video lesson above, I’ll show you four useful ways to hold the violin:
- Guitar Hold
- Beginner Hold
- Classical Hold
- Old-time Fiddle Hold
Though the Classical hold is the most common (and the most versatile) the other holds have their uses.
Hold The Violin In Guitar Position
Hold the violin like a guitar and experiment with plucking the strings using your right thumb.
This position, though primarily used for learning and practice, can be a great tool to decode tricky rhythms, fingerings, and melodies. Once you’ve mastered a melody in guitar position, you can transition to the more challenging classical hold.
Another advantage of Guitar Position is that it’s a great way to practice violin chords. I’ll talk about playing chord back-up later in the guide.
Embracing the Beginner’s Violin Hold
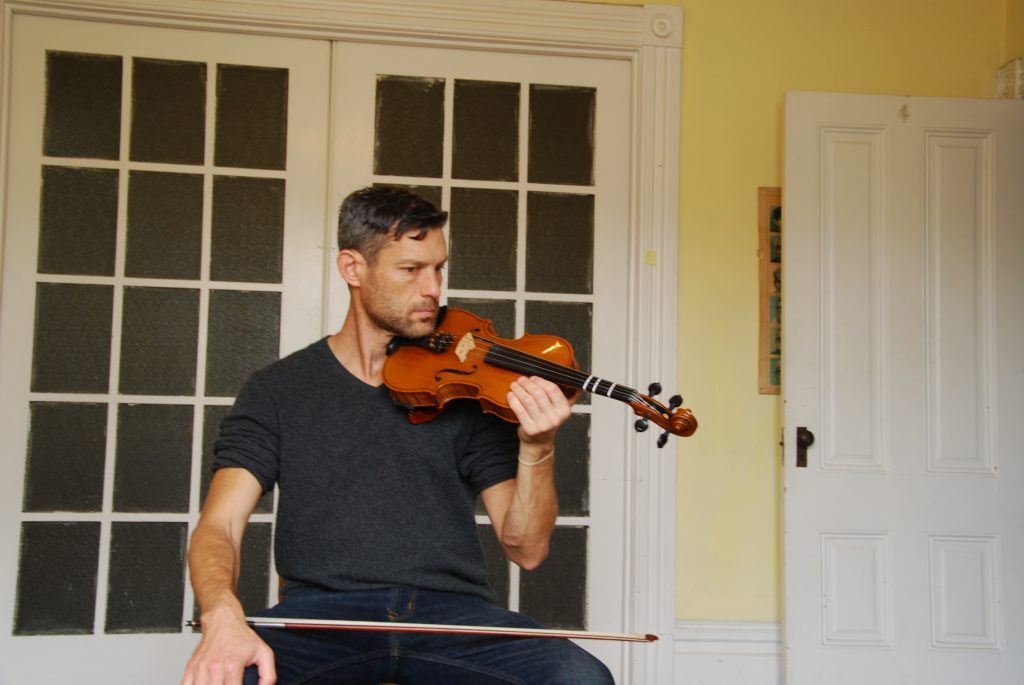
Now let’s learn the beginner hold.
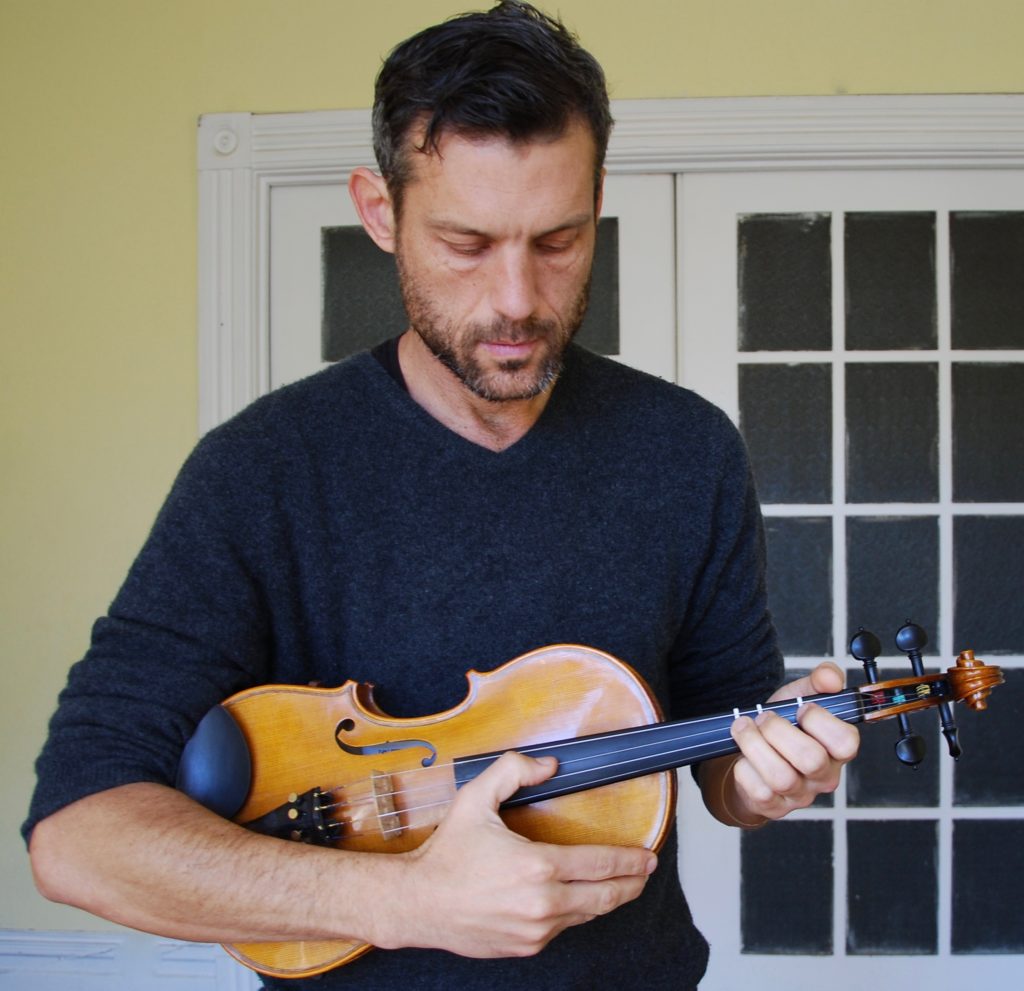
Position your violin between your chin and left shoulder, resting your left hand on the body instead of the fingerboard. Place your chin on the chin rest and use it to clamp down on the violin. You may need to experiment with different chin rests. For example, you can get a center mount chin rest:

It’s important for the body to be comfortable. Playing violin is not about suffering through physical pain!
This simplified hold allows you to focus on the right-hand movements of plucking and bowing. Even as an advanced player, the beginner’s hold can be a useful tool to refine your bowing and rhythm skills.
Mastering the Classical Violin Hold
For a more versatile violin playing experience covering all genres, from classical to jazz, the classical hold is your go-to posture. Much like the beginner’s hold, you hold the violin by clamping your chin down on the chin rest.
The difference lies in the left-hand placement, which is at the neck’s end, just below the scroll. Spend time just getting comfortable with this posture before attempting to play notes. Regularly practicing this hold even after you’ve started playing songs will significantly improve your skills.
Remember that a shoulder rest makes it easier to hold the violin without relying on the left hand to hold it.
Experimenting with the Old-Time Fiddle Hold

For this hold, simply let the violin rest against your shoulder.
This method offers more comfort and ease while singing and playing simultaneously. However, it limits you to playing in the first position. It makes it harder to shift your left-hand up the neck to play notes and higher positions.
If you see yourself playing a variety of music styles, the classical hold is recommended. It offers more versatility, allowing you to play old-time and other fiddle music effortlessly. But if you know you just want to play Old-time and Appalachian music, then the Old-Time Hold may be right for you.
The old-time hold is also useful if you have an injury to the neck, shoulder or back which makes it hard to use the classical hold.
How To Put On A Shoulder Rest
Even if you don’t have an injury, holding the violin can strain the neck and back. For that reason, a lot of violinists (including me) use a shoulder rest.

This fits on the back of the violin near the bottom. Most people place it close the bottom. I like to place it closer to the middle.
Not only does it feel more relaxed, but the violin makes contact with the collar bone. Because of that, you can actually feel the vibration of the instrument directly in your body.
If you have a secure hold, see if you can hold the violin without using your right hand. Eventually, you can learn to make a sandwich while holding the fiddle:
Now that you know how to hold the violin, you’re finally ready to make some sounds!
Plucking The Violin Strings
Plucking (aka “pizzicato”) is when we use the right pointer finger to make a sound. It’s a great way to start making music, learning note names and practicing rhythms.
Plucking is not just for beginners. Throughout your career as a violinist, you can use plucking to work out tricky parts of tunes and left-hand techniques. Plus it’s a cool sound texture that’s often used in classical and other styles.
Start by placing your right thumb on the side of the fingerboard. Place your index finger on the strings over the end of the fingerboard.
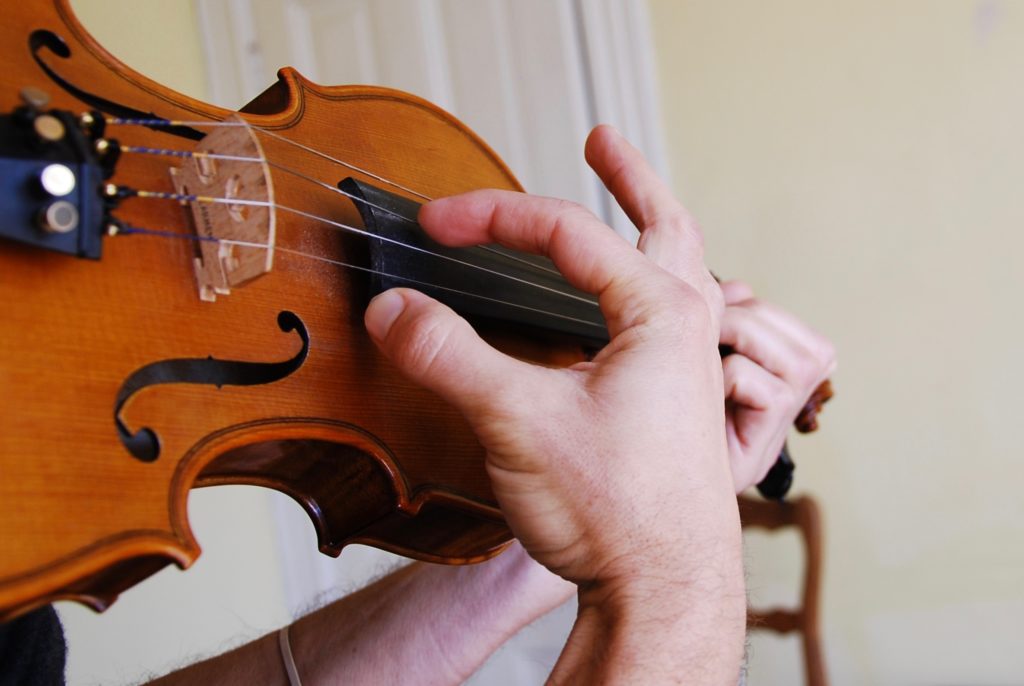
Hold your fiddle and pluck each string. Take a moment to just play around with plucking on your own. Don’t worry about what you should be doing. For now simply have fun playing and enjoying the sound.
Understanding Violin String Names
Let’s learn the string names. This will help you learn the basics. It also allows you to communicate with other musicians (you’ll be at that point sooner than you think if you play every day 📈).
The string all the way to the left is G. Say it and play it.
Moving from left to right, the strings are G-D-A-E. Practice this by naming each note aloud before playing it. This “say it, play it” exercise will accelerate your learning of note names.
Rhythm Training Through Plucking
Using plucking to master simple rhythms can prove highly effective. Once you get the hang of plucking rhythms, transitioning them to the bow becomes a breeze.
Try playing a simple rhythm called “Tucka” which is Short-Short-Short-Short-Long-Long. Let’s practice Tucka by alternating between two strings:
G to D with Tucka

G0-0-0-0-0-0 | D0-0-0-0-0-0
“G0” means play the open G string without left-hand fingers. “D0” means play the open D string. I’ll talk more about “tabs” when we get to the section on left-hand fingering.
And if you’re interested in learning how to read sheet music, also I touch on that later in the guide.
Repeating this pattern in a continuous loop helps internalize the rhythm.
You can practice this with other rhythms like hoe-down, triplets and short-long-short. I teach these with similar play-along tracks in my Beginner Violin Course.OK, now let’s play some music!
Play Your First Duet
I’m a firm believer that even absolute beginners can (and should) create simple music right from the start. An immediate success story can be a great motivator. To facilitate this, I’ve created a series of beginner-friendly duets.

Let’s start by playing a super-simple backup part for a fiddle tune called “Bile ’em Cabbage Down.”
Bile ’em Cabbage Down Duet
Note: this entire tune follows the tucka pattern: short-short-short-short-long-long.
First Quarter: D0-0-0-0-G0-0
Second Quarter: D0-0-0-0-A0-0
Third Quarter: D0-0-0-0-G0-0
Fourth Quarter: D0-0-A0-0-D0-0
Play this until it feels natural and flows. Try to enjoy not only the sound, but the feeling of getting it right. Don’t rush this step!
If you were able to do that, then pause to celebrate 🥳.
You just made real music with plucking.
A little later in this guide you’ll learn to play the melody part (once you learn to use the left-hand fingers).
Now let’s learn to make music with the bow…
Mastering The Violin Bow
Finding The Correct Bow Hold: Gentle Fist and the Bunny Hold
There are two effective techniques to master the correct bow hold: the “Gentle Fist” method and the “Bunny Hold”.
You can establish the correct right-hand position before even touching the bow. Start by making a gentle fist with the right hand.

And then open it up to form the shape that your hand will take when you hold the bow:

Open it up while keeping the fingers curved and relaxed. You can practice the basic bow motion before even holding the bow. Bend your wrist as you move it towards the left. Unbend it as you move it towards the right.
Sometimes it helps to try learning a skill in different ways. So an alternative to the “gentle fist” ✊🏼 approach is the “Bunny Technique” 🤘.
Shape your hand into a bunny by placing your thumb on top of the ring and middle fingernails. Let your index and pinky fingers hang loose as if they’re bunny ears. Then gently position the bow in the right hand with relaxed, curved fingers.
The Bunny Technique is also useful at rock shows when the guitarist takes a solo 🎸.
Next, with your left hand, introduce the bow to your right hand.

Place the tip of the thumb underneath the bow.

Remember to keep the fingers relaxed and gently curved. Practice finding this hold multiple times in a session.
Boost Your Performance Through Body Awareness
Enhance your performance by paying attention to your body.
Before making sound, breathe naturally as you hold the violin and bow, and be aware of any tension in your body. Try to release this tension and relax.
This practice of relaxing the body is rarely taught, but it will help you to learn and perform.
Practice “Air Bowing”
You can practice bowing without even making a sound. You’ve heard of air guitar, right? Well you can also practice “Air Bowing”.
Using the steps above, find the beginner hold. Move the bow up and down in space, and then right to left.
A big part of learning an instrument is perfecting the motions. In addition to enjoying the sound of music, you can enjoy the feeling of doing the motion in a relaxed manner.
Bowing On The Strings: Get that Sweet Sound
Start by placing the bow on the D string, halfway between the bridge and fingerboard. Move it back and forth, creating short strokes in the middle of the bow.
Bend your wrist as you move it to the left. This direction is called “Upbow”.
Unbend the wrist as you move the bow to the right. This is called CrrrraaazzzzyBowwwww (just kidding, it’s called “Downbow”).
Do this on all four strings. For now just have fun, exploring and playing around with sounds. Try to maintain that state of relaxation in your body that you started with.
Here’s a play-along track to help you practice:
Quarter notes on the D string
![]()
Play Simple Rhythms With Bowing
Now let’s return to the simple Tucka rhythm (Short-Short-Short-Short-Long-Long), but this time we’ll use the bow.
Tucka on D

On your own, play the Tucka pattern on the other strings.
Practice Changing Strings
Now let’s practice the basic technique of string changing. It helps to do a motion I call “Stop n’ Rock”. Draw the bow on one string, stop it, rock it to another string then repeat the process.
Stop n’ Rock D to A, single bows
Use this exercise to clean up the string crossing. The slight pause allows your arm to find the new bow angle. Gradually make the pause smaller until you are changing strings with ease.
Then practice alternating between strings with the same simple rhythms. Let’s try alternating from D to A strings with the “Tucka” bowing.
Tucka D to A
D0-0-0-0-0-0 | A0-0-0-0-0-0

As you become familiar with simple rhythms, they can be used to learn new things. This allows you to focus on the new skill (string crossing in this case). Later on in this guide you’ll practice left-hand fingering and s simple song with this same rhythm.
You can leverage familiar things to make learning new things easier.

Beginner Duet With Bowing
Now let’s do the same beginner duet using the bow instead of plucking.
Note: this entire tune follows the tucka pattern: short-short-short-short-long-long.
First Quarter: D0-0-0-0-G0-0
Second Quarter: D0-0-0-0-A0-0
Third Quarter: D0-0-0-0-G0-0
Fourth Quarter: D0-0-A0-0-D0-0
Craft A Beautiful Sound With The Bow
Let’s start with a great tone-building technique I call “Throwaway Bow.”
Starting downbow (to the right) move the bow across the strings, and then dramatically release your arm into the air. Imagine you’ve just played the final note of a concert, you end with a dramatic throw-away bow and, you know what comes next, “the crowd goes wild”.
Try it with this play-along track:
Throw-away bow on G
Enjoy the sound of the slowly decaying vibrations after the bow leaves the string.
Divide The Bow Into Thirds
Practicing bowing in different parts of the bow is another way to develop a quality tone. Divide the bow into thirds using tape.

Practice bowing in the middle third (it’s easiest there). Then bow in the upper and lower thirds. Use different practice variations for each section. How does it feel different? Practice everything you’ve learned in each third of the bow: rhythms, throw-away bow, volumes.
Play At Different Volume Levels

Playing with different volume levels will also help you find a nice sound.
Start with a medium volume, as if you’re talking to someone. Then try to play super quietly, as if you’re whispering. Then play super-loud, as if you’re at a baseball game and your team just won the last game of the World Series. After playing extreme volumes, return to a medium conversational volume.
You can do this in a single exercise that I call “Soft-Loud-Soft”.
Soft-loud-soft on D string
Start by playing short quiet strokes. Gradually increase the length and pressure until you’re playing loud “saw” strokes. When you hit the peak, gradually get quieter. Start over on the same string, and then try it on the other strings.
Getting a quality sound is something you can continuously improve. Each time you learn something new, try to play it with a simple good sound. If you enjoy that sound, you’ll be more likely to continue.
Bowing Success Tip #1: Practice A Lot On Open Strings
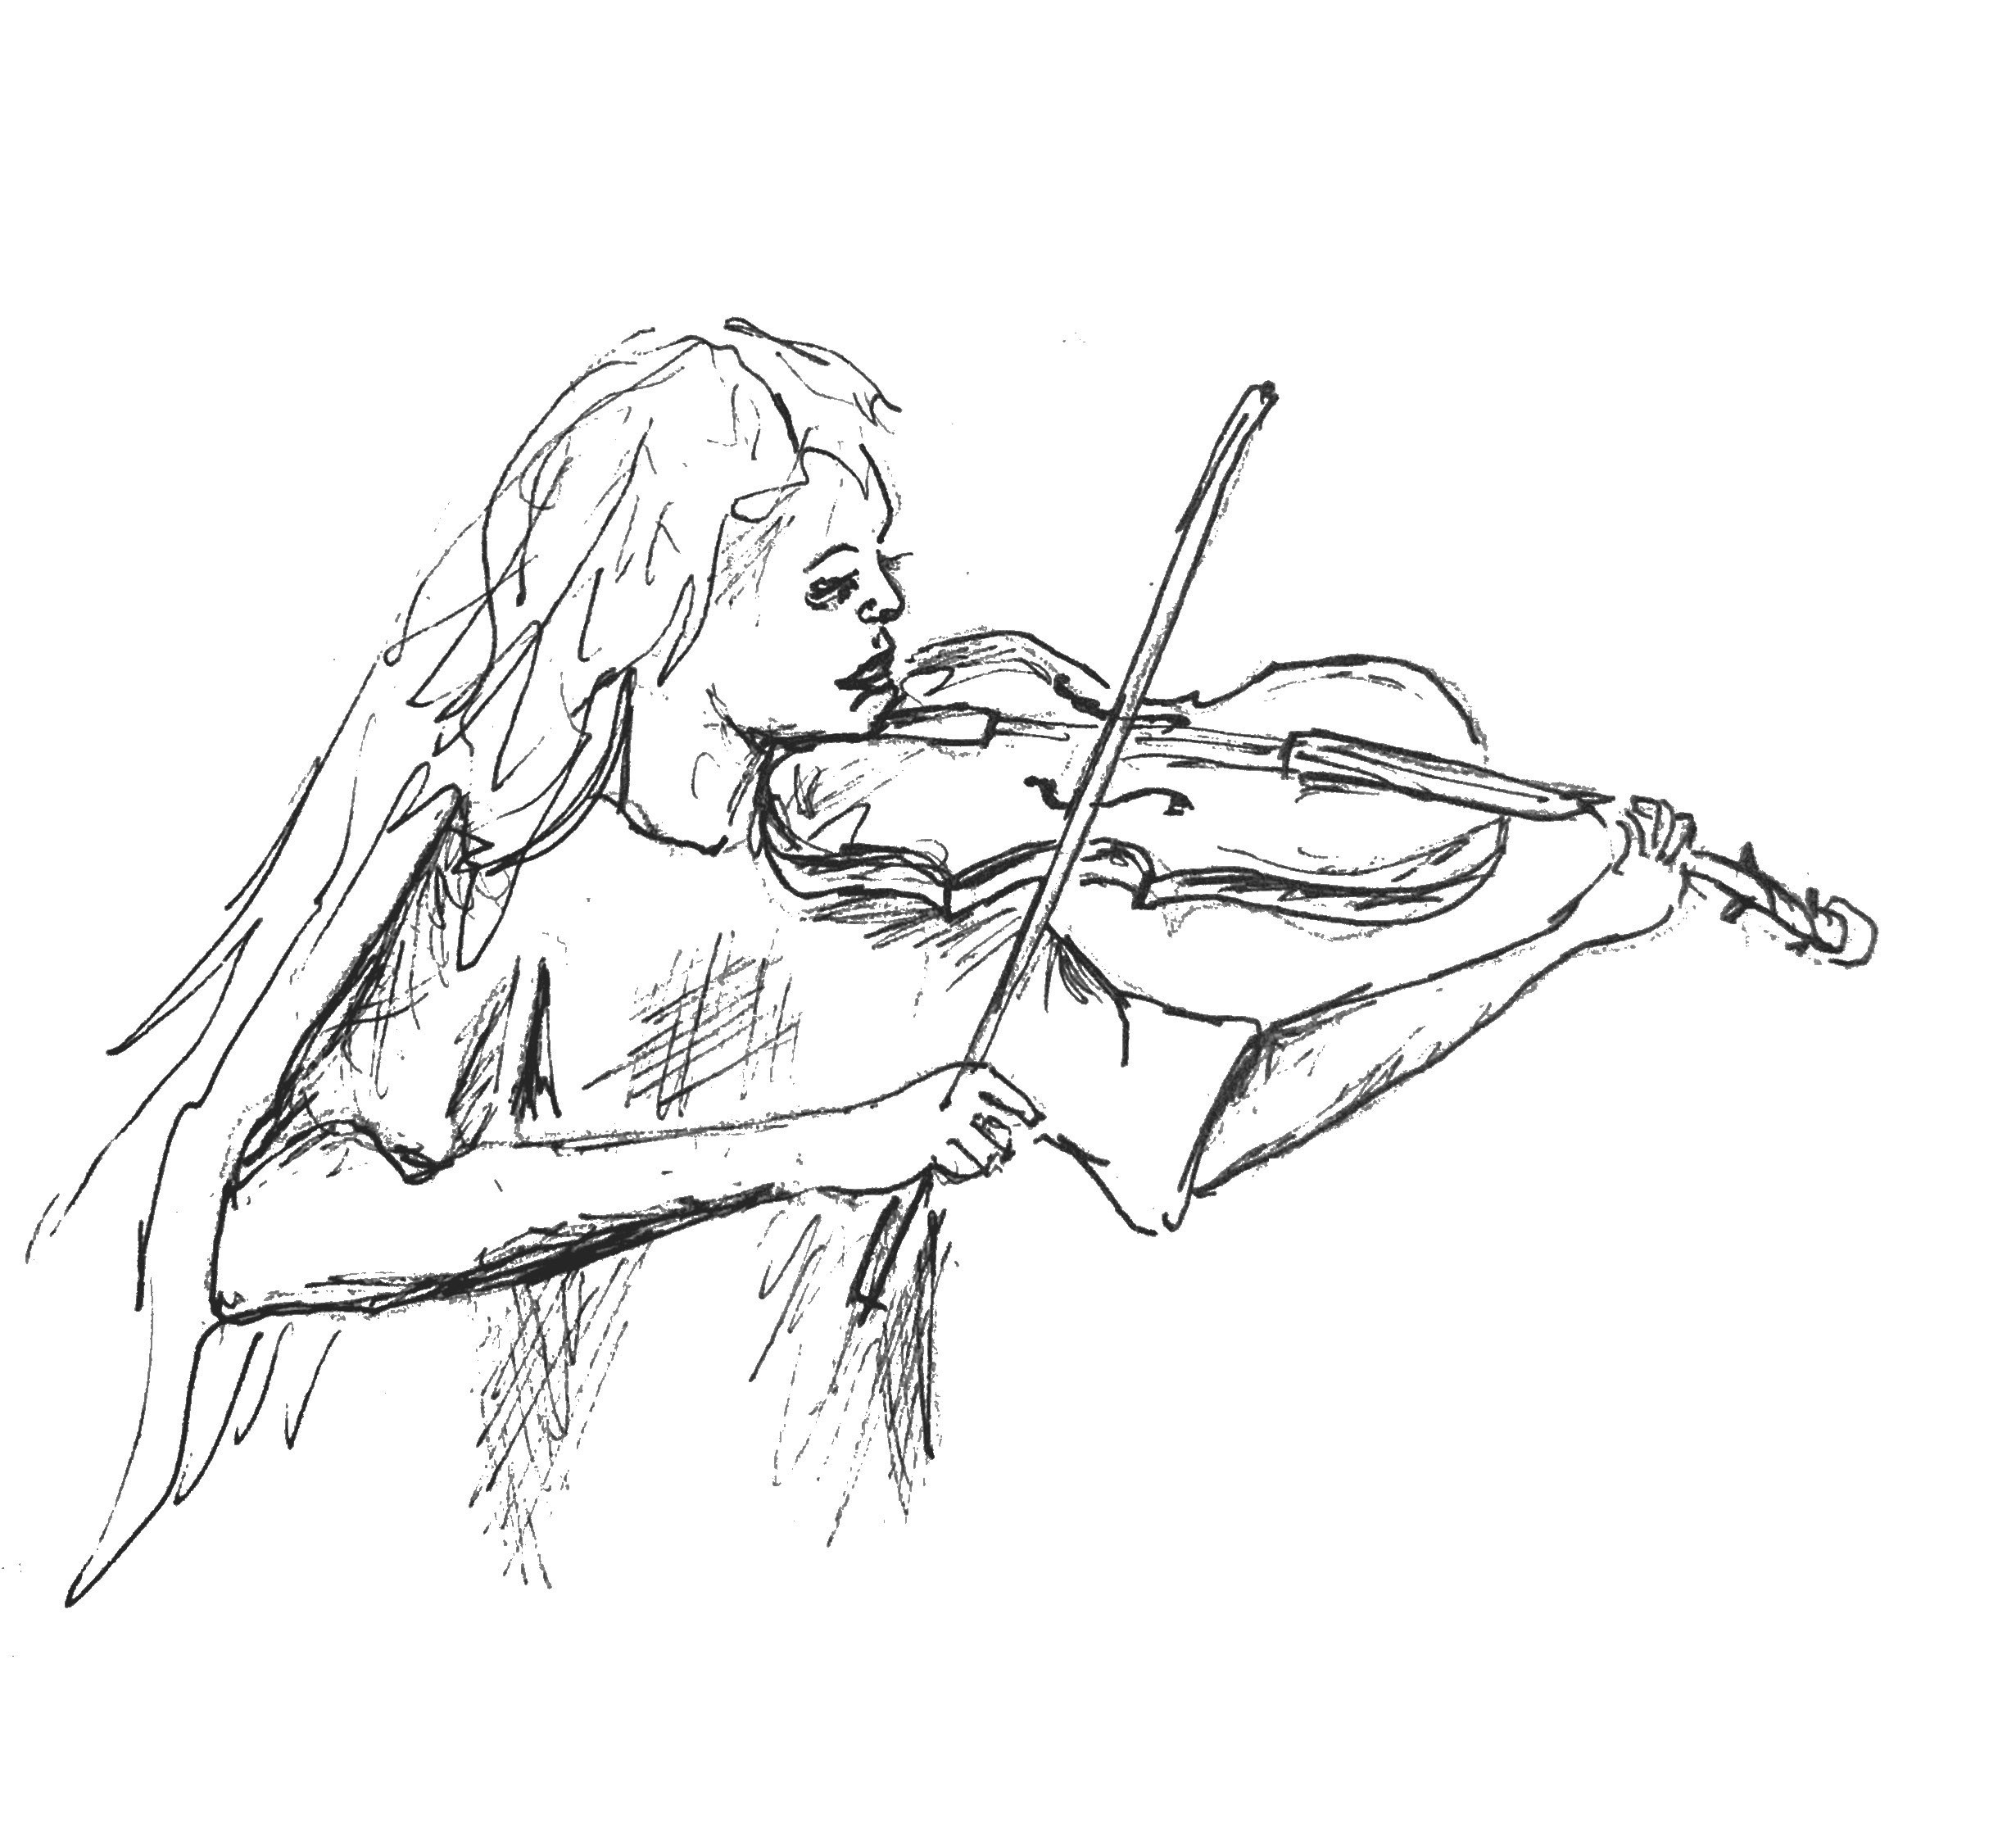
The more time you spend practicing bowing on open strings, the better your playing will become. Think of this as a long-term investment that clare and compound interest over time. You’ll start to enjoy the practice which will keep you motivated to continue.
Bowing Success Tip #2: Play With Short Bow Strokes
Most beginners play with waaayyyy too much bow.
This make their string changes less precise. Super long bow strokes can lead to scratchy sounds or unintended bow bouncing. Solve this by playing very short bow strokes in the middle of the bow.
Left-Hand Fingering on the Violin
Using the left-hand fingers unlocks the ability to play melodies. This is a massive step on the journey!
Getting Your Left Hand Position Right
Start by making a gentle fist with your left hand, similar to how you held the bow with your right hand.
Then, open it up, keeping the fingers curved. This should be the shape of your hand for fingering.
Open it up, keeping the fingers curved. This should be the shape of your hand for fingering.
Place your left hand at the top of the neck, near the scroll. Let the top left corner of your palm lightly touch the left side of the neck. Take a deep breath, letting your hand relax. Practice bowing on open strings with your hand in this position (without yet placing the left-hand fingers).
Playing The First Finger: Start With E
Place your pointer finger on the D string about an inch from the “nut” (where the neck ends and the scroll begins). The note name is ‘E’ and is notated as ‘D1’ in the FiddleHed tab system (more on that in a minute).
Ensure the fingers land on the tips, maintaining a vertical position. Practice lifting and lowering your first finger (without creating a sound). Aim to lift it just a few millimeters. This technique which I call “Little Lift”, can help you play with more precision and speed.
Drone Tuning
Now, let’s learn to find the right note and play little patterns. Pluck the D1 string along with an E drone (because plucking is easier than bowing). The drone acts as a reference note.

E Drone
Adjust the position of your pointer finger until it’s in tune with the drone. When you find the correct pitch, your playing will resonate with the drone and sound good. Stay with that note a long time, allowing the body to relax.
Congratulations! You’ve just learned a technique I call “Drone Tuning.” It’s a unique method I developed to help violin players play in tune using a drone as a reference note.
Next, practice going from the open D string to the first finger E note (playing each note twice for good luck ☘️).
D0-0-1-1 with Plucking
D0-0-1-1 with Bowing
There are more video loops throughout the FiddleHed course to help you learn new finger positions and skills.Practice this every day to the point where the body relaxes and you make a pleasant sound. In addition to using the play along track, you can also practice D0-0-1-1 with the E drone as a reference note:
The advantage of using the drone for this is that it allows you to play at your own speed (different tempos).
How To Notate Fingering With Finger Tabs
Each finger on your left hand corresponds to a different note.

I have a unique system of fiddle tabs that allows beginners to figure out tunes without knowing how to read sheet music. The letter refers to the string, the number refers to the fingering.
- D0 = Open D string
- D1 = First Finger (pointer) on D String
- D2 = Second Finger (middle) on D String
- D3 = Third Finger (ring) on D String
- D4 = Fourth Finger (pinky) on the D String
If the string doesn’t change, then I don’t include the letter. So instead of writing D0-D0-D1-D1 I write D0-0-1-1.
Learn more about the FiddleHed tab system here: How to Read FiddleHed Tabs
Playing The Second And Third Fingers
Follow the same process for the remaining notes on the D String.
The Second finger (middle) is placed about an inch higher up the neck from the first. Note that the fingers land on the tips, and are vertical like pistons.
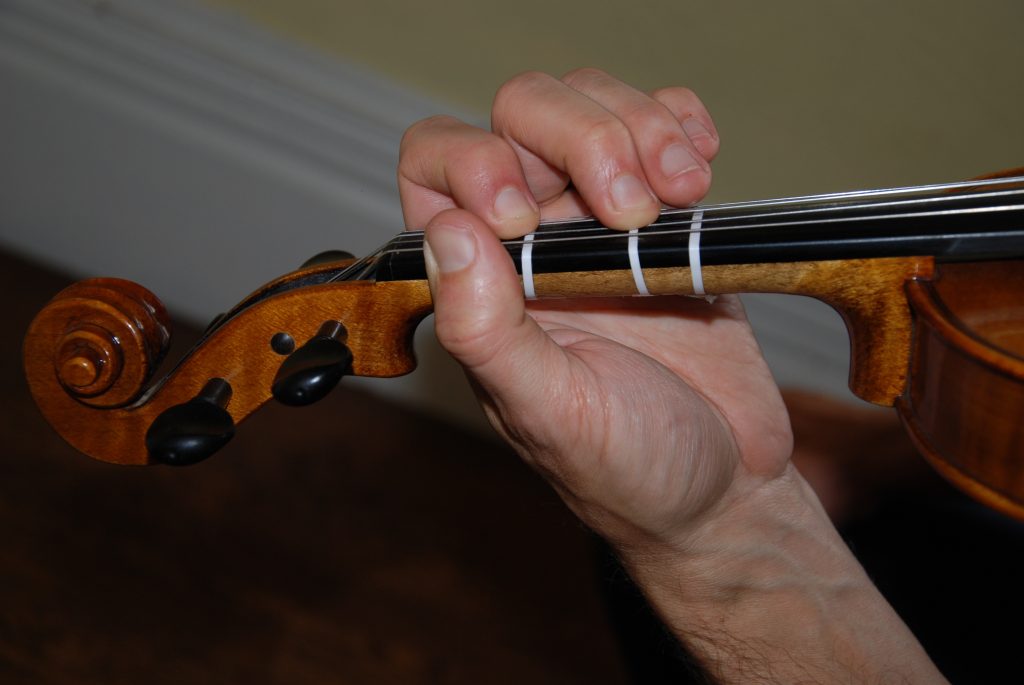
Second finger on the D string is called F sharp (F#) and it’s notated as D2.

Say and play F# as you play D2 with an F# drone. Keep your first finger placed as you play D2:
Next, practice going from the first finger E note to the second finger F# note:
D1-1-2-2
The third finger (ring) is placed close to the second. For my hand the fingers are touching; if you have small fingers there may be a small gap.

The third finger on the D string is called ‘G’ and it’s notated as D3.

And so in this case, we would use an G drone as the reference note.
Practice going from the second finger F# note to the third finger G note:
D2-2-3-3
Once you’ve mastered this, play a “mini-scale” using the D drone. In tablature or tabs, “D0-1-2-3” refers to the open D string (no fingers) followed by the first, second, and third fingers.
D0-1-2-3, two plucks

Violin Is Challenging Because It’s A Fretless Instrument
This means that when you place the fingers, the notes are not automatically in tune (like they are on guitar).
Drone-tuning is the best way to learn to play in tune because it directly trains the ear and fingers.
But if you’re learning on your own, you might find it challenging to play in tune. There are two more tools to help you play in tune.
Use A Digital Tuner To Play Better In Tune
The same tuner that you use to tune up the strings can be used to help you find the correct left-hand finger placement. Use it to find each note before you play a song.
Here’s how you can use a tuner to tune up the first finger (pointer).
Play D1 and use the tuner to adjust the position until it’s in tune. As a beginner, just get it close to the 0 line. Don’t obsess over perfection.
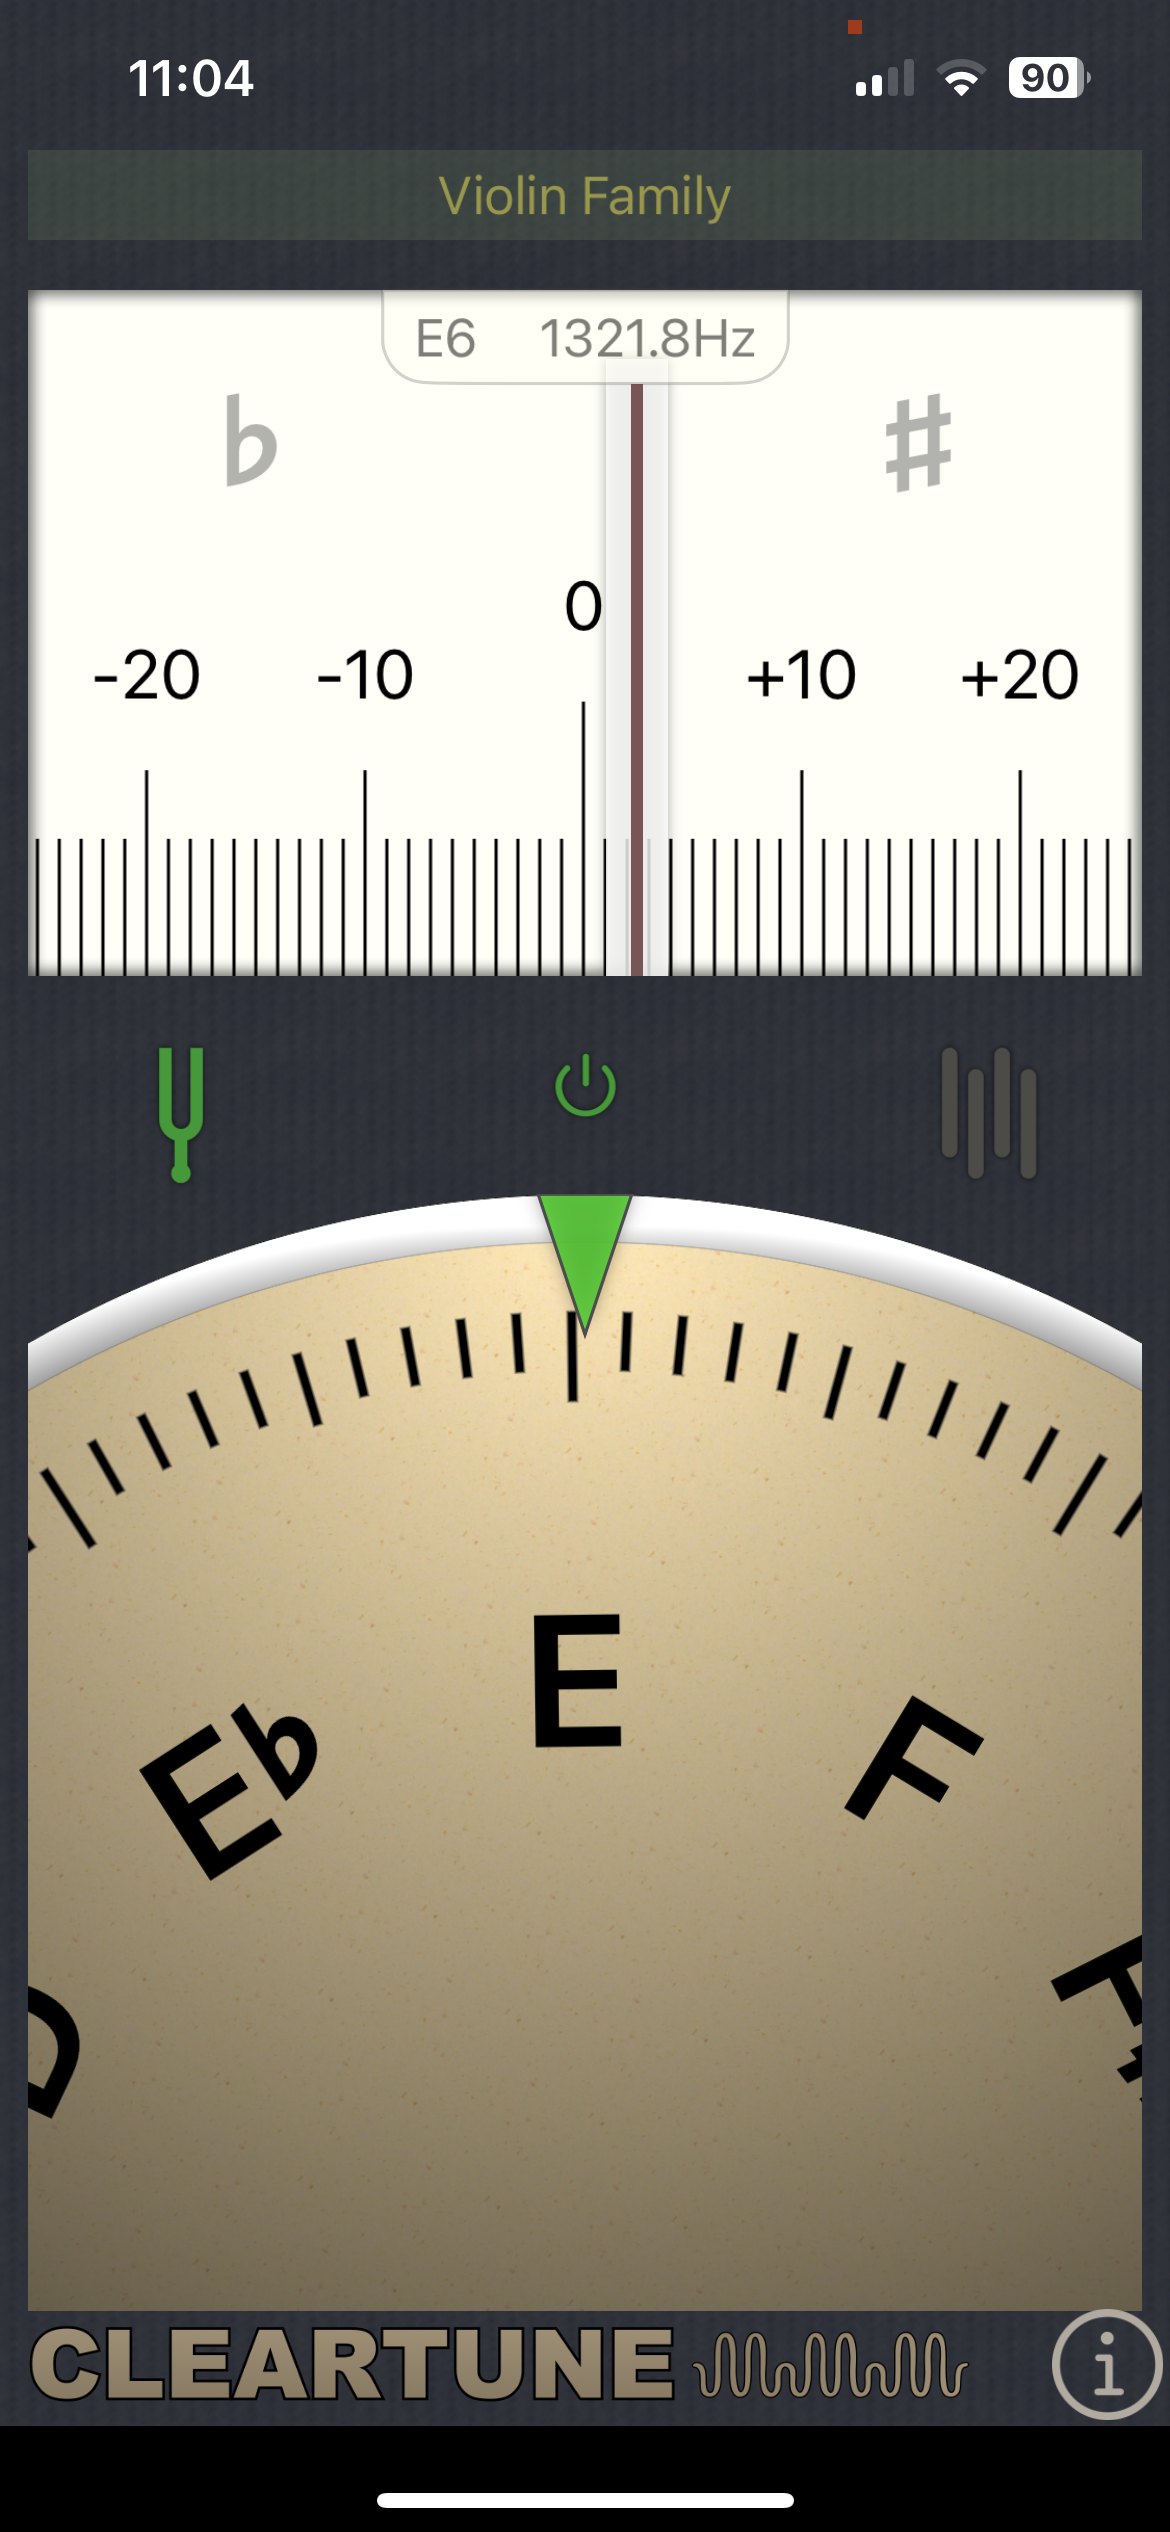
Repeat the process for second finger D2 (F#) and third finger D3 (G).
You can use this strategy to tune up any notes you are struggling with. Once a note is in tune, continue to play it and simply listen to how this in-tune note sounds.
Warning: Don’t let the tuner become a crutch
Don’t stare at it while practicing. Find the finger positions, then look away and practice. You want to turn your attention to working out technical problems, listening and making music.
Use Finger Tape To Play Better In Tune
You can also use the old-school solution of placing violin finger tape on the fingerboard to help you find the correct finger positions. This is the traditional way that violin students have been taught.
Use decal tape or order some violin tape:
Finger tape on the violin neck is like training wheels on a bike 🚲. Eventually you’ll take them off and just ride. The tape gets you close to the right positions. But it doesn’t don’t guarantee that you’ll play in tune.
I still think that Drone-tuning is a superior way to learn finger placement because you’re not relying on a visual cue. You’re just using your ear 👂.
Here’s a full lesson on placing tape: How to Place Finger Tape
OK! You’re now ready to play a simple song.
Playing Songs on the Violin: A Beginner’s Roadmap
I suggest first trying to play songs with plucking. Once you get the left-hand motions and hear the melody, then try using the bow to play the same songs.
First Song: Bile ’em Cabbage Down
Let’s return to “Bile ’em Cabbage Down.” Earlier in this guide you played the backup part.
It incorporates the ‘Tucka’ rhythm you previously learned: Short-Short-Short-Short-Long-Long

Along with the left-hand finger positions: D0, D1, D2, D3.
👉 Amazing Practice Tip #2: Warm up with the essential rhythms and the scale for any song or piece that you learn.
Here’s a full video tutorial for Bile ‘Em Cabbage Down
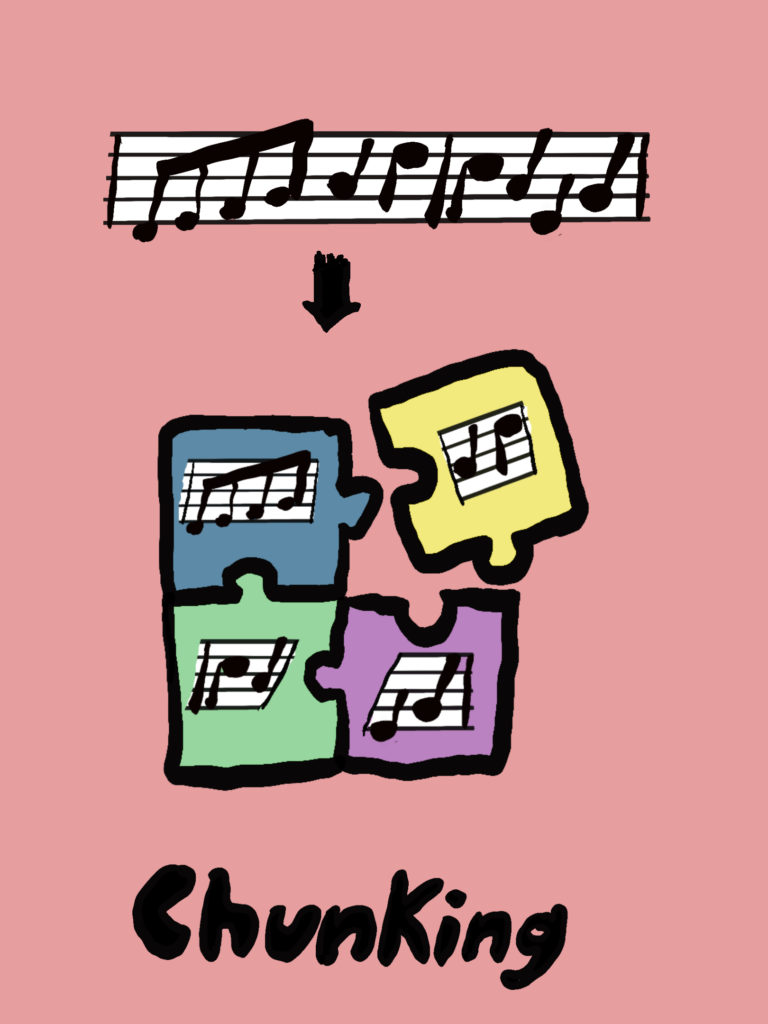
Simplify the learning process by breaking down each song into small, manageable pieces. Remember the term for this is “Chunking”.
First Quarter of the A Part
Warm up to the first quarter by playing the D2-3 interval.
Interval: D2-3
A two-note interval is the smallest chunk you can practice (besides a single note).
↓
Just add the tucka rhythm to the interval for each quarter of the tune
First quarter: D2-2-2-2 3 3

Start by practicing just the first quarter of the tune (the first bar, in this case).
Gradually, work through the remaining quarters of the tune. Don’t worry if you can’t master the entire piece in one go. It’s better to understand and learn each part thoroughly. In time, you’ll be able to play the entire tune with confidence:
First quarter: D2-2-2-2 3 3
Second quarter: D2-2-2-2 1 1
Third quarter: D2-2-2-2 3 3
Fourth quarter: D2-2-1-1 0 0

Once you learn this song, repeat it slowly in a continuous loop. The goal is to move from thinking to playing and enjoying.
Learning your first song is a huge step. If you get to that point, then allow yourself to celebrate! This positive emotion will motivate you continue. Do it every time you learn or improve a skill or song.
Start Learning Violin With Familiar Songs
Familiar songs are life-long friends that help you on each step of the journey.
Familiar songs are a great way to get up and running with the violin as a beginner. Since you already “hear them in your head,” you can focus on improving your skills rather than trying to figure out the melody.
But playing familiar songs is not just for beginners. As you progress, you can leverage these same familiar songs to learn more advanced skills.
For example, when you learn the vibrato technique, you can apply it to a beginner tune like “Twinkle, Twinkle, Little Star.” Same goes for playing double stops (two notes at once), higher positions or any other new skill.
Learn more here: Learn Violin With Familiar Songs.
Recommended Beginner Violin Songs
Ready to expand your repertoire? Click on a beginner lesson below to start learning new tunes right now.
Go further 🎻
If you like the way I teach, then you might want to keep learning with me. FiddleHed is an integrated learning system which shows teaches you everything from nuts-and-bolts technique like bowing and fingering to high-level skills like adding variation and performing.
- Sign up for the Free Two-week Trial. You’ll get full access to all courses and group lessons. Plus, I’ll send you some free lessons tailored to your current skill level.
- Sign up for the FiddleHed newsletter below, then get high-value tips and lessons delivered to your inbox.
Congratulations, You’re on the Right Track!
Give yourself a standing ovation! You’ve traveled a good distance on your violin journey.
So far, you’ve successfully accomplished:
- Establishing a mindset for success
- Getting a violin
- Setting up the violin
- Holding the violin and bow
- Learning to pluck the strings
- Discovering the magic of using the bow
- Navigating the terrain of left-hand fingerings
- Playing simple songs
Believe it or not, this means you’ve actually learned the essentials of playing the violin. Round of applause for you! 👏
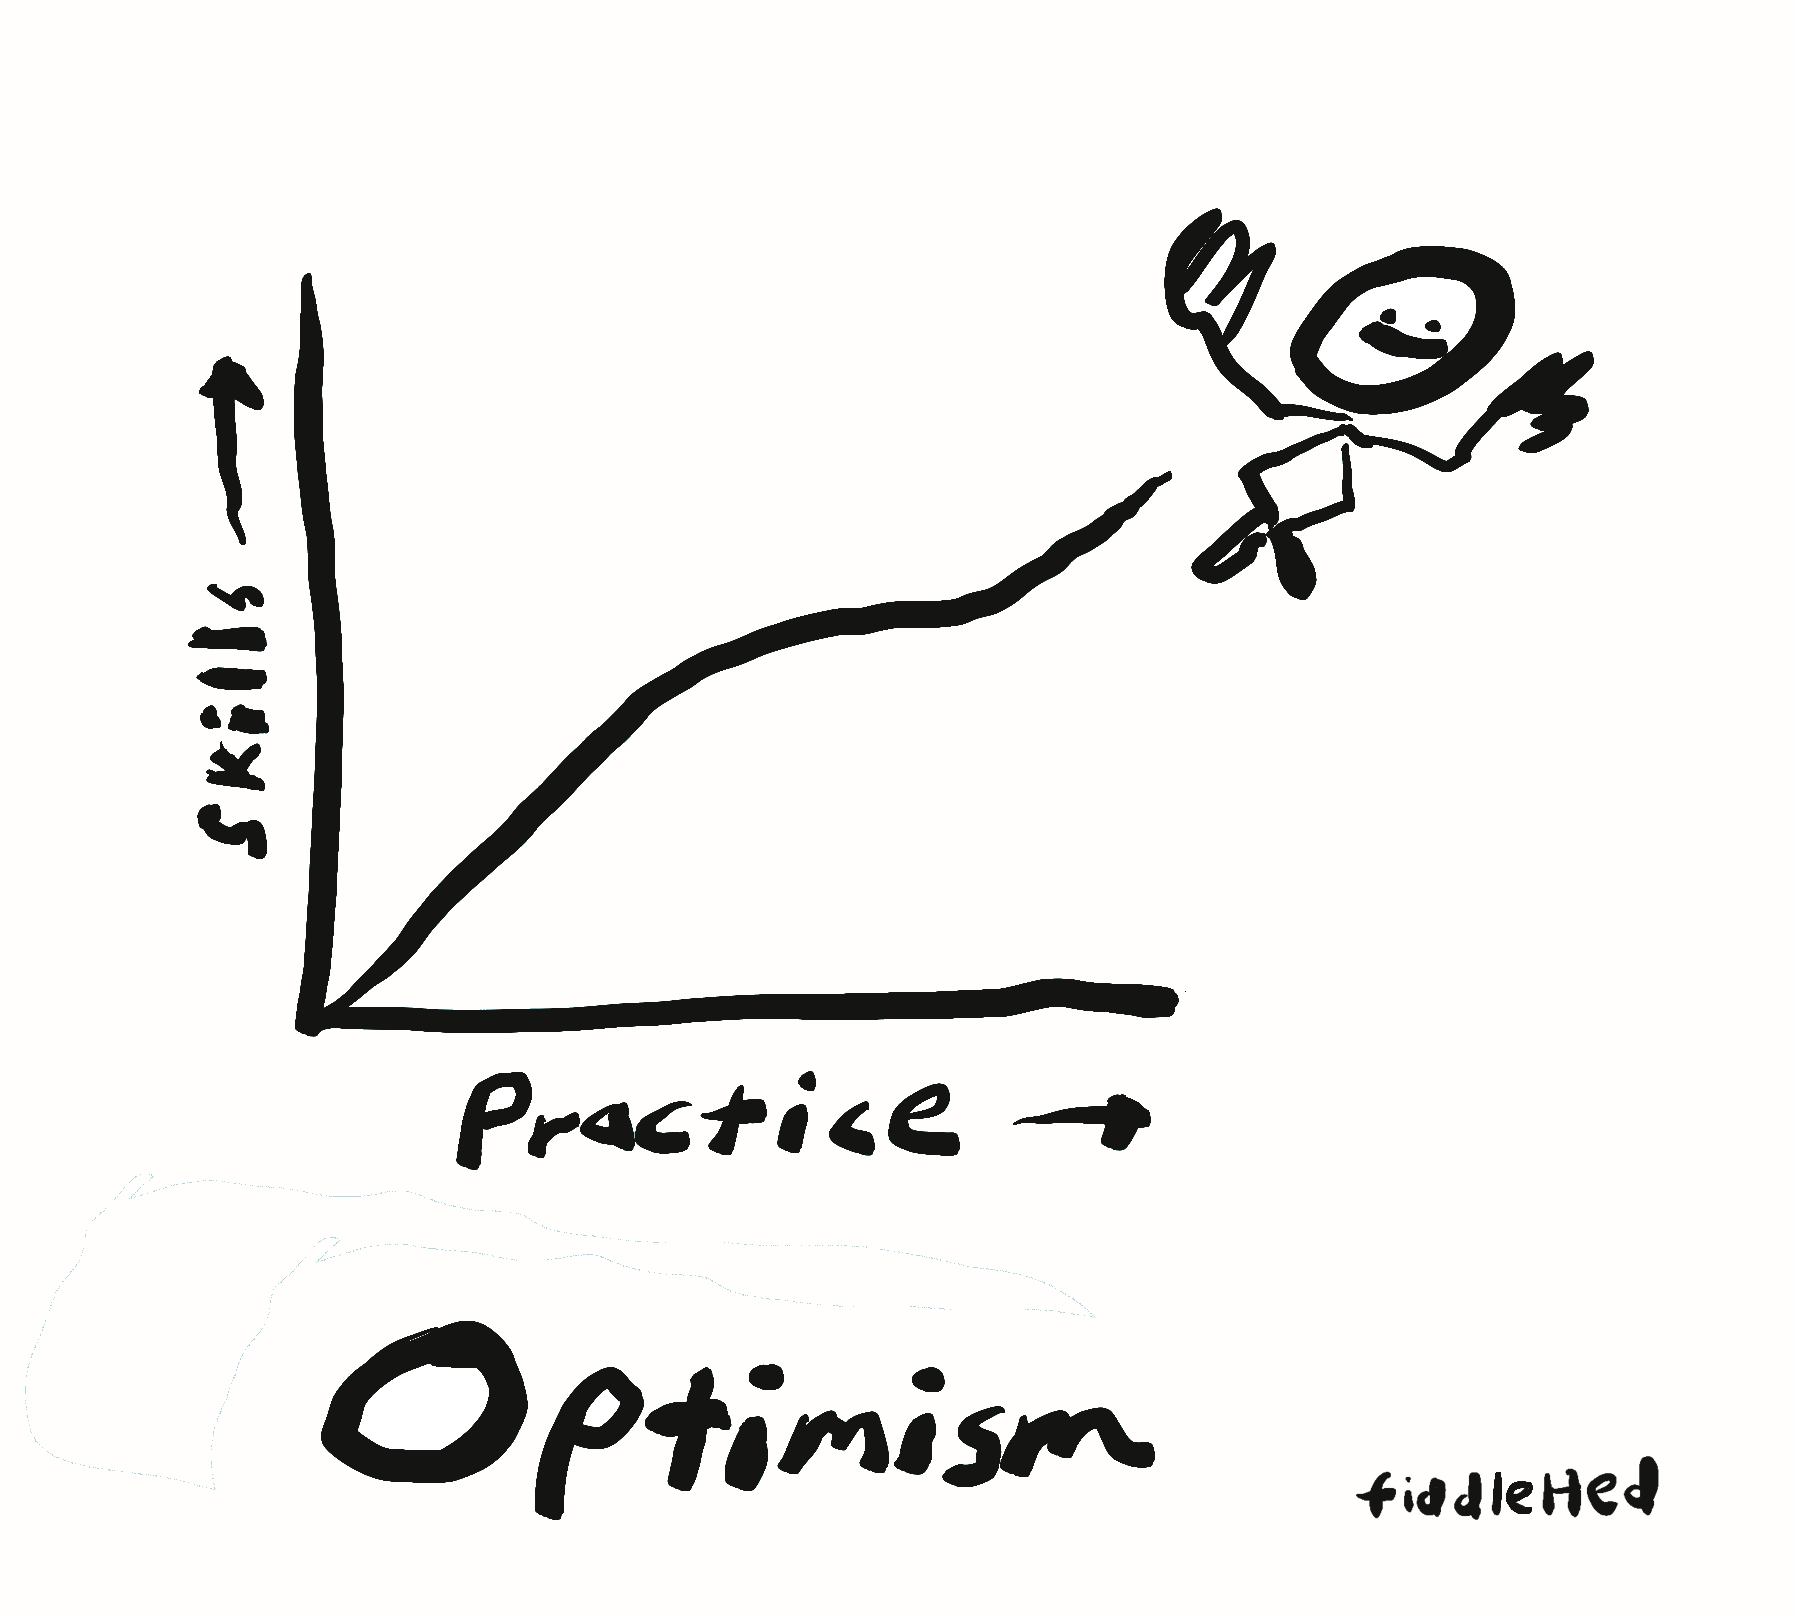
Everything that follows is just an expansion of the FUNdamental techniques you just learned: exploring diverse bow usages, uncovering new left-hand fingerings, adopting additional techniques, and learning a wider repertoire of songs.
I’ll now sketch out a path for you to continue learning and playing violin for the rest of your life. ❤️
Keep Going On The Violin Journey

As you continue to learn violin, I want to make sure that you don’t get off track and become discouraged. There are some skills, strategies and concepts that will keep you going.
- Play Every Day: How To Establish A Consistent Practice Habit – Discover the value of daily practice to keep your violin skills sharp.
- The Art And Science Of Good Violin Practice – Understand the blend of creativity and discipline that brings about effective practice.
- Decoding the Language of Violin Sheet Music – An easy guide to reading violin sheet music, one of the essentials of mastering the violin.
- Your Violin Roadmap: Navigating the Musical Landscape – A step-by-step guide to help you chart your progress and set future goals in your violin journey.
- Connect With Others Though Music – The joy of music doubles when shared. Learn how to connect with others musically.
- Common Beginner Violin Mistakes and How to Avoid Them – Understand common errors to sidestep them in your practice.
- FAQs: Answering Your Violin Questions – I answer common questions to clear any doubts and boost your confidence.
- Conclusion: Learning Never Ends
Now let’s go into more detail on each strategy and practice.
Play Every Day: How To Establish A Consistent Practice Habit
Sounds straightforward, right? You want to play so just do it every day. How hard could that be?
Yet this is something that almost every student struggles with.
Consistent daily practice is the single most important thing for any student to remember and do. It can be an ongoing challenge, even after forty years of learning (trust me).
So I want to help you overcome the Practice Challenge. Here’s the silver lining: developing a consistent practice habit is completely within your reach!
Let’s explore some easy, actionable strategies to establish a robust practice routine so you can become a violinist.
The Two-Minute Rule: Small Steps to Big Progress
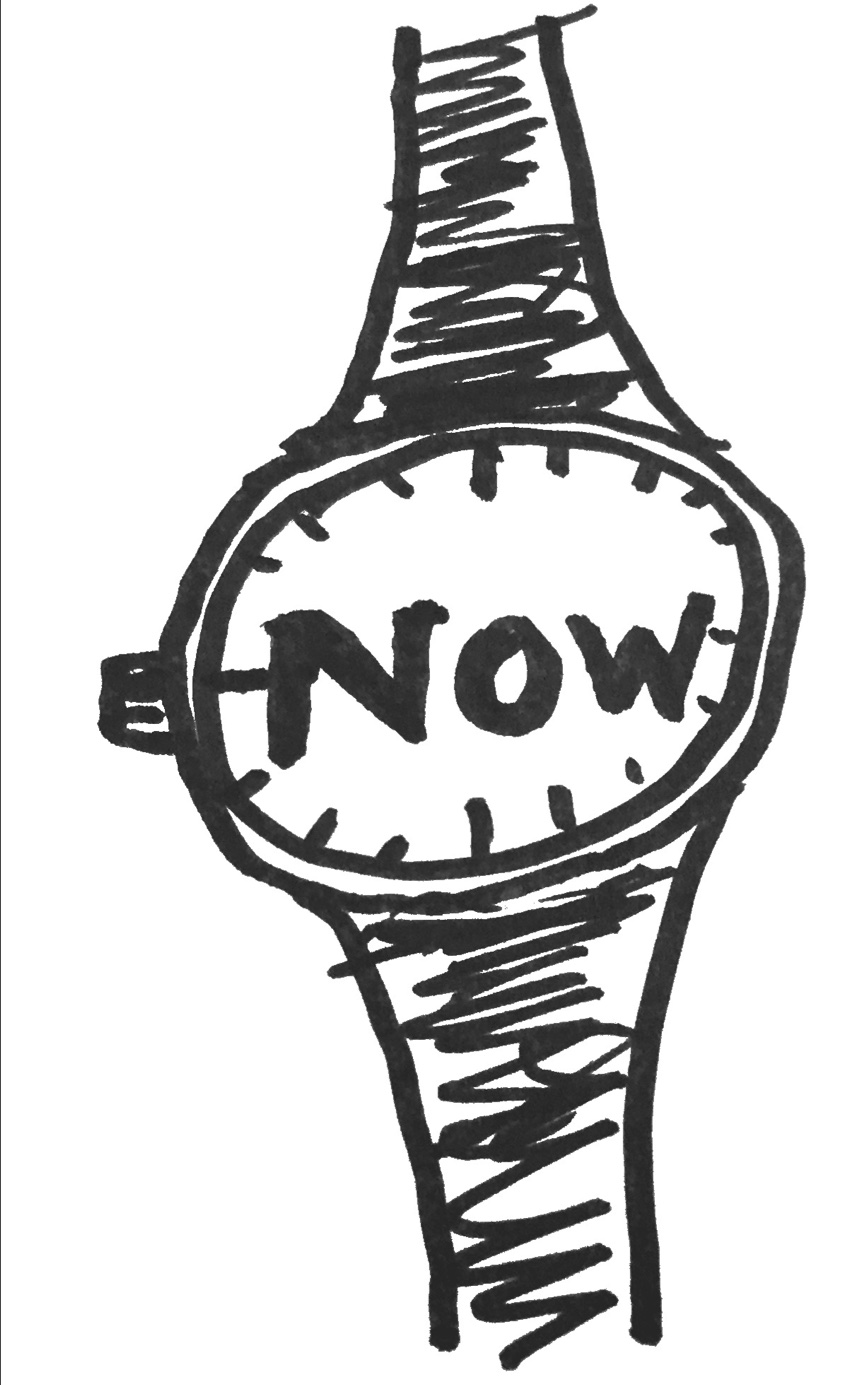
Set the bar low—instead of dreading hours of practice time each day, commit to practicing at least two minutes every day.
This “small-step” approach squashes resistance and sparks a mental response like, “Two minutes? No sweat!” Follow this strategy and you’ll naturally play more each day.
James Clear, author of Atomic Habits, coined the “Two-Minute Rule”. He writes, “A habit must be established before it can be improved.”
Once ingrained, the habit forms a foundation to build on, leading to longer, deeper, and more enjoyable sessions.
Same Time and Place: The Power of Routine
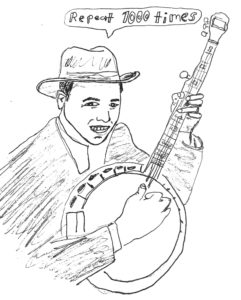
Practicing at the same time and place daily strengthens the behavioral cue to do it again the following day. Repetition leads to automatic behavior—a routine.
Establish clear signals to pick up your violin and start playing.
Short and Sweet: Frequent Practice Sessions
Frequency trumps duration when forming a habit. Practicing for 20 minutes daily is better than a two-hour marathon session once a week.
Repeated actions naturally embed as habits, saving mental energy. This leaves your brain free to relish the fun part: learning and playing music!
Once you’ve used the two-minute rule to train yourself to pick up the violin every day, your next goal should be to practice at least twenty minutes a day, six days a week.
Of course, you can practice longer on any given day. Or do a second 20-minute session at a different time of day.
Don’t Break the Chain: Visualize Your Consistency
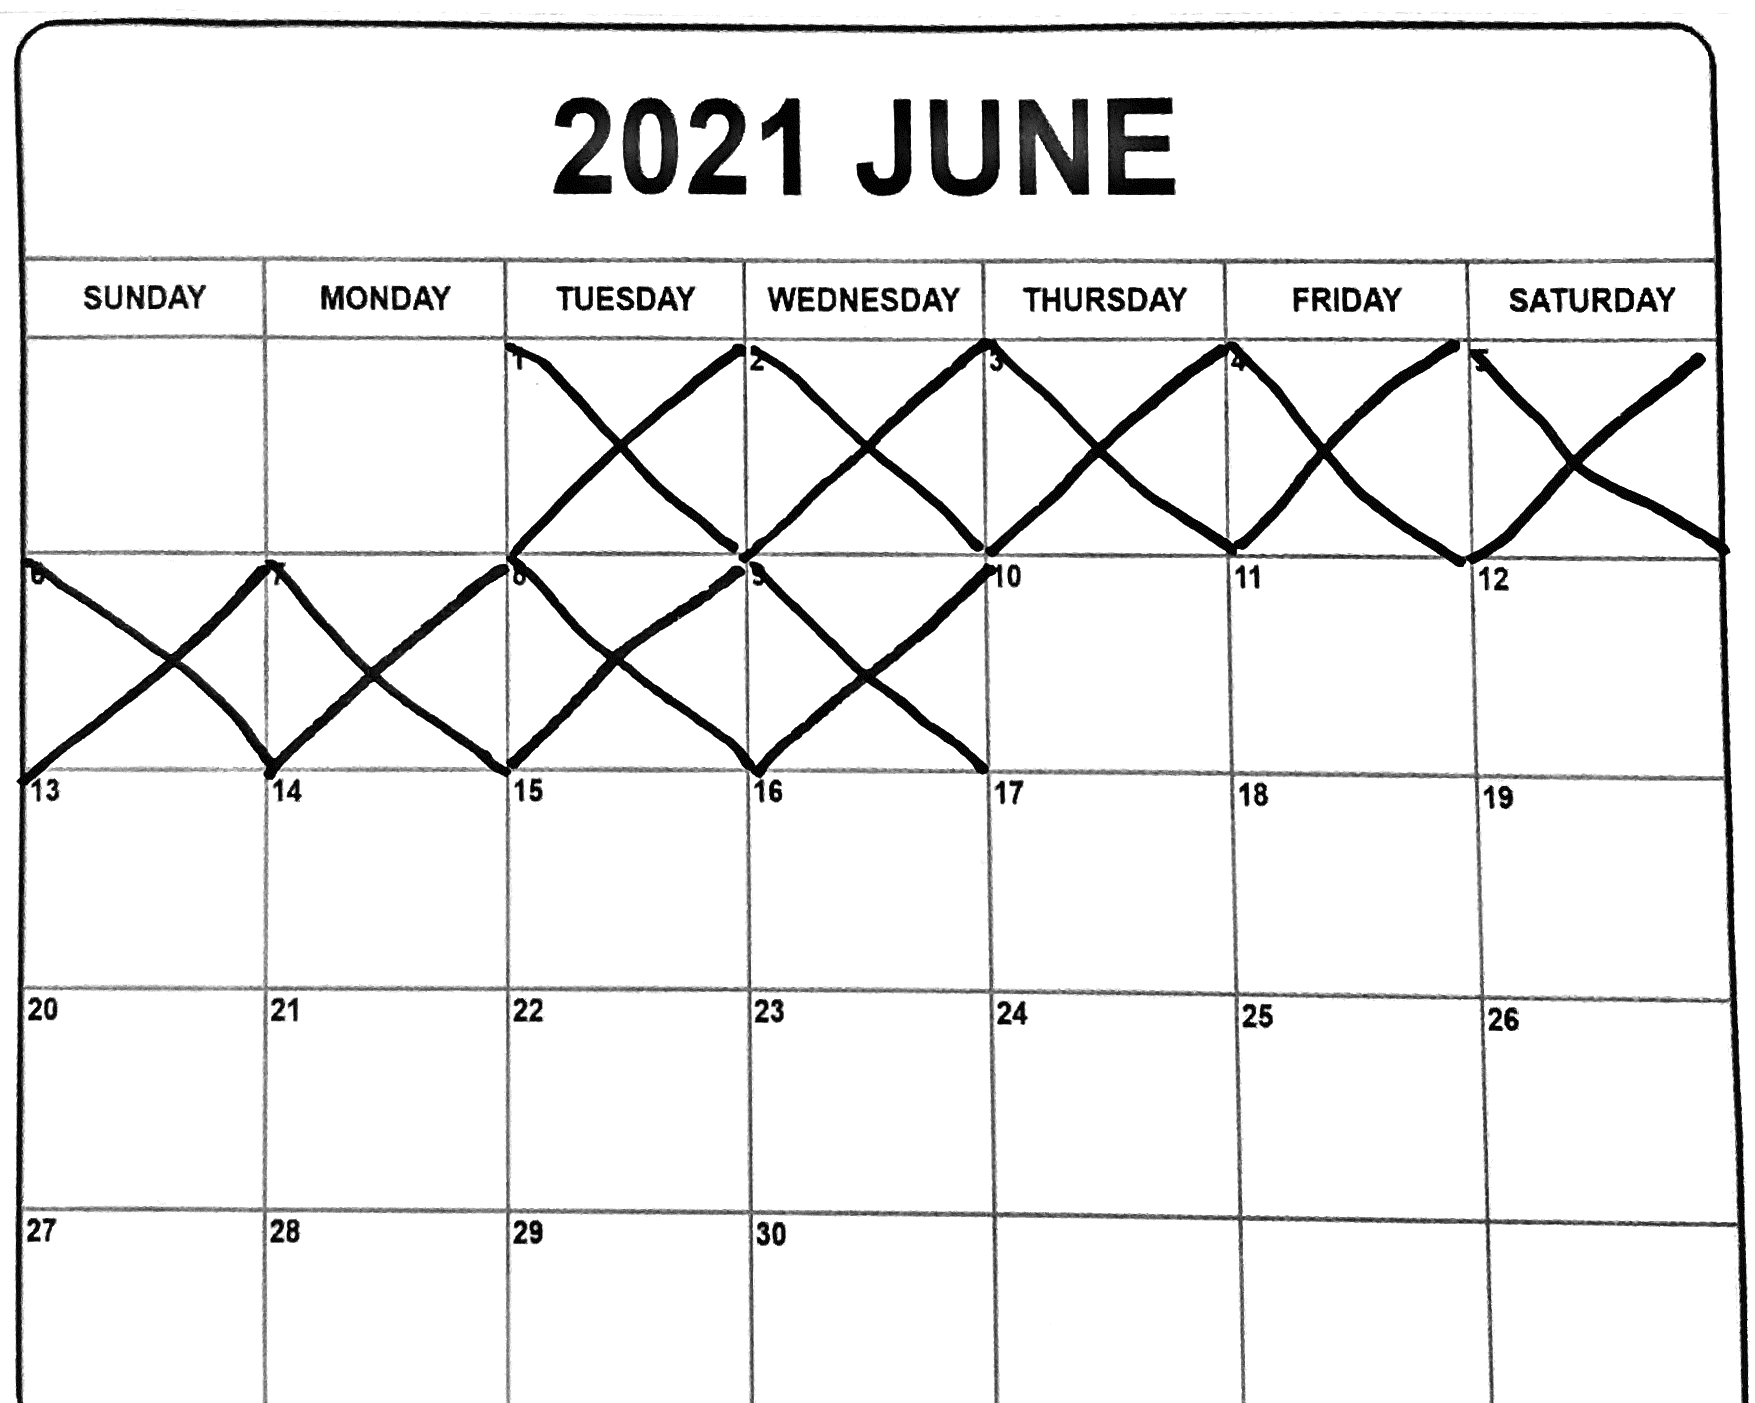
Grab a wall calendar. Mark an X for each day you practice.
Watching a chain of Xs grow feels good and reinforces your daily habit.
Comedian Jerry Seinfeld successfully used this “Don’t Break The Chain” strategy to write jokes daily.
Declare Your Commitment: Create Accountability
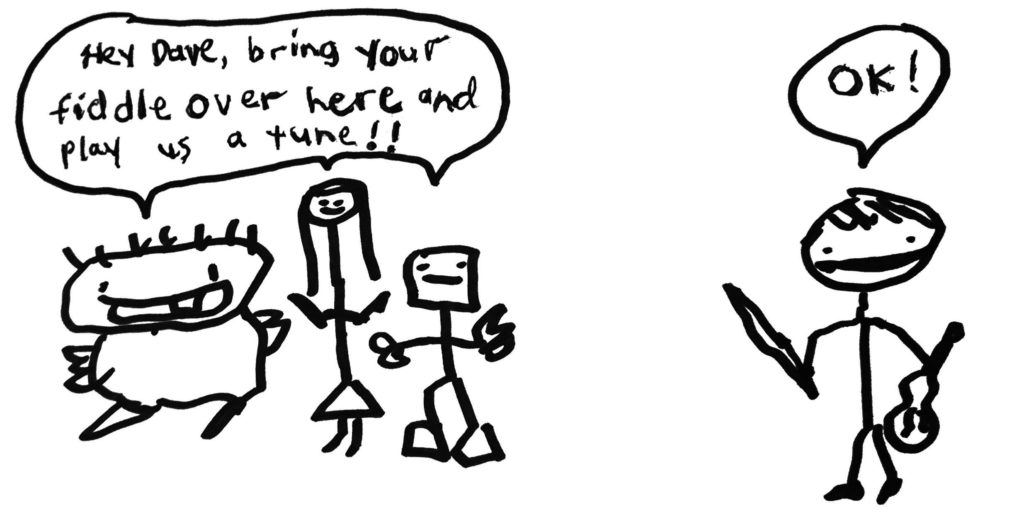
Announce to friends, family, fellow FiddleHed students, or anyone willing to listen that you’ve commenced your violin journey.
Public commitment, or accountability, makes you less likely to quit because you don’t want to disappoint others.
It also communicates that music is important to you, training people in your life to respect your musical time and space.
Be A Musician: Embrace Your New Identity
Here’s a simple truth: a musician is someone who plays every day.

This makes your goal of being a fiddler realistic and achievable. Consider, “What would a musician do?” A musician practices daily, no questions asked. A pro shows up for performances, whether they’re in the mood or not. You can take the same approach.
The Art And Science Of Good Practice
Learning to practice well is more important than most students and teachers realize. Good technique may be hard, but if you have an intentional approach to practicing, then you’ll succeed.
Are you learning without a music teacher? In this part of the article, I’ll teach you how to be your own private teacher (which is good even if you do have a teacher). Let’s develop good practice habits.
🌅 Warm Up
Ever tried to start a car in the middle of winter? It’s tough, right?
The same goes for your hands. Warming them up can prevent injuries and help you to perform better.
A great practice is to warm up with the scale for the tune or piece you will practice. For example, if you’re learning “Minuet in G” by Bach or “Kesh Jig” (also in G), then warm up with G Major scale.
My student Fiona warms up with easy tunes. She says, “It makes me feel like fiddler.” Here she is playing a tune she composed:
🔄 Looping
Looping means to play a chunk continuously until it flows.
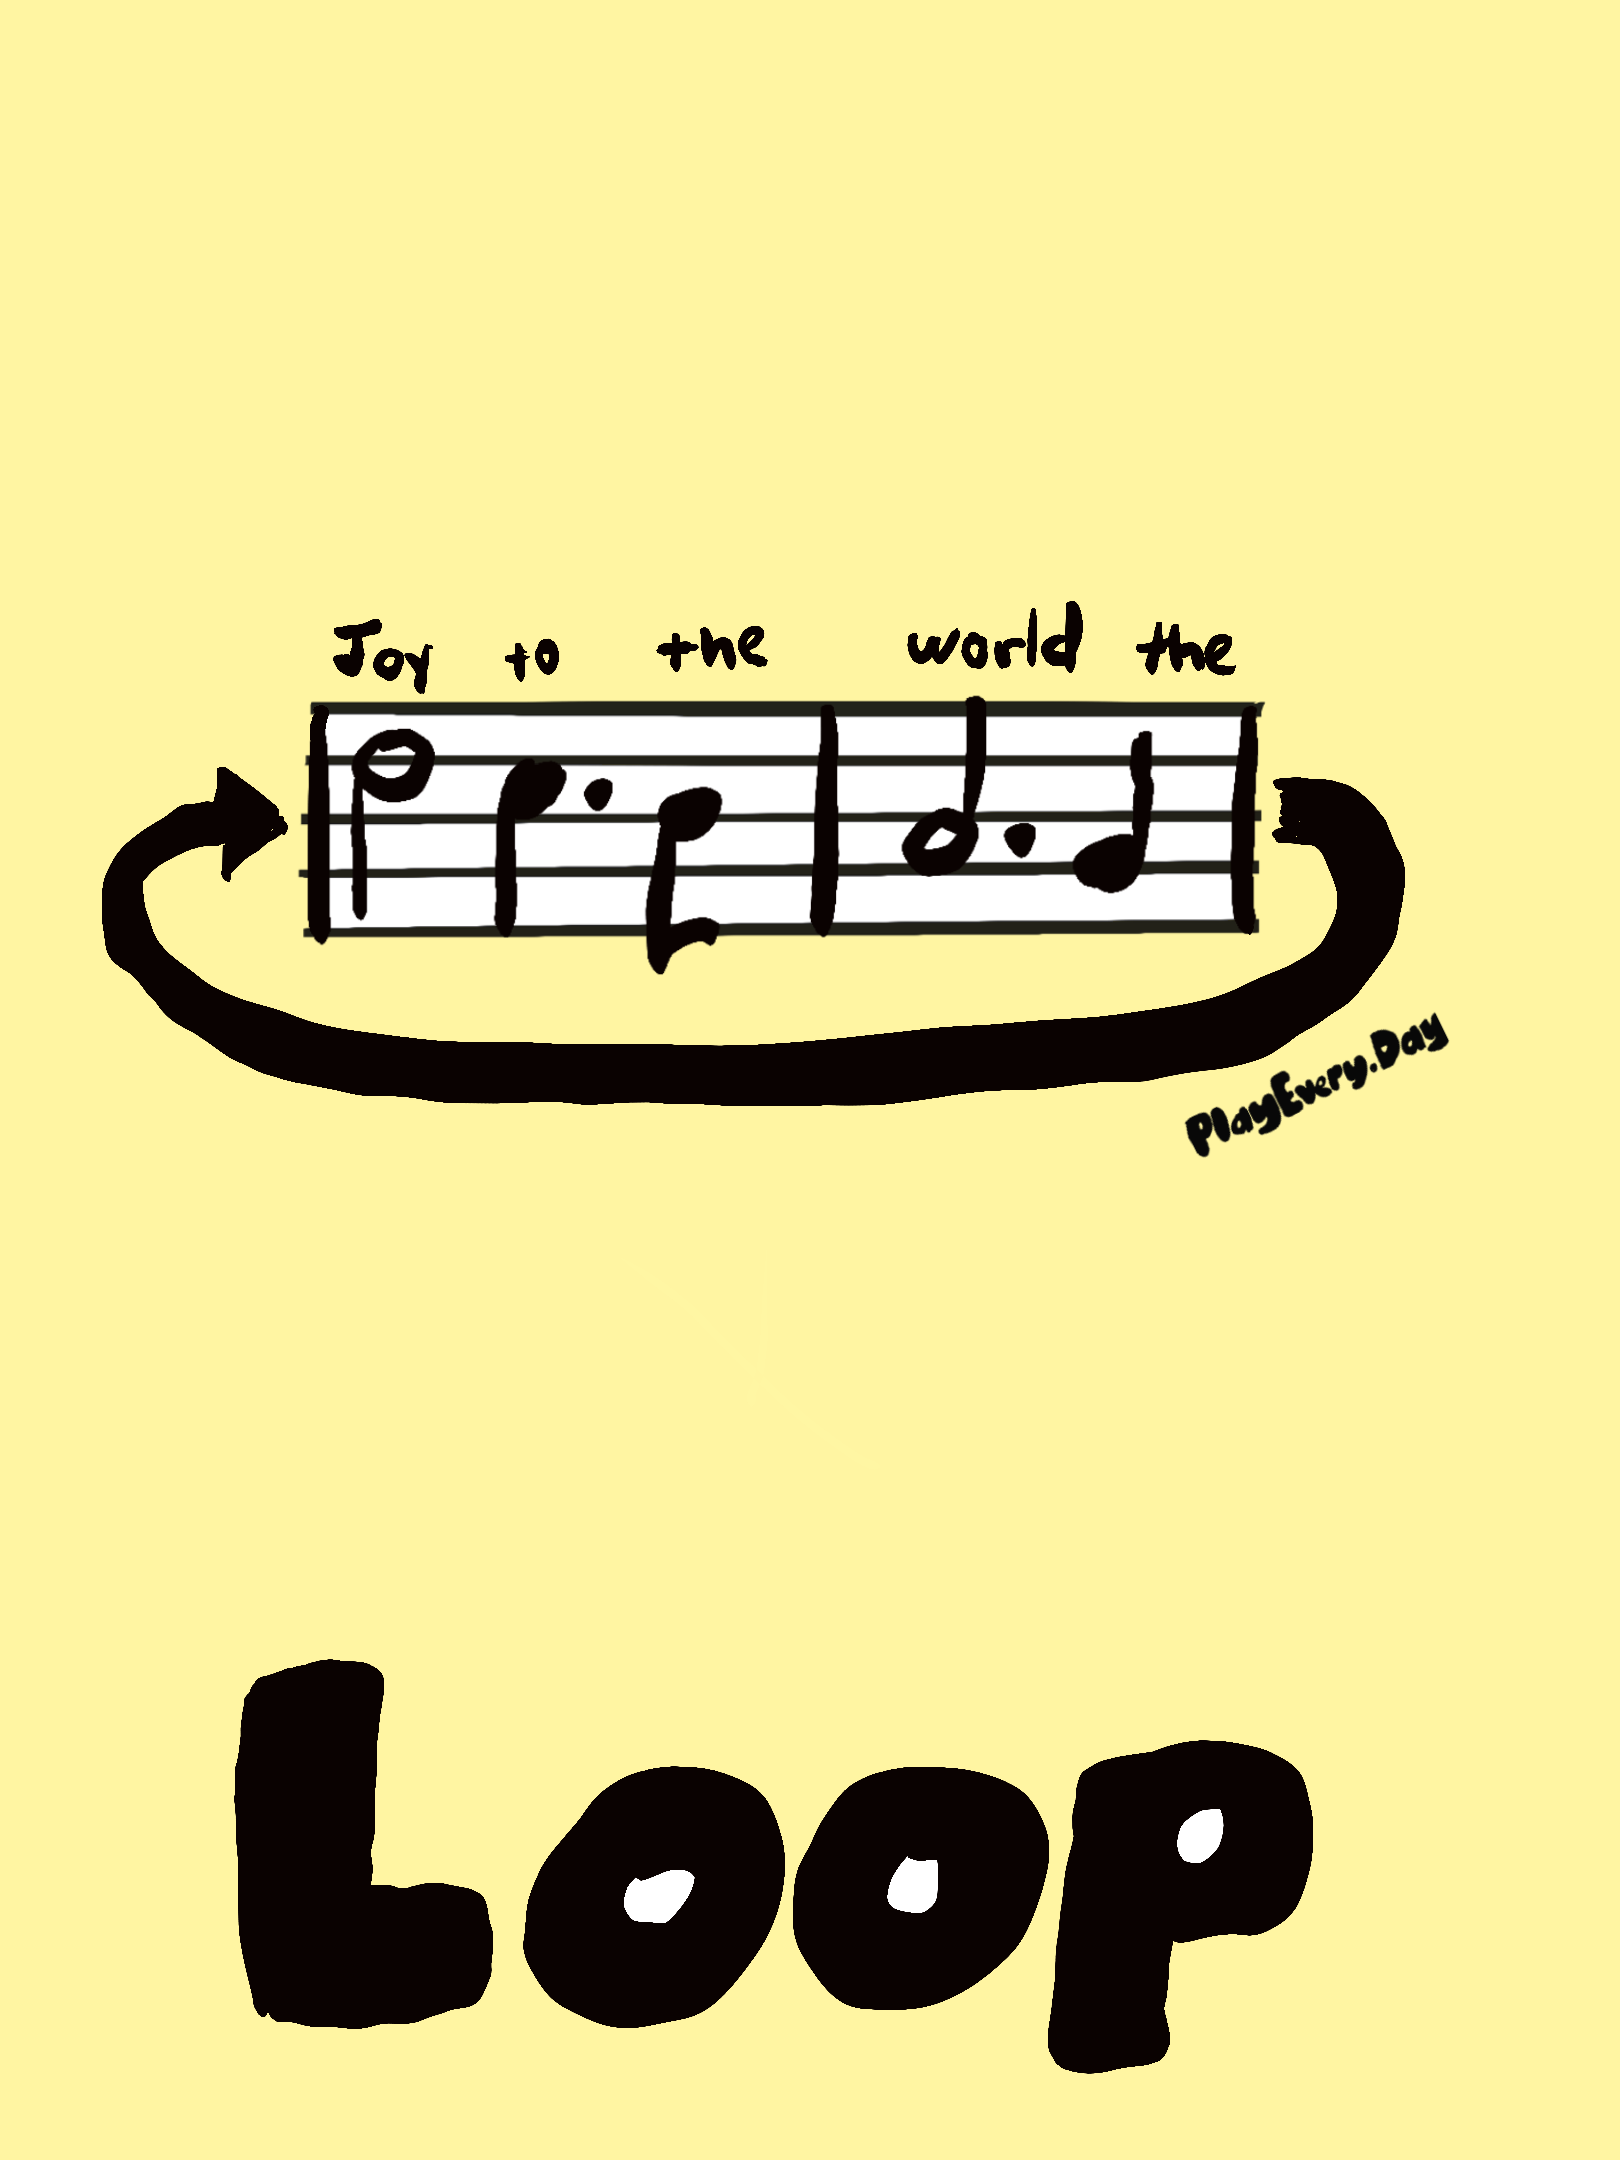
Pick a challenging part of a tune and try to continuously play it in a slow loop. The fourth quarter of Arkansas Traveller is a good example of a challenging chunk to loop:
Arkansas Traveller, A Part Fourth Quarter
A3-2-3-0-1-3-0-D3-2-0-1-2-0

If that’s too hard, then try looping just two challenging notes:
A0-0-D3-3

If you make mistakes or stumble, then pause and correct the mistake with single reps. Play the chunk once, then take a deep breath and repeat it.
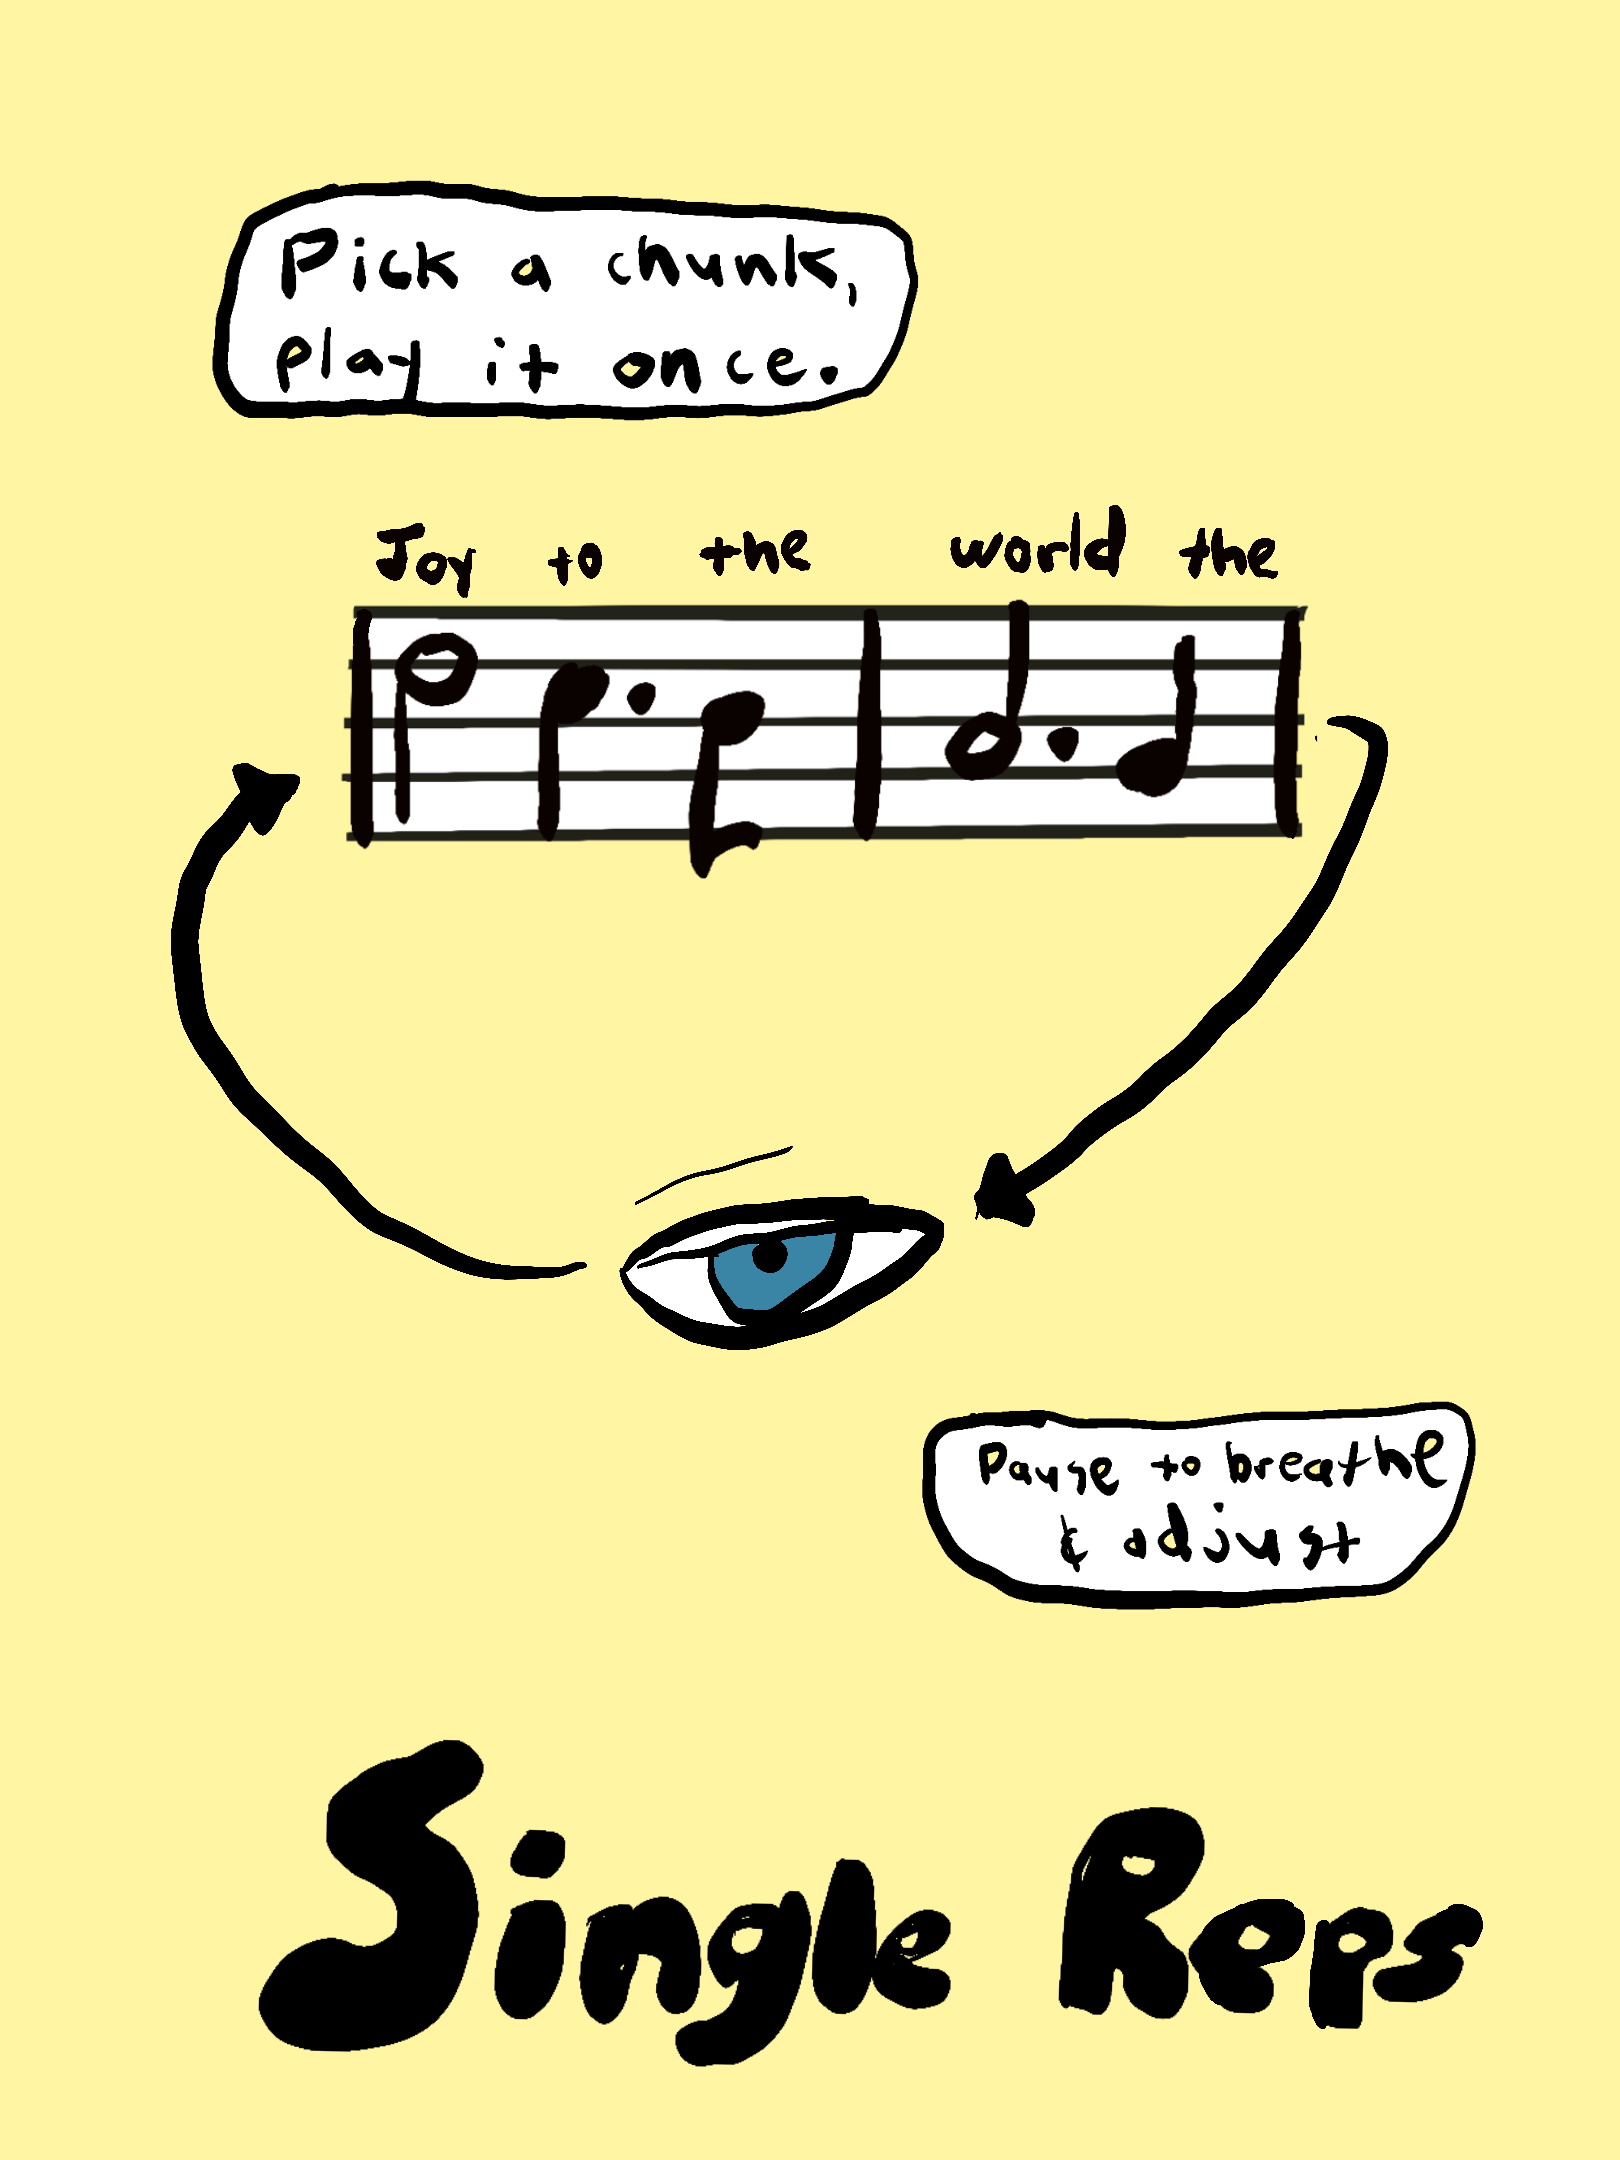
You don’t want to practice mistakes! Once you make the correction, play the same loop more slowly. Then speed it up.
Once you iron out the kinks, looping helps you move from a state of thinking to a state of play. You’ll play with more flow, and your music will start to sound like music.
Looping can (and should) be done by musicians of any level. Everyone from absolute beginners to symphony musicians can use looping to make their practice more fun and productive. Any time you encounter a a challenge, figure it out with single reps, and then slowly loop it.
By the way, if you’re finding this guide to be helpful, please share it with friends. Click here to email it to them. Thanks 🙏
📆 Spaced Repetition
Ever tried gulping down a gallon of your favorite ice cream in one go? Not a great idea, right?

Treat your practice sessions the same way. Instead of playing the Minuet In G for two hours at a stretch, try practicing it for twenty minutes a day, six days a week.
Then slowly increase the time between practice sessions.

This “spaced repetition” makes the learning deeper and more effective. Learn more here: Mix Up Your Music Practice With Interleaving
💪🏽 Desirable Difficulty
Ever noticed how your favorite video game gets more interesting when the levels get tougher?
Apply the same strategy here. Add a twist to the tunes you’ve already mastered. Play them in another key or add double stops.
Not only does this pump up your skills, it also adds an extra layer of fun to your practice.
Learn more here: Fiddling With Desirable Difficulty
🎙️ Record Yourself
You can accelerate your progress on the fiddle if you record yourself playing and then listen back to it.
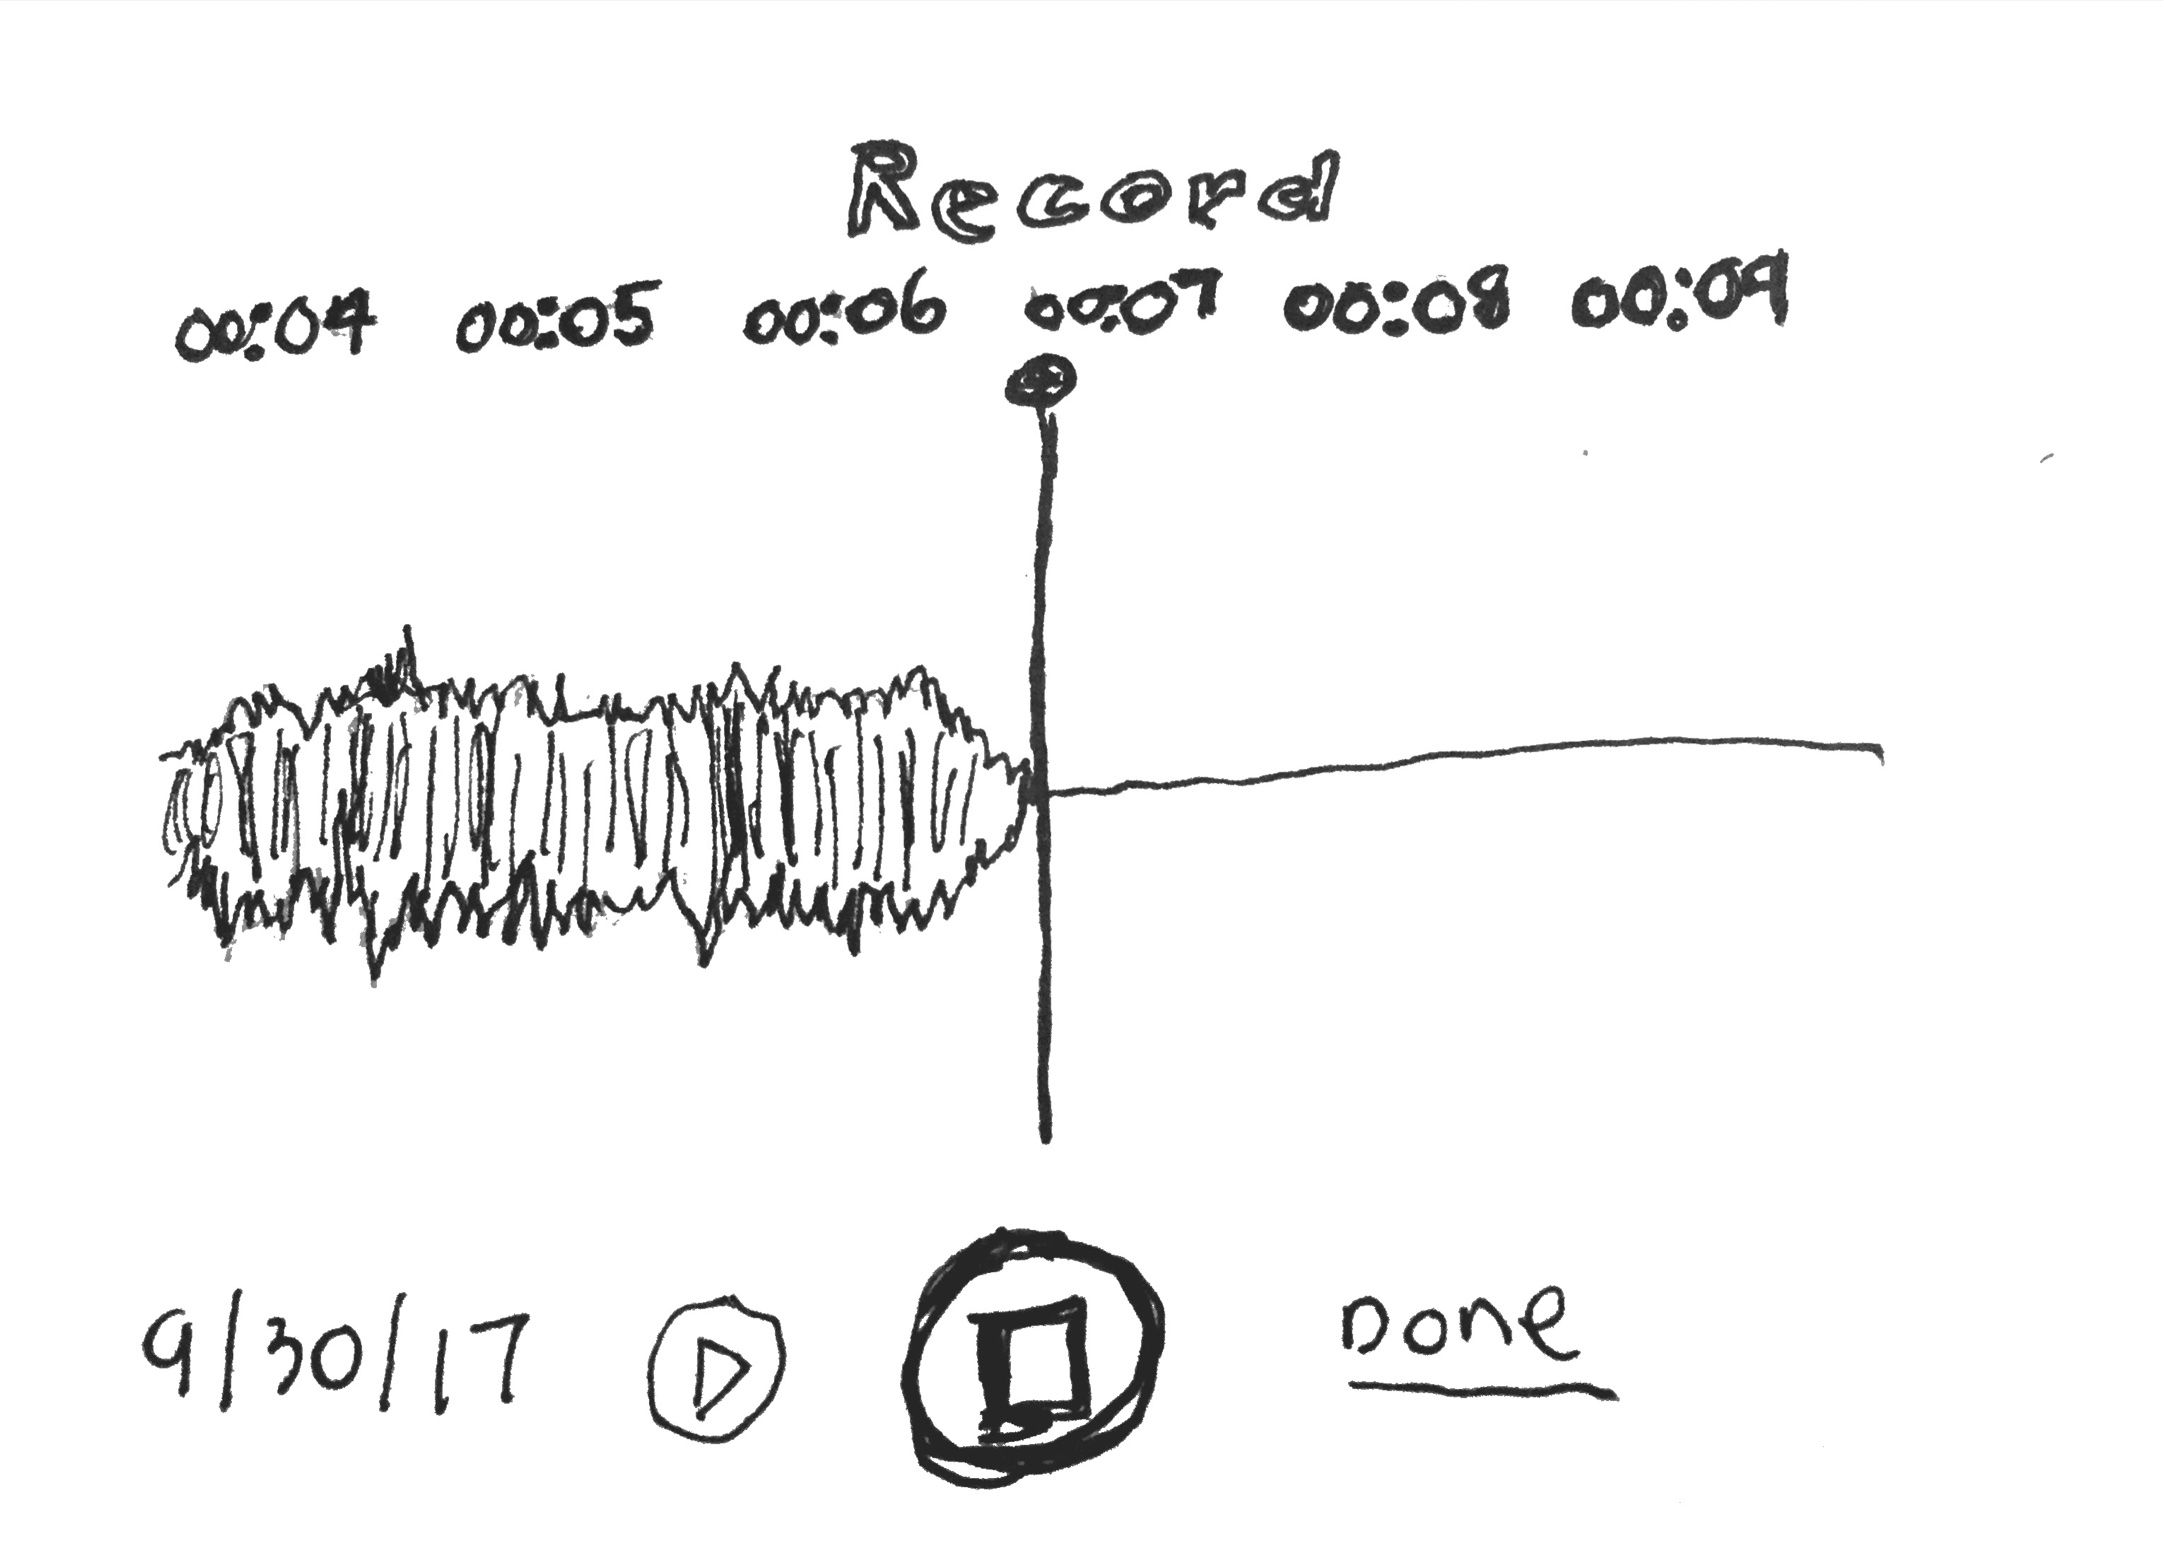
If you’re learning on your own, you need to Be Your Own Teacher, and so recording yourself is especially useful. Maybe even necessary.
Recording provides you with the feedback you need to improve. It’s hard to analyze your playing while you are playing.
Make a short recording of each new skill song. Be kind as you listen back. Which parts need the most work? What skills need to be fine-tuned in order to get this?
The other good thing about recording is that it’s tangible proof of your improvement. A lot of students reach a plateau in which they think they have stopped improving.
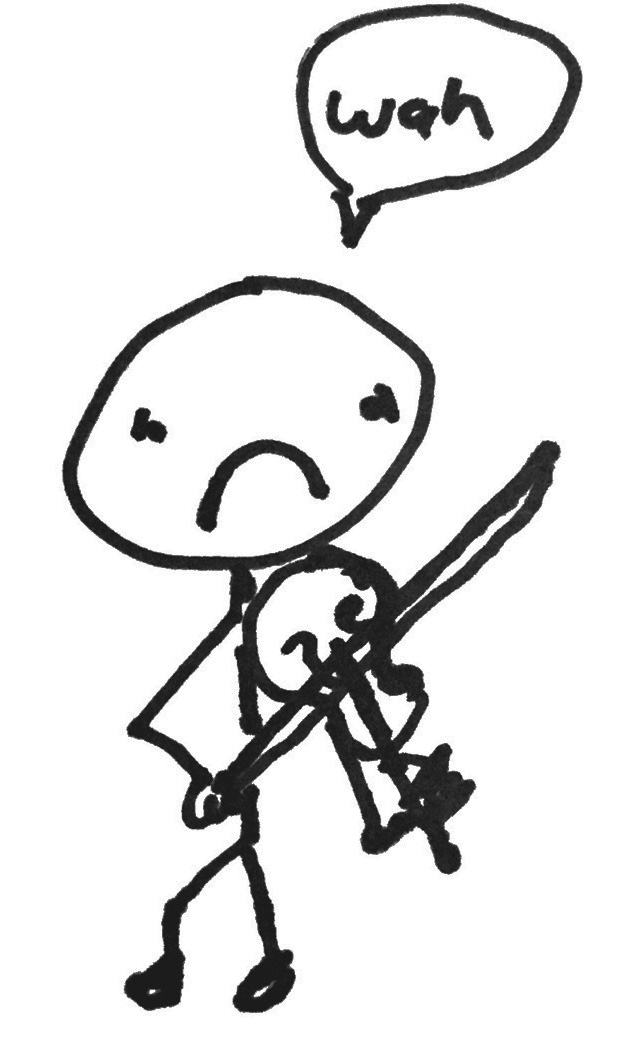
You can overcome this discouraging feeling if you listen to recordings you made a few months ago.
Record yourself immediately after you learn a tune, and then record yourself playing the same tune six months later. You’ll be able to hear if there’s improvement (and if you keep practicing there will be).
Record yourself on a daily basis to get crucial feedback on your playing. Try recording yourself along with the lessons and play-along exercises in the FiddleHed course. One strategy is to play one repetition of an exercise, then just listen, and keep alternating.
D3-A0, two bows
This allows you to continuously compare your playing to a reference recording.
Learn more here: How To Improve Your Violin Playing Through Recording
📓 Track Your Progress
If you write about what you practice today, then you can go further tomorrow.
Simply jotting down the things you practice will help you tremendously. You can use a journal to further accelerate your learning if you reflect on how the practice session went.
Ask yourself, “What went well? What still needs work?”
Also use a journal to keep track of favorite songs, things you want to learn and persistent challenges.
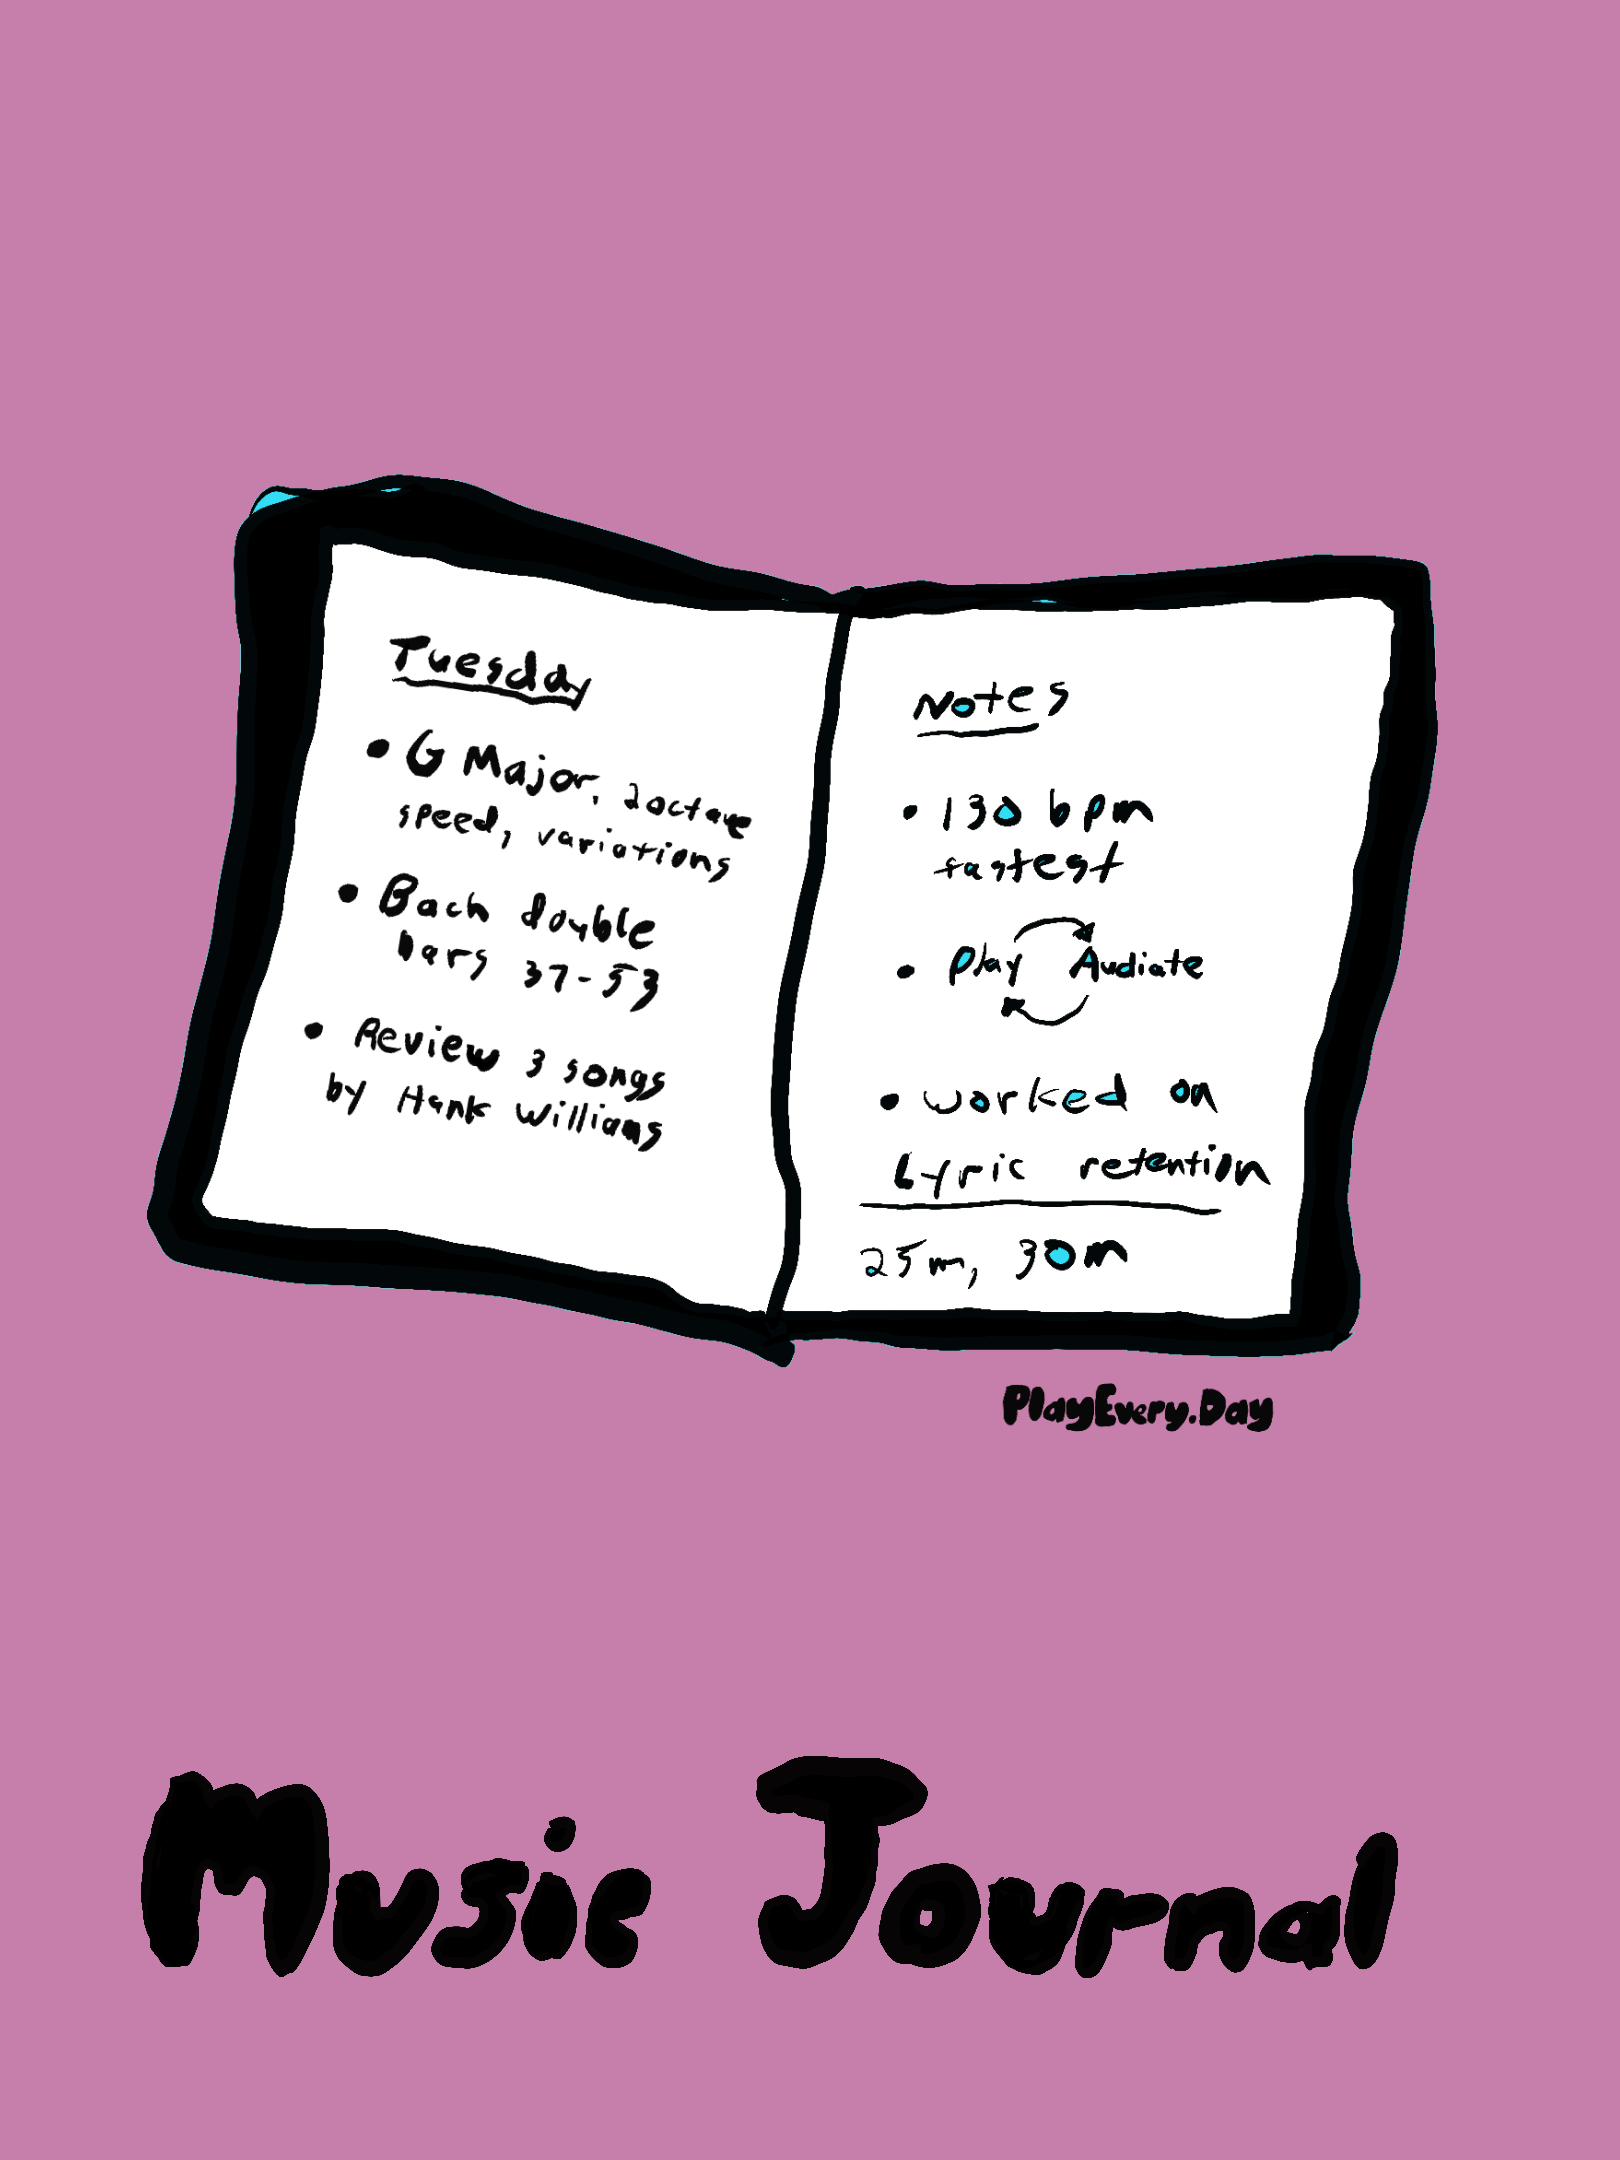
Learn more here: Fiddling With A Music Journal
🗣️ Call-and-response
Hey, remember playing “Simon Says” as a kid?

We can play the same game to practice music. When you learn with Call-and-response, you internalize the music, allowing you to remember and feel the melody.
This frees up your brain to focus on other skills: posture, tuning, timing, tone, note-reading, expression, improvisation…pretty much anything. It’s harder to improve a physical motion if you’re also reading sheet music.
How does call-and-response work? Listen to a small chunk and then play back. Work through this video multiple times until can easily repeat each “call”. I constrain this game to four notes: D0, D1, D2, D3.
This fun practice develops the ear and paves the way for improvisation and playing with others.
Playing by ear is a cornerstone of the FiddleHed method. Check out our library of call-and-response games here: Call-and-response Central.
🎨 Add Creative Practice Variations
Ask yourself, “How many different ways can I practice this?” Learning to try something in many different ways is a form of improvisation.
If you’re a beginner, you can add variations like playing at different volumes, with different sounds or even in different parts of the room.
If you’re an intermediate player, you can experiment with starting the melody on another string (transposition).
If you’re more advanced, you can try adding rolls, slides and other forms of expression.
Here’s a video in which I practice a fiddle tune called Whiskey Before Breakfast in 14 Ways.
Cracking The Code: A Beginner’s Guide to Reading Sheet Music
Unlocking the power to read sheet music is like decoding a secret language – it opens the door to countless songs, tunes and even new genres of music.

But before diving into this useful skill, I suggest you start by learning to play the instrument. Focus on technique, listening and learning simple tunes by ear.
Why? I find that it’s hard for students to focus on playing with good sound if they’re also trying to read sheet music.
Once you’ve got a couple of songs under your belt, we’ll introduce the Rosetta Stone of violin – reading notes. This powerful skill will lead you down paths of unending musical discovery…
Three Key Ideas For Learning Violin Sheet Music
There’s a lot to learn about reading sheet music. But you’ll succeed if you keep these simple principles in mind.
- Play the violin without reading – a bit like learning to talk before you write!
- Read what you’ve already learned to play – using your ears as your guide.
- Once you’re comfortable reading, then start to learn terms, rules, and theory.
I like to call this process “Intuitive Note-Reading”. If you can hear and play a piece of music, your brain already has a musical map.
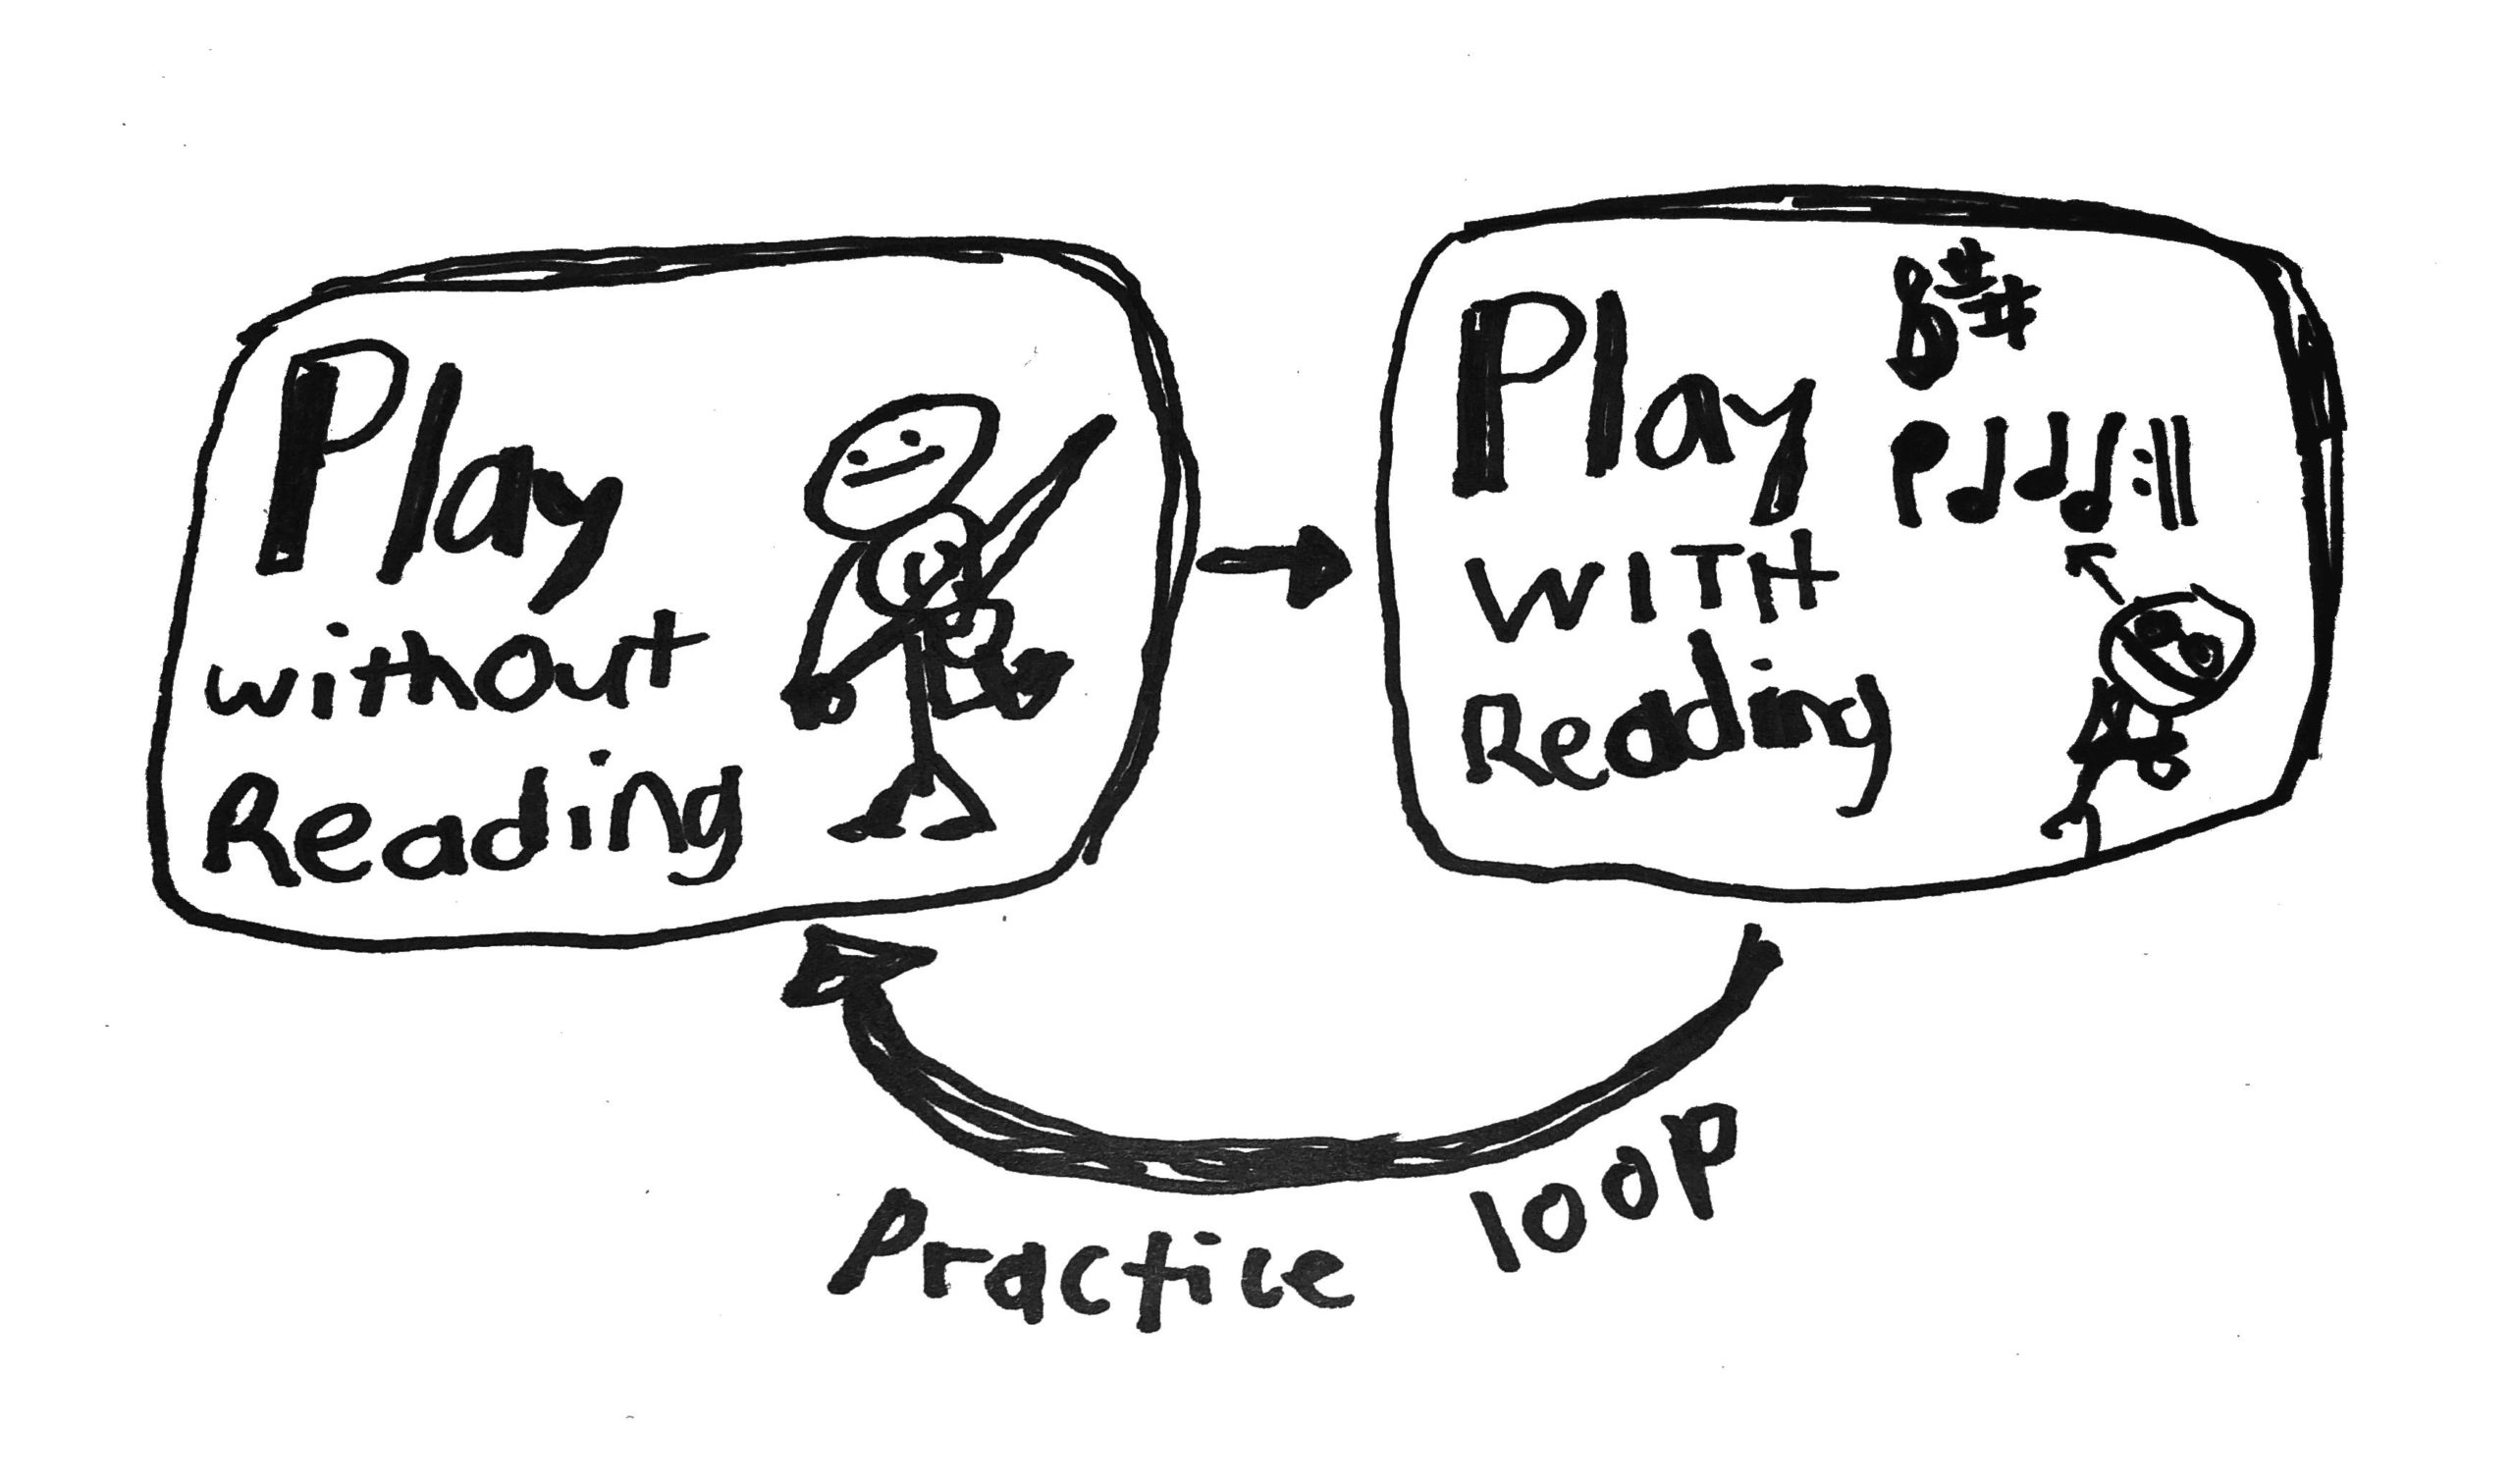
Let your brain do its natural thing – spot patterns. In the beginning, getting bogged down with rules and terms can be a bit like trying to learn to swim while studying ocean currents.
Try to play this simple “Long-short-short” pattern with the play-along track.
Hoedown on D

Then look at the sheet music snippet as you play. Then turn off the audio and just play the snippet. Take a break and then return to this exercise see if you can still do it without the audio.
Do this process every day and your brain will start to recognize patterns.
Then once you start reading notes in this intuitive way, it’s time to learn terms, concepts, and theory.
Find Repeating Patterns
You can reduce the amount of work your brain needs to by looking for patterns in sheet music.
It’s like reading the phrase “Once upon a time.” You don’t need to read each word carefully to figure out the meaning. You can read the whole phrase at once because you’ve noticed this pattern before.
Let’s look at an example from some violin sheet music. In the Kerry Polka, the first bar happens four time in the tune:

If you notice repetition in a piece, then mark your sheet music with a pencil (use colored pencils if you have them to indicate different key phrases and their repetition.
If you learn those phrases well, then reading the sheet music becomes a lot easier.
If you want to dive deeper into reading sheet music, check out my Note-Reading For Fiddlers course.
You’ll learn to read without getting bogged down in theory and terms.
Mapping Out Your Violin Learning Journey
Embarking on a learning adventure is always more fulfilling when you have a clear plan. Goals give shape to your current practice routine and guide you on what to focus on today. The joy comes from witnessing your daily growth and progress.
Here’s an outline of skills you’ll acquire on your violin journey. In the FiddleHed course each stepping stone on the path offers tunes and songs tailored to help you practice and refine new skills.

Embarking on Beginner Violin
- Basic techniques like plucking and bowing on open strings.
- Exploring bowing textures like staccato, tremolo, and throwaway bow.
- Training your ear with Call-and-response learning.
- Discovering left-hand fingering with first, second, low second and third finger positions.
- Learning lots of simple songs (folk melodies and beginner classical pieces)
- Playing one-octave major scales and transposing simple tunes.
- Diving into sheet music and slur techniques.
- Experimenting with Dorian (minor) scales, low second finger, two-octave G Major scale, and major triads.
Progressing to Intermediate Violin
- Mastering the fourth finger (pinky) and balancing finger placement with string crossing.
- Attempting double stops on open strings and exploring audiation.
- Trying low first finger, F Major scale, and double stops with fingers.
- Learning more complex songs
- Playing advanced rhythms and syncopation
- Pushing boundaries with low fourth finger, B Flat Major Scale, and chord backup.
- Delving deeper into minor triads, raised third finger, chromatic scale, and syncopation.
Advancing to Proficient Violinist
- Polishing advanced techniques such as vibrato and bowing techniques.
- Advanced bowing techniques like bouncing, dragging the bow, Figure-eight bowing and bow vibrato
- Exploring higher positions and adding fiddle variation.
- Incorporating variation techniques like Irish rolls, grace notes, as well as Old-time & Bluegrass slides and double stops.
- Experimenting with cross-tuning and improvisation.
- Trying your hand at melodic variation and improvising with the Pentatonic Scale.
- Engaging in call-and-response improvisation and tune/improv looping.
This roadmap will help guide your practice and pave your path towards mastering the violin, all while having fun along the way!
Nurture Connections Through Music

As you make progress, you’ll discover that music is more than a solo venture – it thrives on connections. Let’s explore ways you can continue your musical journey and make friends along the way
Dive into Local Jam Sessions

Playing in local jam sessions can be daunting initially, but the rewards are worth it. Not only does this level up your skills, but it introduces you to new music and friends. And along the way, you’ll become a much more adaptable musician.
Since no two jam sessions are alike, the strategy differs based on the situation. What style of music is this group interested in? What skill level are the players?

Though each session can vary, there are some general practice strategies which can help you perform better at jams.
- Prepare
- Warm up beforehand
- Record the session
- Play backup
- Review and practice songs from the session
Prepare. Listen to songs that might be played at the session. Familiarizing yourself with these tunes could boost your confidence. Make it a daily practice to sing what you play. You can also develop your ear with call-and-response tracks:
Call-and-response with D0, D1, D2
Play. If you don’t know the tune, try to pick up little bits and play those when they come around. Knowing how to play chord backup could be a lifeline during sessions.
If playing on a song, consider layering in the violin. Find the perfect part for a song. Don’t overdo it. You can add to a song even if you don’t know the melody.

Listen. Record the session, then listen back later. Learn or improve at least one song from the session.
In this way you prepare for the next session. You enter a virtuous cycle of preparation, playing and reflecting.
Learn more here: How to keep up with a jam group? and Play it clear.
Participate in a Community Orchestra
Becoming a part of a community orchestra can be a rewarding way to refine your skills, learn to play in harmony with others, and connect with musicians.
It’s also an effective way to improve your note-reading skills.

From my experience of playing with youth orchestras, college symphonies, and community orchestras, the formats can vary. Some require attending practice sectionals for each instrument, dress rehearsals, and formal performances, while others involve people just coming together for sight-reading.
FiddleHed Vera is learning fiddle music while also enjoying classical music with her string group:

Overcoming Stage Fright
If the thought of performing sends butterflies to your stomach, rest assured, you’re not alone. The “Small Steps, Small Wins” fiddlosophy can be applied to performing as well.
Consider this novel first step: perform for an imaginary audience. Go through all the steps you would if you were playing for a real audience, from dressing up and introducing yourself to playing the whole piece without stopping to correct mistakes. After all, you’re performing.
Next, perform for just one real person. Perhaps a family member, friend or another (nice) musician. Focus on gaining confidence rather than seeking critique.
Gradually branch out to playing for more people as you feel more comfortable with performing.
Playing Your First Gig
Playing shows is a great way to connect with other musicians and people in your area.
If possible, I recommend playing your first gig with other musicians who have already played some shows.
Here’s FiddleHed Joanne playing a St Patrick’s Day concert at a bar in Almeria with her multi-national band!
Spend time preparing for the gig. Create a set list of songs. Practice each song as well as the transitions between songs. Figure out exactly what your role will be on each song.
For example, on some songs you may play the main melody, while on others you, may play backup. Or you may sit out particular songs.
Just like when you were first overcoming stage fright, do a dress rehearsal. Play through all the songs without stopping. Record it and then take note of what you need to practice.
Then on the day of gig, do a “micro-rehearsal”. Play through the beginnings and essential parts of all the songs or parts of the piece. The purpose of this is not to learn the music, but connect your memory, ears and fingers.
Some good first gig ideas (I’ve done them all 🤓):
- Farmer’s Markets
- Open Mic Nights
- Public Jam Sessions
- Birthday Parties
- Rest Homes
- Community Fairs
- Street busking
Finally, don’t feel obligated to perform. It should be something you want to do. But when you’re ready, you’ll find it’s an amazing musical experience.
Connect with Violin Groups Online
You can answer your questions and get support through online violin and fiddle communities.
Use these resources to connect with anyone from beginner violin students to professional level musicians. Websites like Reddit, Facebook, and Meetup offer a variety of groups that can match your musical interests.
Here are a few online groups that I’ve found to be helpful and fun:
- Fiddle Hangout
- Violinist Reddit
- Fiddle Reddit
- Facebook groups like Old Time Country Music and Dedicated To Old-time Music
And as you progress, you can pay it forward by helping other beginner violin students find their way.
You can also join the FiddleHed Network and take part in the Student Videos Forum.
Tour The World With Music
I had the good fortune of playing with a touring band called Diego’s Umbrella for about twelve years. We toured a lot in the United States as well as four trips to Europe.

But you don’t need to be in a band to tour the world. Simply take your fiddler with you when you travel and see what happens.
For starters, there are Irish pubs across the world (the Irish know how to get around!). Whenever you’re in a new town or city, look to see if there are any sessions.
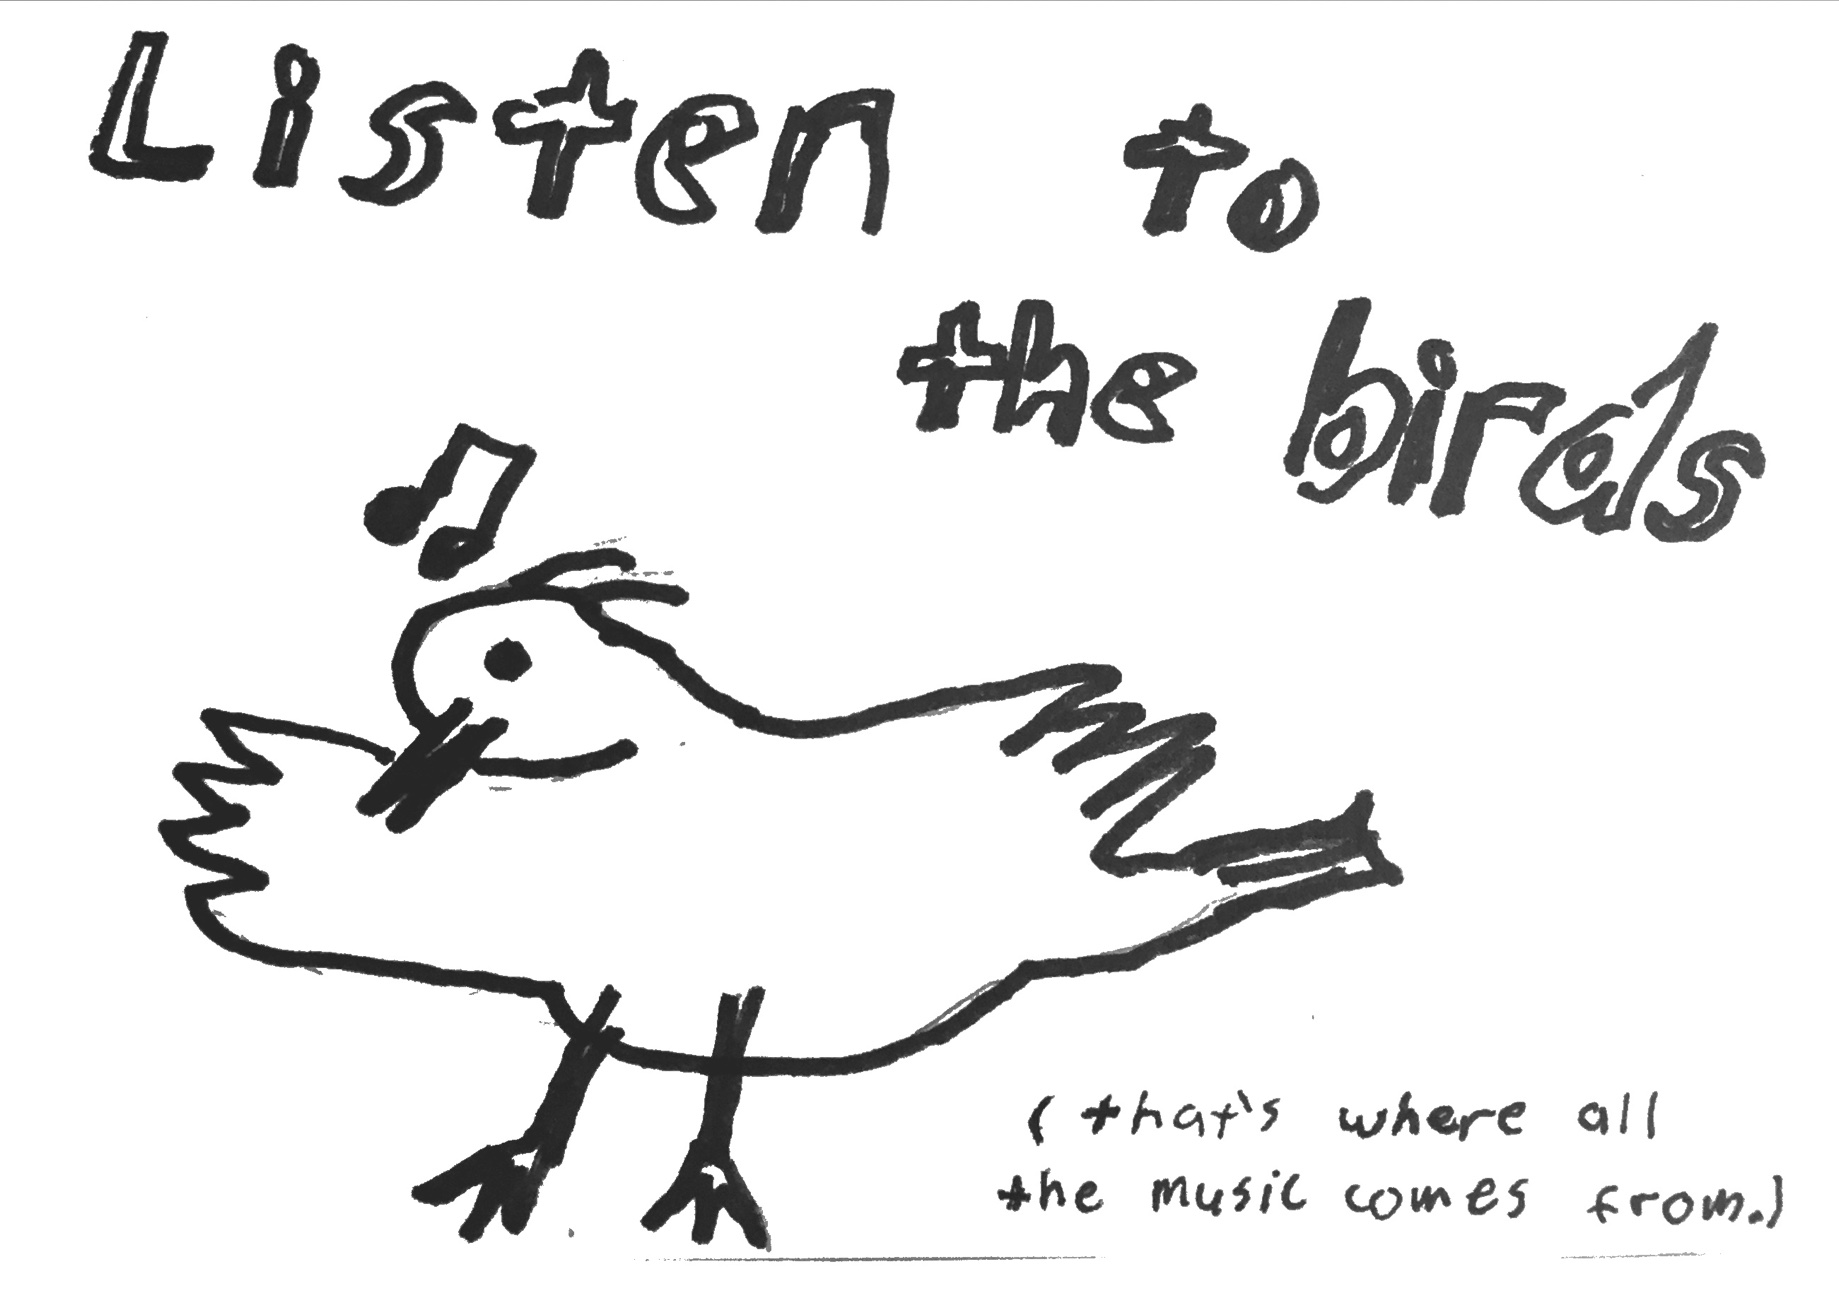
And you can tour the world in other creative ways. Students like FiddleHed Katrina simply take their violin on camping trips.

Whether playing alone or with others, playing music outside under some trees or near a river is a rich experience. Try to hear the sounds of nature blending with your music.
10 Common Beginner Violin Mistakes
Knowing the pitfalls before you begin the journey can save you time, energy and money. If you can avoid these mistakes, you’ll get less discouraged and be more likely to continue.
- Inconsistent practice: Regular, consistent practice is key to improving on the violin, but many beginners fail to maintain a consistent practice routine. Solution: Play for at least two minutes a day at the same time and place.
- Ignoring proper violin and bow posture: One of the most common mistakes beginners make is neglecting the correct posture for violin playing, which is foundational for progress. Solution: Check your posture at multiple points in a practice session.
- Rushing through the learning process: Many beginners want to progress quickly and in doing so, they try to rush their learning, which can lead to bad habits. Solution: Focus on making one thing sound good.
- Playing out of tune: Beginners often struggle with playing in tune, but mastering intonation is crucial for sounding good. Solution: The most effective way to improve this is something I call “Drone Tuning.” Playing each note with a reference tone. {link to how to play in tune course}
- Using too much bow: If you’re a beginner, then bow with bow strokes. A lot of beginners use waaaay too much bow which makes performing difficult. Solution: When you’re starting out, use short bow strokes in the middle of the bow.
- The Death Grip: Or over-pressing the strings with the left-hand fingers. Applying the right amount of pressure is crucial, but beginners often press too hard on the strings, leading to a poor sound. Solution: Practice lightly placing the fingers without playing music. Then try the same practice while playing single notes.
- Skipping warm-up exercises: Warming up is important for preventing injuries, but beginners often overlook this step. Solution: Warm up with simple scales and familiar songs for 3-5 minutes.
- Not investing time in ear training: Active listening is vital for any musician, but beginners often don’t value its importance. Ear-training is especially important to violinists because it helps you play in tune (piano and guitar players don’t have to worry about this). Solution: Practice with Call-and-response tracks.
- Avoiding the metronome: Keeping time is a FUNdamental skill, but many beginners avoid using a metronome. Solution: Start by playing quarter notes with the metronome at a medium tempo (60 bpm). Enjoy the feeling as you become one with the beat. Gradually do more complex things along with the metronome.
- Overlooking the importance of relaxation: Playing with unnecessary tension can hinder progress and lead to injury, but many beginners fail to play in a relaxed manner. Solution: Throughout a practice session, pause to pay attention to the breath and relax the body. Keep that relaxed feeling as you start to play simple and then more complex things.
Read a more in-depth article on this: 10 Common Beginner Violin Mistakes
FAQs
Can You Learn Without Private Violin Lessons?
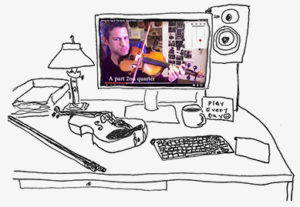
Yes. While guidance from a violin teacher can be helpful, especially at the outset, there are tons of resources available today.
You can more easily learn on your own with online violin courses, books, YouTube tutorials, and apps like the Amazing Slowdowner.
Try to get feedback from experienced players or violin teachers if you can to avoid developing bad habits. Use available resources, but don’t try not to get too distracted by the many options.
Remember that there’s no shortcut: daily practice is itself a form of success.
Is It Hard To Learn Violin?

Like any new skill, learning to play the violin can be challenging initially.
Unlike piano, it’s hard to get a great sound on violin right off the bat. You’ll need to spend a lot of time just bowing on open strings to develop good tone.
The violin journey requires coordination between both hands, reading music, listening skills, memorizing, retrieval, emotional intelligence and more. You have to do a lot of different things at the same time! 🤯
People who ‘make it’ as violinists take on a growth mindset. They enjoy the challenge and see it as an opportunity to grow.
It’s true that violin is a complicated instrument. But getting good at any instrument requires daily practice. So you might as well find something you love and stick to it.
The very effort and work is the joy of playing in itself.
Am I Too Old To Start Playing Violin?

Absolutely not!
Learning to play the violin has no age limit.
In my online course, I’ve taught first-time students in their eighties.
You might even find that as an adult, you bring more patience and life experience to your learning process. Unlike some children who are pushed by the parents into learning violin, adult learners do it because they want to do it.
This self-motivation is a super-power for learning music.
How Long Should I Practice Violin Each Day?

The amount of practice can vary based on your skill level and goals.
If you’re a beginner struggling to practice every day, I recommend just two minutes a day. This establishes the habit in your brain and body.
Plus, if you start playing, chances are you’ll play for longer than two minutes. The “two-minute” rule is a good hack to overcoming resistance.
Once you establish a routine, I recommend you aim for about 15-30 minutes of focused practice per day.
Remember it’s better to have shorter, more frequent practice sessions than longer ones infrequently.
I recommend taking a five-minute break after twenty-five minutes of practice. This optimizes your energy and attention.
The key to effective practice is consistency and focus. Over time, as your stamina and skills improve, you can gradually increase your practice time.
What’s the difference between a violin and a fiddle?

If you’re buying, it’s a fiddle, if you’re selling it’s a violin. Just kidding 😂.
A violin and a fiddle are the same instrument. The difference comes down to the style in which they’re played.
‘Violin’ is often used when referring to classical music, while ‘fiddle’ is used when referring to folk, bluegrass, and country music.
It’s all about the approach, the culture and the kind of music you’re playing.
OK, one more dumb violin vs. fiddle joke.
What’s the difference between a violin and a fiddle?
No one minds if you spill beer on a fiddle!
How do I keep the bow straight on the violin?
You want the bow to run parallel to the bridge (perpendicular to the strings). If you have trouble keeping the bow straight, then know that you’re not alone. It’s a common beginner pain point. Here are some tips to help you:
- Play with short bow strokes in the middle of the bow. A lot of beginner bowing issues are solved when you limit the amount of bow you use.
- Practice bowing on open strings. This allows you to put all of your attention on bowing.
- Use a mirror. Practice in front of a mirror so you can watch the bow. This helps you see if your bow is staying parallel to the bridge. Then adjust.
- Bow with your upper right arm against a wall. Only move the forearm and wrist. The wall prevents you from swinging the bow. See the wall as a form of training wheels. Once your arm learns the motion, then move away from the wall.
- Use guides for the bow. Either straws or something like the Bow-Right (mentioned earlier in the guide):
Or straws:

When should I take off the violin finger tape?
Everyone’s different. Some people never use the tape, some keep it on until they’ve learned all the finger positions.
If you follow the FiddleHed course, I suggest taking off the tape once you’ve learned 15-20 songs. But it’s alright if you need more or less time with the tape on.
When you feel ready, make the transition by practicing with your eyes closed before you take off the tape. As you gain confidence, try taking off one piece of tape (like the second finger or middle tape).
Also continue to practice drone tuning (mentioned earlier in the guide when I talk about left-hand fingering). Remember that this is the best way to learn the correct finger placement and play in tune.
Should I start by learning classical music?
Or can I jump into other genres?

The beauty of learning to play the violin is that you can start with whatever genre resonates with you.
As I said earlier, it’s good to start with simple, familiar melodies like Twinkle Little Star. These tunes have a lot of repetition and you can already “hear them in your head.”
While classical training can provide a strong technical foundation, it’s not a prerequisite for learning to play the violin. If folk, bluegrass, or pop stirs your soul, feel free to dive right in.
You’ll be much more motivated to practice if you’re playing music you love. 📈
What kind of strings are best for beginners?
For beginners, it’s advisable to start with steel-core strings.
They’re durable, less sensitive to temperature and humidity changes, and generally easier to play on. They’re also more affordable than other types. Learn more here: Recommended Fiddle Gear.
As you progress and develop a preference for a specific sound, you might explore synthetic or gut-core strings, which are commonly used by more advanced players.
How do I clean and maintain my violin?
Cleaning and maintaining your violin is essential for preserving its sound and longevity.
After each practice session, use a soft, dry cloth to gently wipe down the strings and the body of the violin to remove rosin dust.
Use a humidifier if you’re experiencing extreme weather. These changes can negatively affect the sound of the violin.
Once a year, consider bringing your violin to a professional for a check-up to ensure everything is in optimal condition.
It’s also a good idea to wash your hands before playing and avoid touching the bow hair to keep it clean.
How long will it take before I can play a song on violin?
If you start with plucking, then it’s possible to learn a simple song when you first pick up the instrument. In fact, you can get to that point with this guide.
Most students rush into playing songs before they can make a nice sound. If you never take the time to get a good sound, you’ll get discouraged and give up.
So I suggest that you spend lots of time bowing on open strings. Do this before you start learning a bunch of songs. And then continue to practice open-string bowing even once you start learning songs.
Do I need to know how to play other instruments before learning the violin?
No. While having a background in another instrument can provide a head start in terms of understanding music theory and rhythm (especially piano), it’s absolutely not necessary to learn another instrument before taking up the violin.
The violin is a unique instrument with its own techniques and challenges. So whether you’re a first-time musician or a seasoned player looking to broaden your skills, you can start learning the violin at any time.
How important is learning to read sheet music?
Learning to read sheet music can open up a world of opportunities, from playing classical compositions to collaborating with other musicians.
However, reading is not strictly necessary for every violinist. Many successful players, especially in genres like folk, bluegrass, and traditional music, learn by ear.
That being said, note-reading is an extremely useful tool. It allows you to access and learn a vast range of music.
Consider incorporating it into your learning process at your own pace.
Remember my basic recommendation: Play first, read later. Start with by learning basic skills and songs without reading sheet music, and then learn to read those skills and songs later on.
Learn more here: Note-Reading For Fiddlers
Conclusion: Learning Violin Is A Lifelong Journey
If you want to do this, then you can do it. No matter your age or background, you can learn and enjoy music…if you want it.

The simple truth is you just have to practice every day. A lot of people avoid this truth by saying “I’m not talented at music.” If you do decide to take the violin journey, just know that it will be challenging. With the grow mindset, this challenge is transformed into an adventure.
Keep showing up every day. Learn to practice better. And don’t forget that this is fun.
Was this guide helpful?
If so, you can sign up for a 14-day Trial Subscription to FiddleHed and reap the benefits of an integrated learning system. You’ll learn with multi-tempo, sheet music, tabs, audio and an array of live group lessons.
Did I Miss Something?
Please leave a comment if you have any questions or unresolved challenges related to learning violin. I’ve learned most of what I know about teaching from students like you. Learning is a collaborative process…







What a great, all encompassing guide, and available to all. Great work on this folks.
I have found some folks could use a bit of info on cleaning their bow hair.
Lots of youtube resources on this, here are a couple I’ve benefited from:
How to DEEP Clean Violin Bow HAIRS:
Bow Hair Cleaning:
Wow! This is an incredible piece of work. Wish I had seen it 5 years ago, although maybe I wouldn’t have understood it then. Still struggle with a clear tone so I need to slow down (again). Fantastic article!
Hi Ginger, Thanks for sharing your appreciation of this and what you’re honing in on improving. Coming back to slowing down is always useful 🙂