In the text below, I’ll give you a rough breakdown of the skills and techniques learned in each part of the course. If you’ve already started to learn, you may have to do a little trial-and-error to find the best starting point. As usual, I suggest erring on the side of starting with more “beginner” lessons. The word “beginner” is in quotes because you can always approach learning as a beginner.
Modules 1.1 through 1.5.
At each step of the way you’ll learn tunes that help you practice the specific techniques you’re working on:
The first, second and third left-hand finger positions for the G, D, A, and E strings.
How to play in tune using drones.
Ear training with call-and-response exercises
Tone-building exercises
Intervals
Transposing tunes to other strings
Pentatonic Scales
How to practice
Maybe the most important thing you’ll learn from FiddleHed
Modules 1.6 through 1.10:
The slur
This is bowing more than one note per bow. You’ll practice different slur patterns in each module: slur two, slur three, slur four, slur two-separate two.
Singing and playing
Pedal exercises
This is a progressive series of left-hand exercises.
Low second finger
D, E and A Dorian scales
The upper octave of the G Major scale and C Major scale
Transposing tunes to other octaves
Triads
Modules 2.1 through 2.4
Moving on to the Intermediate course. These are the big things you’ll learn:
Fourth finger (pinky)
Advanced fingering and string crossing
Double stops (playing two strings at once)
Simple chords
Low first finger
F Major scale
Modules 2.5 through 2.9:
Low fourth finger
B flat Major, Upper Octave
Chord progressions and comping
Double stop scales
Minor triads
Raised Third Finger
A Major Scale, Lower Octave
Chromatic Scale
Syncopation
How to Build Chords
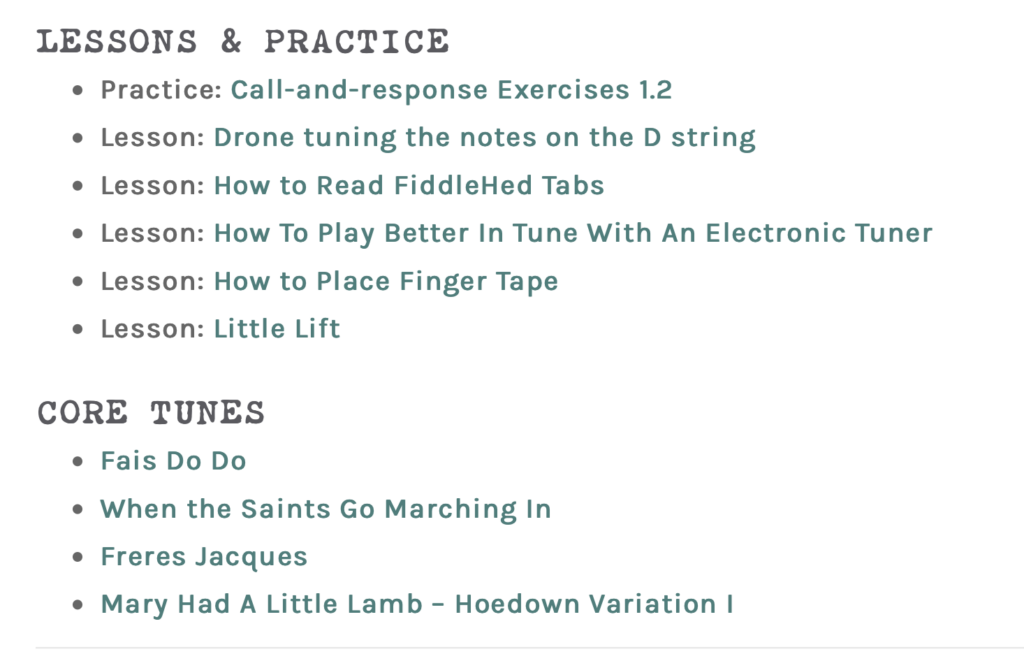
For a more detailed breakdown, view the Beginner and the Intermediate course pages. And for an even more detailed breakdown, view the individual module pages. For example, on the 1.2 Lingering with Fingering page, you’ll see a listing of core lessons and practice. This can help you to figure out if you need to take these lessons.
Still unsure?
If you’re still unsure where to start, just email me. I’ll do my best to find a good starting place for you in the course.
Practice Toolkit
Here is a quick way for you to access the essential practice tools you need. Under each tab you'll find play-along tracks, tabs and condensed teachings to help you as you practice. This is an evolving idea, so let me know in a comment below if it could be better.
Here's a newer version of the Notefinder which is based on sheet music. If you're interested in learning to read, this will be an invaluable reference. I'll be posting lessons on this in 2020.
Note: the brackets indicate notes that are the same pitch but spelled differently. For example, AH3 (D#) sounds the same as AL4 (Eb). Without going into too much teory detail here, this will be determined by the key of the tune or piece you are playing.
Notefinder table
Here's he original table version of the Notefinder. Sometimes people learn in different ways...
Sawmill tuning Notefinder
This is used to find notes in Sawmill tuning (when the G string is tuned up to A and the D string is tuned up to E). If you're a beginner...best to ignore this! Learn more about sawmill tuning in the Appalachian Fiddle course.
Here are some common scales used in fiddle tunes. Each runs through a series of variations: two bows legato, two bows staccato, four bows, tucka (4 shorts, two longs), hoedown (1 long, two shorts), throwaway bow, triplets, tremolo.
D Major
G Major, starting on D3
A Major
D Dorian
A Dorian
Practice a tune with its scale (Kerry Polka is in G major, so practice a G major scale). Practice scales before, during and after practicing tunes.
Always return to a good sound, even if it means playing quarter notes on the D string. You can do this! You just have to remember to pause on practicing the challenging thing and just get a good sound on single notes.
Why do this? Because it will bring you deep joy. And it will build your confidence which will inspire further practice.
Here are a few technical reminders to remember as you practice.
Posture reminders
Curve left-hand and right-hand fingers.
Bend right thumb.
Bend right arm and wrist.
Use minimal energy.
Left-hand fingers land on tips, not pads. This makes for more precise playing.
Bowing tips
Take time to focus on bowing during each practice session.
Get the best possible sound on single notes using long bows, throwaway bow, rhythms. Even just a few minutes of this will drastically improve your sound.
Use less bow.
This is a rule of thumb for fiddle tunes, especially for when things are difficult.
Continue to practice long bows. This will improve your overall sound.
Play in the middle of the bow. This is the sweet spot.
Use no extra energy or force for double stops.
It's more a matter of getting the bow perfectly balanced between the two strings.
Again, playing with less bow will help with this.
Left-hand fingering tips
Keep fingers down when possible.
For example, if you are rapidly playing D1-2, it is easier if you keep D1 down while fingering D2.
Practice this on scales.
Practice Little Lift
Don't lift left-hand fingers too high. Let them just hover above the string.
This allows you to play faster, better in tune and with more ease.
If you notice you are tense and not breathing evenly, simply pause on what you're currently practicing and play a single note. Make it sound nice. See if your body is more relaxed now.
If you can play a single note with a relaxed body, then try more complex things: 2-note intervals, scales, simple tune phrases, whole tunes.
Keep returning to single notes as a way to center yourself, relax and enjoy the process.
Little pauses
If you find that sound is sloppy, try adding a little pause in between the notes. This gives your fingers time to find the next note. This is especially helpful with string crossing.